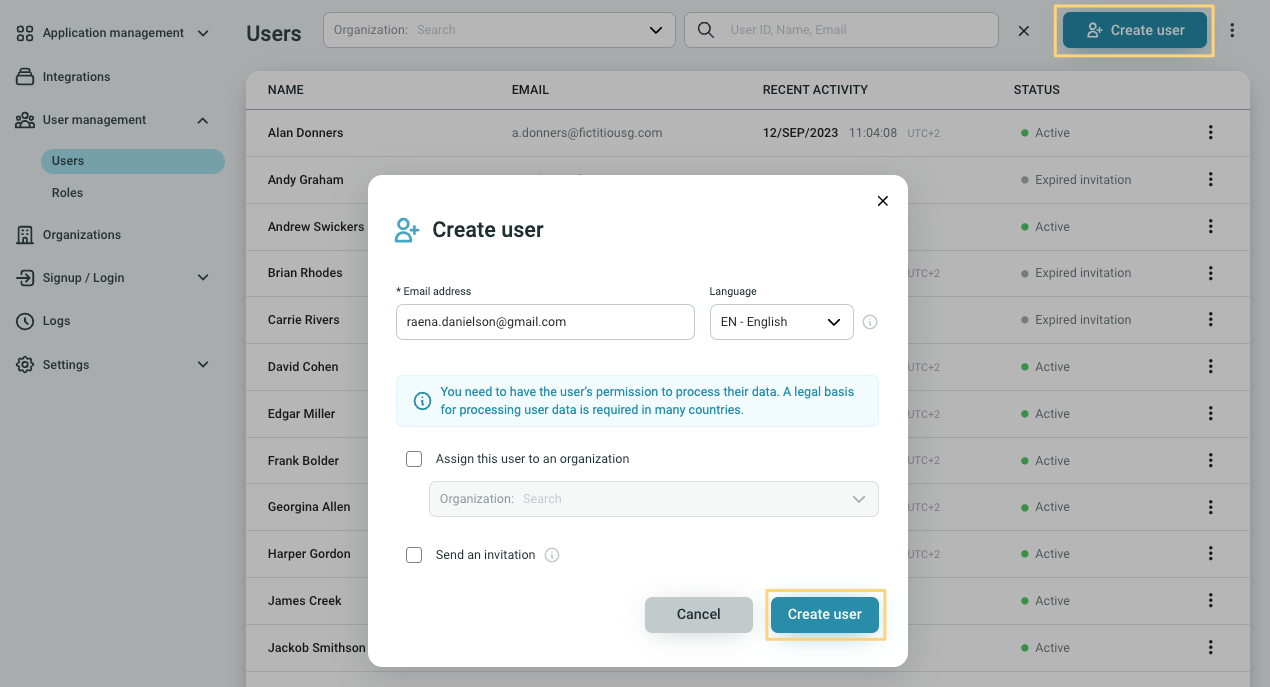
Create users
The administrator can create users directly in the Management console under User management > Users.
Create users
To create a user:
- Go to User management > Users.
- On the top right select Create user.
- Enter a valid email address.
- Select the Language from the dropdown (this step is optional).
- Select the checkbox Send an invitation (this step is optional).
- Click Create user.
Additionally, you can assign a user to an organization during user creation. Learn more here.
General information about the user creation flow
Email address
To create a user, the administrator has to provide a valid email address, unique within Identity Cloud. The email entered is the login username of the user.
Language
The Language options available on the user creation page depend on the Languages settings under Branding.
When the user is created, an email with an invitation link is sent to the user. The user invitation email is sent in the Language selected for the user. The Language selection also defines the initial language of the signup flow for the user.
Send an invitation
An automatic invite is sent when the Send an invitation checkbox is selected. Sending an invitation is optional. The administrator can also invite users later directly from the User management > Users area, once the user is created. For more information, see Invite users.
User states after creation
The initial user state after user creation is Pending invitation or Not invited, if no invitation is sent. The user state changes to Active once the signup is completed.
The Recent activity field is populated once the user logs in for the first time.
Legal permission
You need to have the user's permission to process their data. Additionally, in many countries, a legal basis for processing user data may be required.