Running Your First Migration
This page walks you through executing a bulk migration — the most common starting point for any identity migration project. By the end you will have imported users from your legacy source system into nevisID and confirmed the results.
Before you begin
- Installation and authentication setup is complete (see Installation & Authentication Setup).
- Run
./gradlew generateMappingto automatically generate a skeletoninbound_mapping.ymlfile. - You have a working inbound_mapping.yml that maps your source fields to SCIM attributes. See Field Mapping Configuration if you have not created one yet.
- Test-run mode has mapping output.
Step 1 Run in test mode first
Even if you have already validated your configuration, run test mode once more against the full dataset before committing:
./gradlew runBulk -PtestRun
Review the log output. Every line prefixed with [TEST-RUN] shows exactly what would be sent to nevisID. Confirm the user count, field values, and credential types match your expectations.
Step 2 - Execute the bulk migration
When you are confident the mapping output is correct, run without the test flag:
./gradlew runBulk
The tool processes users in configurable chunks and sends them to the nevisID SCIM Bulk API. Progress is logged to the console. A Spring Batch job-repository database (JDBC by default) records the state of each chunk so that the job is restartable if it is interrupted.
Step 3 - Monitor progress
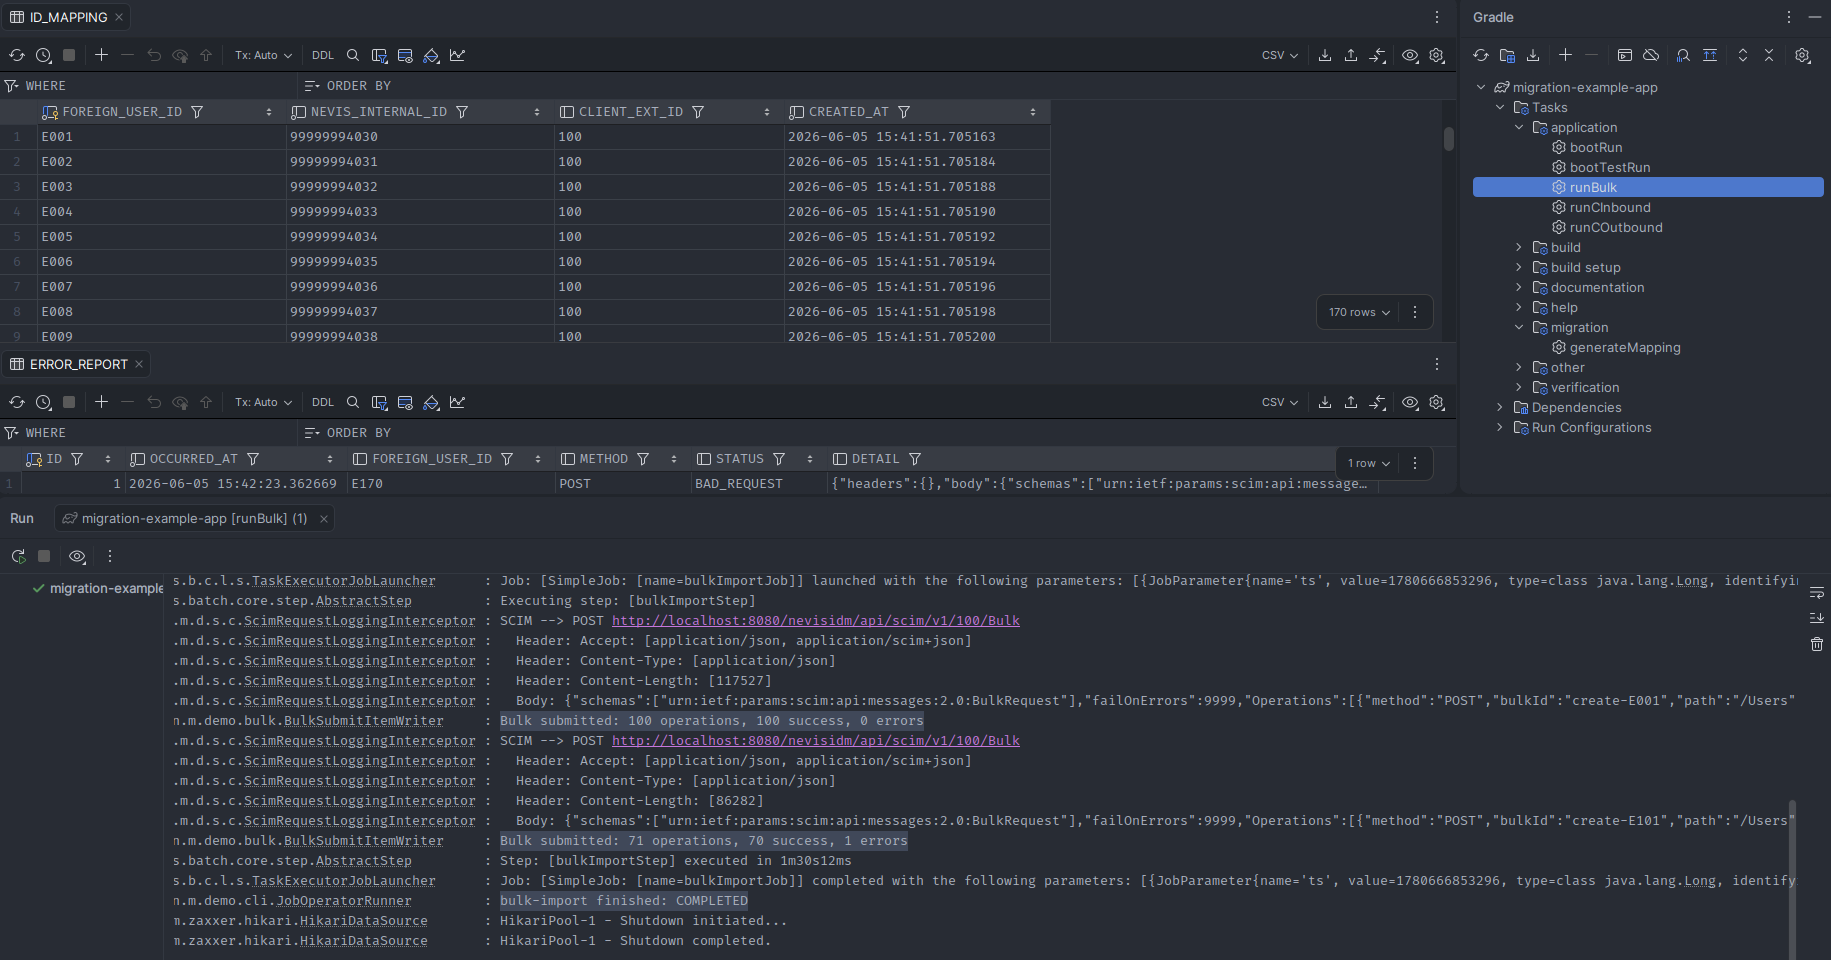
Watch the console for the following log patterns:
| Log pattern | Meaning |
|---|---|
Job: [SimpleJob: [name=bulkImportJob]] launched with the following parameters: [...] | Spring Batch has started the bulk import job |
Bulk submitted: N operations, N success, N errors | One chunk sent to nevisIDM; shows operation count and how many succeeded or failed |
Job: [SimpleJob: [name=bulkImportJob]] completed ... status: [COMPLETED] in Xms | All chunks processed; job finished successfully |
bulk-import finished: COMPLETED | Application-level confirmation; process will now exit |
SCIM bulk failed: HTTP 4xx body={...} | nevisIDM rejected the bulk request; check the body for the SCIM error detail |
Step 4 — Review the error report
After the job completes, query the error_report table in the local JDBC database to see any records that could not be written:
SELECT foreign_user_id, detail, occured_at
FROM error_report
ORDER BY occured_at DESC;
Common causes of per-record failures include missing required fields, malformed SpEL expressions, or SCIM validation errors from nevisID (returned as 400 Bad Request). Fix the underlying data or mapping and re-run — Spring Batch will skip already-processed records and retry only failed ones.
Step 5 - Verify users in nevisID
Query the nevisID GUI or SCIM API to spot-check imported users:
curl -u scim-service-account:changeme \
  "https://idm.example.com/nevisidm/services/scim/v2/Users?filter=userName+eq+%22jsmith%22"
Confirm that the expected fields (name, email, credentials, profile) are present and correctly mapped.
Resuming an interrupted job
If the job is interrupted (for example by a network error or process kill), simply re-run the same Gradle command. Spring Batch detects the previous incomplete execution and resumes from the last successful chunk:
./gradlew runBulk
⚠️ WARNING : Do not delete the JDBC job-repository database between runs if you intend to resume. Deleting it forces a full restart from the beginning.
Adjusting bulk batch size
By default, the tool sends up to 100 operations per SCIM bulk request. Increase this for faster throughput (at the cost of larger HTTP payloads) or decrease it to reduce memory usage:
migration:
  bulk:
    max-operations-per-bulk: 100
To control how many SCIM-level errors are tolerated before a bulk request is aborted, set:
migration:
  bulk:
    fail-on-errors: 5   # integer: abort if more than 5 operation errors in one request
Next steps
- To keep users synchronised over a period of time after the initial bulk load, see Continuous Sync Setup