Blacklist-based input validation
nevisAdmin includes a pre-defined blacklist rule set of the "OSWASP ModSecurity core rule set project". The names of these resources are prefixed by ModSecurity-.

Content filtering should always be combined with an ErrorFilter showing an appropriate error message when denying a request as well as an HTTP request validation filter, e.g., by using the HTTPValidationLength profile, to limit the HTTP request size processed by nevisProxy.*
Custom rule modifications
It might be necessary to adapt the rule set (remove patterns causing false positives) to use it for your application. We recommend copying the resource object before making changes to the rule set.
Rule updates
Newer version of nevisAdmin includes updates of these rule sets. This means that new filter objects exist that are recognizable by their names (version suffix). We recommend testing the new patterns before activating them. Proceed as follows to test the new patterns:
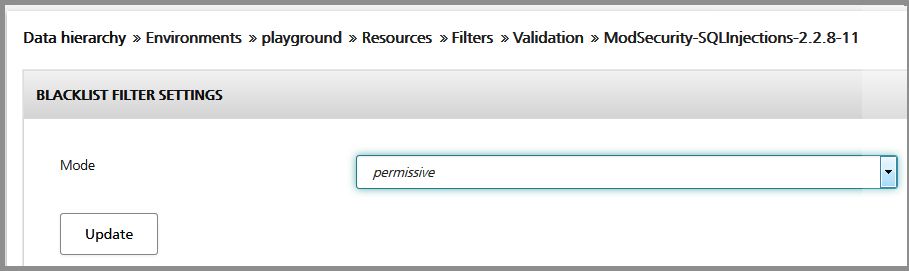
- Edit the filter and change from "enforce" to "permissive" mode. This switches the filter into the "log only" mode.
- Assign the filter to the application's mapping in addition to the existing filters.

- Watch the log file for rule matches and modify the rule if necessary (see the Custom rule modifications.
Rule exclusions
There might be certain form parameters in an application where strict input validation is not applicable. For example, if the input field for a person's name contains special characters, this might trigger a rule violation exception. From a security perspective, instead of disabling the affected rule(s) for the whole application, it is much better to only disable it on a specific form parameter.
To do so, make sure that you have the blacklist filter applied to the application and successfully deployed the configuration to nevisProxy. Hit the application with a few special characters and make sure that your input triggers a rule violation exception. Then, open the filter configuration and scroll down to the "rule exclusions" panel. When clicking on the "get logs" button, you should see the list of the rule violations.
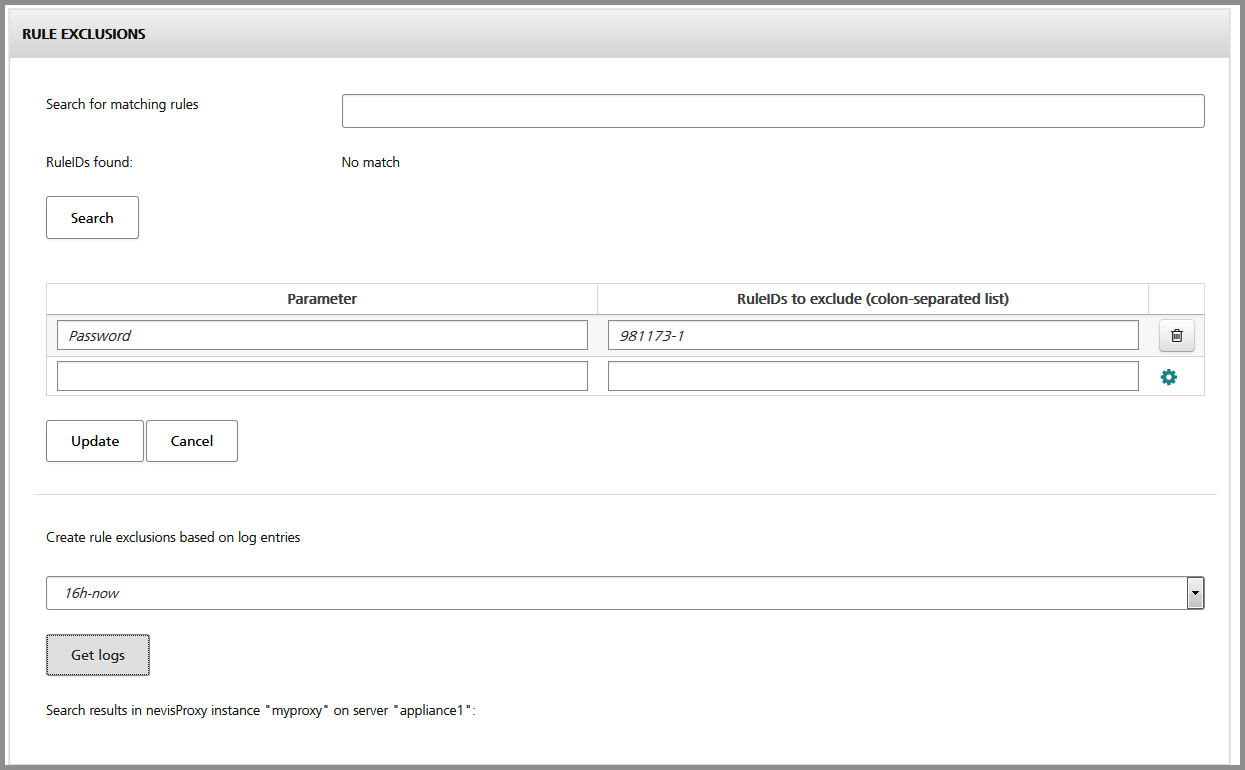
The affected form parameter, the ruleID, and the value of the input field are highlighted in the logs. Note that this feature only works with nevisProxy, version 3.11.10.0, and later. By using the "exclude all" button, all matching rules that would have been triggered by the given user input will be added to the rule exclusion list. You could also work on a rule-by-rule basis or create such a list manually.
Any change to the rule exclusion list needs to be committed and deployed to be effective.