Onboarding With Passkey
Password-less authentication by using passkeys offers several benefits, primarily enhanced security and a more user-friendly experience compared to traditional passwords. It's phishing-resistant, inherently more secure, and simplifies the login process by eliminating the need to remember or type passwords.
In the Example project, the passkey authentication is the main method for end-users to sign-in, therefore the self-service onboarding process is also built on that.
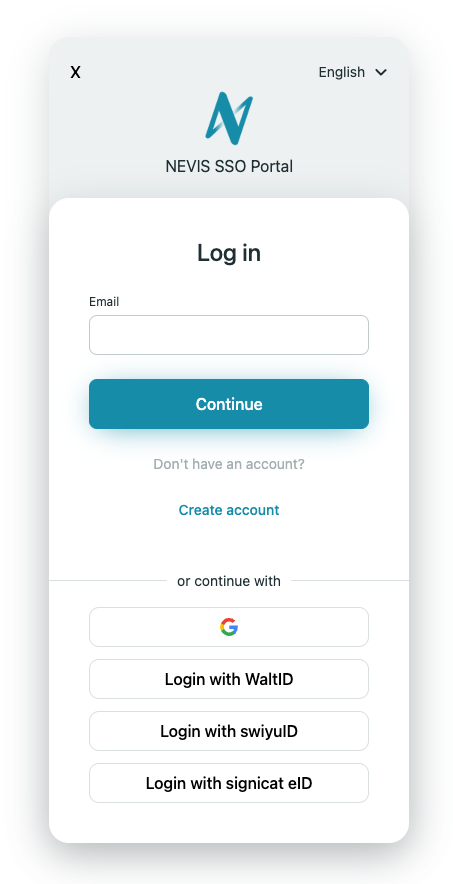
The login and registration flows are managed by a dedicated realm in the Example project. Its realm is called “default-realm” in nevisAdmin4 and the entry point is accessible on https://login.<your-domain>.getnevis.net/demo/app.
On the login screen, click on the “Create account” link.
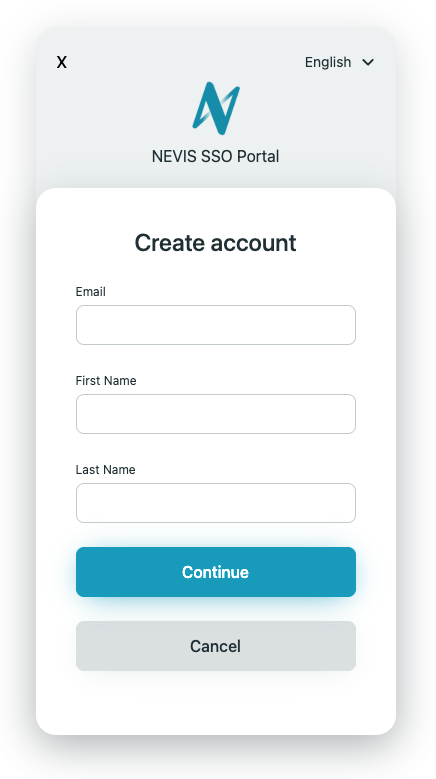
Specify your email address, first name and last name and click on the “Continue” button.
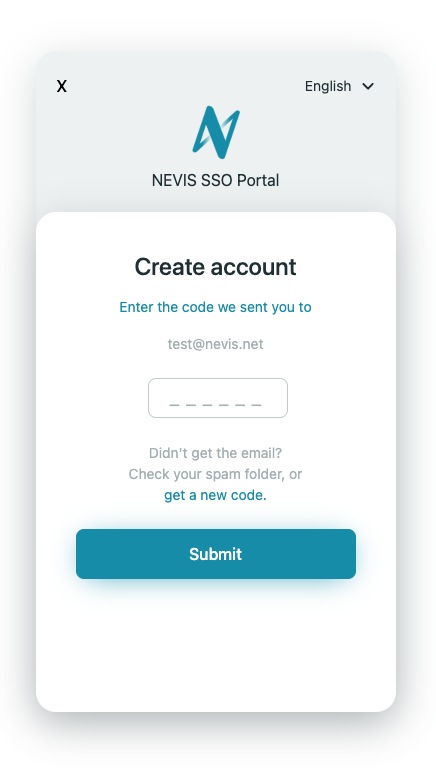
Now, the email address must be verified. If you haven’t changed in the pattern configuration, the email verification is in test mode and you can use the code “111111” without receiving any emails. To learn more about the test mode of the email verification, see How to turn off eTAN test mode.
Later, if you cannot use your passkey during signing in, then there’s a fallback to sign in with a verification code sent by email so providing a valid email address is a crucial step.
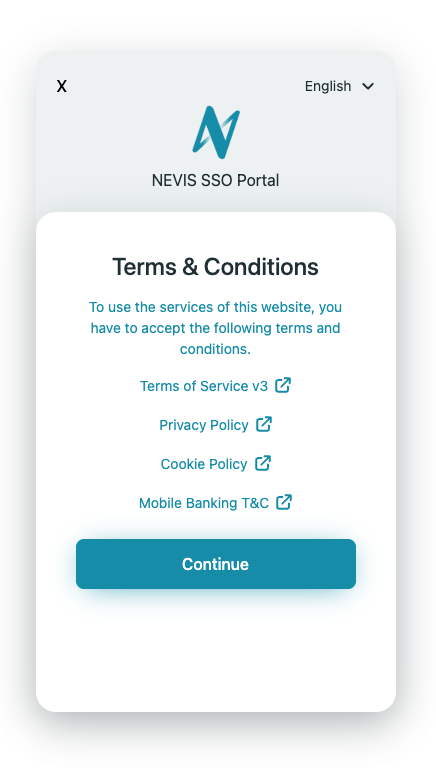
Click on Continue to accept the example terms and conditions. To learn more about managing terms and conditions, see Terms and Conditions with Consent Management.
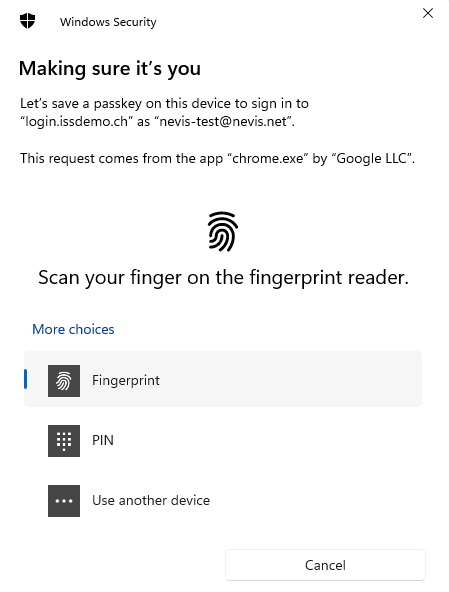
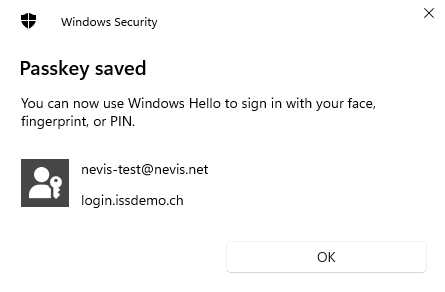
In the next step, you can register your FIDO2 credential by using the fingerprint or face recognition component of your operating system.
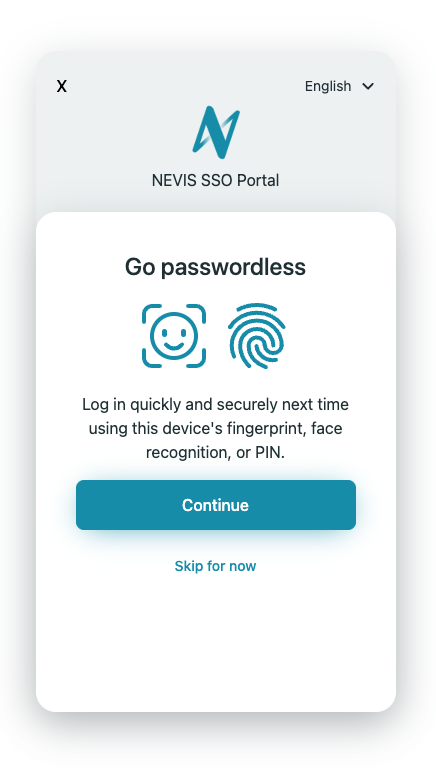
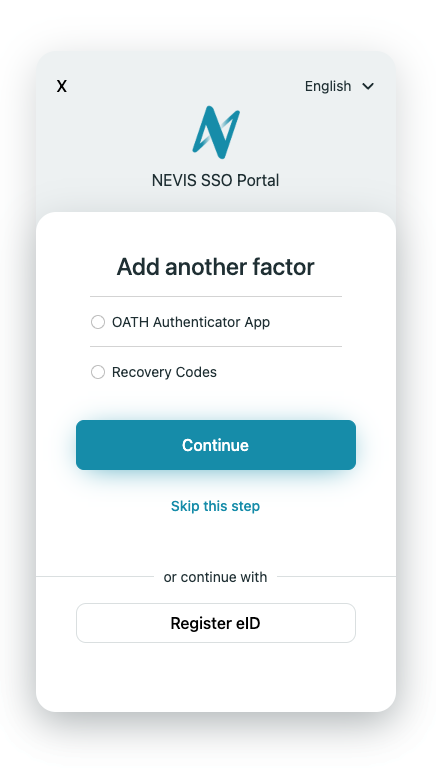
If you only want to use biometrics as a password-less sign-in method, you can skip the remaining steps. To learn more about adding addition factors, see Additional Authentication Factors.
Now you are successfully authenticated to the example web application.
Nevis ID also offers a pre-configured passkey project template, to learn more about it, see Passkey documentation.