Ordering an Access App
Start the process by submitting a request via the Nevis portal. If you don't have access to our portal, contact [email protected].
Our staff will get back to you and provide you with:
- A spreadsheet to provide us with the required information.
- An editable template to customise the look and feel.
Nevis is committed to delivering the most secure Access App experience possible. By default, the most secure options are pre-selected.
These setting can be adjusted at request to ensure the Access App meets your business needs.
The secure defaults mainly influence:
- The configurable app features. The default configurations provide the maximum security, but they can be adjusted based on your end-users needs.
- By default, the minimum OS version is set based upon which versions are continuing to receive regular security support / patches. Lower OS versions can be chosen for both Android and iOS. It may be desirable to lower the minimum OS version in order to allow for a wider range of end-users with older devices to utilise the functionality, this should be based on your market needs.
These defaults are selected based on the known supported devices; for an unofficial overview of OS versions related to their security support visit the endoflife.date webpage for both Android and iOS
The process to order an Access App consists of the following steps:
After initial publication, Access App releases and updates are handled by the update process described in the chapter Update and Release Process.
Providing Required Information
Responsible: Partner and customer
Technical Information
As part of the order process, you will receive a spreadsheet from us to help you providing the technical information. This section explains the technical options and features in detail and will help you filling out the spreadsheet.
1. App Name
The name of the Access App is what the end user sees in the public app stores as well as on their device after installation.
2. App Link Domain / Customer URI scheme (with x-callback-url support)
The mobile-only feature of the Access App requires
- either one or more URI schemes, or
- one or more domains other than the one supplied with the Backend URL.
We recommend using app links instead of custom URIs.
Do not forget to update your .entitlements file and add the app link domains during publication preparation.
When using x-callback-urls, it is required to supply navigation whitelist, specifying which navigation targets are allowed. This is necessary to prevent malicious manipulation of the rendered links and unintended navigation.
The whitelist can consist of
-
Custom URI schemes for app navigation. For example:
myapp://. The Access App will navigate only to applications that have registered for the custom URI schememyapp. -
HTTPS domains. For example:
https://mydomain.com. The Access App will only allow callbacks to HTTPS URLs in themydomain.comdomain. If an application is attached to that domain through App Links (in Android) or Universal Links (in iOS), the Access Application will navigate to that application. If not, the URL will be opened in the default Web browser on the mobile device.You can also use wildcards in the domain to allow invoking all the subdomains:
https://*.mydomain.com.
If you use x-callback-urls to navigate to another application, using HTTPS domains (that is, using applications configured with App links or Universal links) is more secure than using applications with a custom URI scheme. The reason is that any application can be configured to use a given URI scheme, but only the applications that are allowed in your domain can be configured to use app links or universal links with that domain.
3. Configurable App Features
Specific Access App features can be turned on or off based on customer requirements:
- Forced Access App Update (Default: disabled)
- Multi-account (Default: enabled)
- Callback Timeout (Default: 5 seconds)
- Class 2 Authenticator support (Android only, Default: disabled)
- Storing keys in StrongBox (Android only, Default: enabled)
- Biometric Authentication Passcode Fallback (Default: disabled)
- Remove Biometric Authenticator on New OS Biometrics (Default: enabled)
- PIN minimum and maximum length (Default: 6 digits)
- Advanced Settings Menu (Default: disabled)
- Screenshot prevention (Android only, Default: enabled)
- Assistive Applications Compatibility (Android only, Default: disabled)
- Fetch channel (Default for new app orders: enabled; for existing app instances: disabled)
If no information regarding the configurable features is provided, each feature is either enabled or disabled according to the default setting for that specific feature.
The Biometric Authentication Passcode Fallback and the Remove Biometric Authenticator on New OS Biometrics features are mutually exclusive. Only one of these features can be enabled at a time. If both features are enabled simultaneously, the Access App will prioritize the Remove Biometric Authenticator on New OS Biometrics feature and automatically disable the Biometric Authentication Passcode Fallback feature.
4. App Identifier
The app identifier (or bundle identifier) uniquely identifies the app. It must be unique in the app store ecosystem. It is recommended using the reverse domain name notation. For example: ch.nevis.accessapp
The app identifier has to match the app identifier used for the Firebase Push Configuration.
5a. Privacy Policy URL
The URL to a web page containing the private policy information. The user can access the contents by clicking on the Privacy Policy item in the settings screen of the Access App.
Privacy policy URLs in configuration are processed as URI Templates (RFC6570) with the following restrictions:
- Only Level 1 URI Templates are supported.
- Only the following variables are supported for config URLs:
- lang: This parameter is expanded to a ISO 639-1 language code used currently run-time by the application. E.g.: “en“, “de“
- langCountry: This parameter is expanded to full IETF language tags including the country code. E.g.: “en-US”, “de-CH”
Using URI Template expressions in URLs are optional. If a not supported variable is used, the expression is expanded to an empty string.
5b. Help URL
An optional URL to a web page containing information for the end user. If provided, the user can access the contents by clicking on the Help item in the settings screen of the Access App.
The URI Templates (RFC6570) is also supported in the help URL with the same restrictions those described in case of Privacy Policy URL.
5c. Registration URL
An optional URL that points to a registration web page. If provided, the user can access the contents by clicking on the Open registration page item in the settings screen of the Access App. This item is displayed only the user does not have any registered account.
The URI Templates (RFC6570) is also supported in the registration URL with the same restrictions those described in case of Privacy Policy URL.
5d. Main screen link (location aware)
An optional text and link shown on the apps main screen in the lower left corner. When tapped, the configured link is opened using the operating systems default browser. Note that the text is non-translateable.
This feature can be used to prominently display a linked text on the apps main screen.
An example of how this feature can be used is to display the ICP (Internet Content Provider) number which is a regulatory requirement for apps in China.
The main screen link can optionally be made location aware by:
- Providing one or more country ISO codes. If these are provided, the link is only shown if the users device is located in the specified country. If no country ISO codes are provided, the link is always shown.
- Providing one or more URLs to the IP address to geolocation resolution HTTP API endpoint.
- Providing a timeout waiting for the reply of a single geolocation HTTP API endpoint, the default is 250 milliseconds.
Refer to Geolocation Aware Main Screen Link for additional details.
6. Firebase Push Configuration
Visit the push support chapter for additional guidance and information of what we need to build your push-supported Access App.
7a. Backend URL
The Backend URL of the environment integrating the Nevis Mobile Authentication Solution.
Backend URLs in configuration are processed as URI Templates (RFC6570) with the following restrictions:
- Only Level 1 URI Templates are supported.
- Only the domain variable is supported for base URLs. This parameter is replaced with a domain/host name.
- The value that is used as domain/host name is the domain of the server provided during the first successful out-of-band registration.
- Once a successful registration is completed, the value of the Backend URL cannot be modified.
- The allowed domain values can be restricted using the Domain whitelist configuration.
7b. Domain whitelist
The Backend URL can be parametrized using the domain variable. The domains allowed can (and should) be restricted using the Domain whitelist. The Domain whitelist allows using wildcards.
Each entry can include port numbers, such as myserver.mycompany.com:8080.
Specifying a port number does not restrict connections to that port; port filtering is not supported.
The primary purpose of this list is to restrict connections to specified domains.
Example 1
Backend URL: https://{domain}/_app
Domain whitelist: [integrationserver.mycompany.com, productionserver.mycompany.com]
The first element in the Domain whitelist is used as default domain. Only integrationserver.company.com and productionserver.mycompany.com is accepted by the application. When the user scans a QR code generated in server productionserver.mycompany.com, the resulting Backend URL is https://productionserver.mycompany.com/_app.
Example 2
Backend URL: https://{domain}/_app
Domain whitelist: [integrationserver.mycompany.com, *.mycompany.com]
The first element in the Domain whitelist is used as default domain. Only servers under mycompany.com are accepted (see the wildcard in the second element of the Domain whitelist). When the user scans a QR code generated in server productionserver.mycompany.com, the resulting Backend URL is https://productionserver.mycompany.com/_app.
Example 3
Backend URL: https://myserver.mycompany.com/_app
Domain whitelist: []
The application only accepts operations from myserver.mycompany.com.
Example 4
Backend URL: https://myserver.mycompany.com/_app
Domain whitelist: [integrationserver.mycompany.com:8443, productionserver.mycompany.com]
The first element in the Domain whitelist is used as default domain. Only integrationserver.company.com:8443 and productionserver.mycompany.com is accepted by the application. When the user scans a QR code generated in server integrationserver.mycompany.com, the resulting Backend URL is https://integrationserver.mycompany.com:8443/_app.
8. Success Screen Countdown
When the Access App is called from another application to perform a registration, authentication or transaction confirmation, and the operation finishes successfully, the Access App will display a screen informing the user that the operation finished. By default, this screen will be displayed for 5 seconds before navigating automatically to the application specified using x-callback-url or, in the case of Android if no x-callback-url was specified, returning to the invoking application. The remaining time before navigation is displayed as a countdown in the button present in the screen.
You can modify this default value to increase or decrease the time before returning automatically. If 1 or 2 is specified, no button will be displayed in the success confirmation screen. If 0 is specified, no success confirmation screen will be displayed, no vibration nor sound will be played, and the Access App will return immediately.
Note that in the case of error, the error screen will always be displayed and the user must click on the button in the error screen to return from the Access App.
9. Allow Class 2 Biometric Sensors (Android Only)
The Android Access App uses Class 3 (strong) biometric sensors with the biometric authenticator. Most fingerprint sensors are Class 3, but currently only the Google Pixel mobile phones have Class 3 face recognition sensors.
Optionally you can allow using Class 2 (weak) biometric sensors. Some Samsung devices come with Class 2 face and iris recognition sensors. However, Class 2 sensors are less secure than Class 3 sensors. Moreover, if a Class 2 sensor is used, the FIDO UAF credentials are not protected requiring user authentication by the operating system.
Because of the reduced security, this feature must be enabled with care: this is a trade-off between convenience (support face recognition in more devices) and security.
The value of this parameter only affects new registrations. For example, if a user with a Samsung 21 registered a biometric authenticator using an application that does not allow Class 2 sensors, upgrading to an application that does allow them will not enable face recognition for that user.
10. Storing keys in StrongBox (Android Only)
If the mobile device has a StrongBox, the Android Access App will try to store the FIDO UAF keys in it by default.
However, we have observed that some devices do not support signing the registration assertions when the key is stored in StrongBox, which results in the registration failing. We have seen that upgrading the OS to the latest OS version fixes the problem in some cases, but unfortunately this is not always the case.
Because of the high impact of this problem, the Access App displays a dedicated message when this situation is detected after a failed registration. The property key in the localizations file is error_registration_signing_failed_with_strongbox_android. You can adjust the contents of this message depending on the StrongBox strategy (see below) that your application uses.
We provide the following strategies for when to use StrongBox:
-
Always try to use StrongBox if it is available on the device. This offers the highest level of security, because it guarantees that keys will always be stored in the StrongBox if this is available. In turn, this is the one that will provide the least user coverage, as some devices do not support signing the registration assertions when the key is stored in StrongBox. In some of those cases, upgrading the mobile operating system may fix the issue; however, if the OS upgrade does not fix the problem, these users will not be able to use the Access App.
Provide Use StrongBox if available when you order your Access App to use this strategy.
This is the most secure StrongBox strategy and the default for new Access App orders. It is also the strategy used by applications created before this setting was introduced. To use a different strategy, you must ask for a new Access App with your desired option.
-
Do not use StrongBox in any case for registration. This offers the highest user coverage, with lower level of security. Note that keys stored outside StrongBox are still stored securely in the device's Trusted Execution Environment (TEE).
Provide Disallow StrongBox when you order your Access App to use this strategy.
-
If the registration fails because of a problem with StrongBox, StrongBox will not be used in subsequent registration attempts. This is a compromise between the other two options: some registrations will fail because of StrongBox, but if the user retries registration, it will work, without storing keys in StrongBox. So, StrongBox will be used in devices that do not exhibit this issue, and users with problematic devices will be able to register successfully if they retry. To be clear: the user must be able to start a new registration for this fallback to work. You can adjust the message to be presented to the user to start registration again using the
error_registration_signing_failed_with_strongbox_androidlocalization property.Provide Disallow StrongBox if registration fails when you order your Access App to use this strategy.
The value of this parameter only affects new registrations. For example, if a user with a recent Pixel device registered an authenticator using an application that allows StrongBox, upgrading to an application that does not allow it will not change how the key is stored.
11. Biometric Authentication Passcode Fallback
The Access App can be configured so that Biometric Authentication Passcode Fallback option is enabled allowing the end user to use the device passcode as alternative to biometric authentication.
Changing the state of this option will effect ONLY the NEW registrations.
12. Remove biometric credentials upon change
The Access App will by default remove biometric authenticators on new OS biometrics. As soon as the biometric information in the operating system changes (for example adding or removing a fingerprint), the biometric authenticators are removed leading to higher security. This feature can be disabled.
13. PIN Minimum and Maximum Length
The Access App can be configured to define which is the minimum and maximum allowed length of the PIN. If the user provides a shorter or longer PIN when defining or changing it, the Access App will display an error. This will affect only new PIN registrations or PIN value modifications, existing registered PINs that are not conform to the configured length can still be used to authenticate.
By default, the Access App requires a PIN of 6 digits (that is, the PIN minimum and maximum length are 6).
If you specify something different than 6 for the PIN minimum or maximum lengths, you must update accordingly the contents of the following properties in the localizations file:
pin_enrollment_screen_formatpin_enrollment_screen_instructionspin_enrollment_screen_error_pin_formatpin_change_screen_formatpin_change_screen_instructions
14. Advanced Settings Menu
The Access App can be configured to display an Advanced Settings menu. The main purpose of the hidden menu is to access technical information, it can be useful for:
- Validating Access App configurations with backend configurations.
- Easily resetting all data and settings of the app. For example, a "clean slate" without requiring app re-installation.
By default, this menu is disabled.
15. Define minSdkVersion (Android Only)
You can define which minimum API level is supported by the Access App. The oldest possible Android version that we support is Android 6, API level 23. Supporting the lowest possible API level is beneficial in terms of being compatible with the widest range of devices, however it comes with trade-offs in security. Newer Android versions introduce OS-level security improvements and fixes to known vulnerabilities that might affect apps running on the system. The default minimum API level for new Access App orders is currently Android 12, API level 31 which we recommend as a good trade-off between device support and security.
The minimum allowed value is 23.
16. Define deployment target (iOS Only)
You can define which OS is supported by the Access App. The oldest possible iOS version that we support is 12. Supporting the lowest possible iOS version is beneficial in terms of being compatible with the widest range of devices, however it comes with trade-offs in security. Newer iOS versions introduce OS-level security improvements and fixes to known vulnerabilities that might affect apps running on the system. The default minimum iOS version for new Access App orders is currently iOS 15, which we recommend as a good trade-off between device support and security.
The minimum allowed value is 12.
17. Configure custom Certificate Authorities (Android Only)
In Android, the Access App relies on the Certificate Authorities (CA) of the operating system. The CA certificates in the system are kept up-to-date by the device manufacturers through over-the-air updates. This approach has some pitfalls:
- Old devices not getting updated anymore.
- Server certificates using new CA certificates, for which there are not yet available updates.
To mitigate these issues, the Access App and in general Android applications can be configured to use custom CA certificates. You may provide the domains and the corresponding CA certificate files (the ones used to sign your server certificates), that will be used to configure the ordered Access App.
You can provide multiple domains and CA certificates.
The official Android documentation can be read here.
- Only PEM or DER format can be used. Note that if you use PEM format, the file must contain only PEM data and no extra text.
- CAs provided by the
systemwill always be trusted.
18. App Attestation Support
The Access App and the nevisFIDO component support App Attestation. In order to make it work and for more details read this guide. In Android, to configure the app properly for App Attestation the Google Cloud Project Number is needed.
If you chose Nevis-managed Google Firebase in chapter Firebase Push Configuration or you already provided the self-managed google-services.json file,
then the Google Cloud Project Number is already known and can be read from the google-services.json file.
If you don't want to use Firebase Push Messaging, but App Attestation is needed, you have to provide the Google Cloud Project Number in the received spreadsheet mentioned in chapter Technical Information.
19. Screenshot prevention (Android Only)
The Access App can be configured to prevent screenshots and screen mirroring. When this feature is enabled, the user will not be able to take screenshots or mirror the screen of the app, and the app content will not be visible in the app switcher. This can enhance security by preventing sensitive information from being captured in screenshots, mirrored to external displays, or being visible when the user switches between apps.
20. Assistive Applications Compatibility (Android Only)
To avoid Tapjacking attacks, the Access App, by default, does not allow overlaying applications to run on top of it when running Android 12 or later. For all Android versions, the Access App filters all the tap events coming from an application that runs in full or partial occlusion mode.
Some benign third-party assistive applications (like screen readers or magnifiers required for those with visual impairments) may be affected by this default behavior. Note that built-in OS accessibility features such as TalkBack and Magnification are not impacted, nor is the built-in password manager. If you want to remain compatible with such third-party applications, and you accept the risk of partial occlusion attacks, enable the option Assistive Applications Compatibility when ordering your application.
Look and Feel
For customizing the look and feel of the app, Nevis provides you access to Figma, an onlinegraphics editor. This tool guides you through the app customization while showing you directly what the end result looks like. Additionally, it helps to create the screenshots for the app store listings for both the iOS App Store and the Google Play Store.
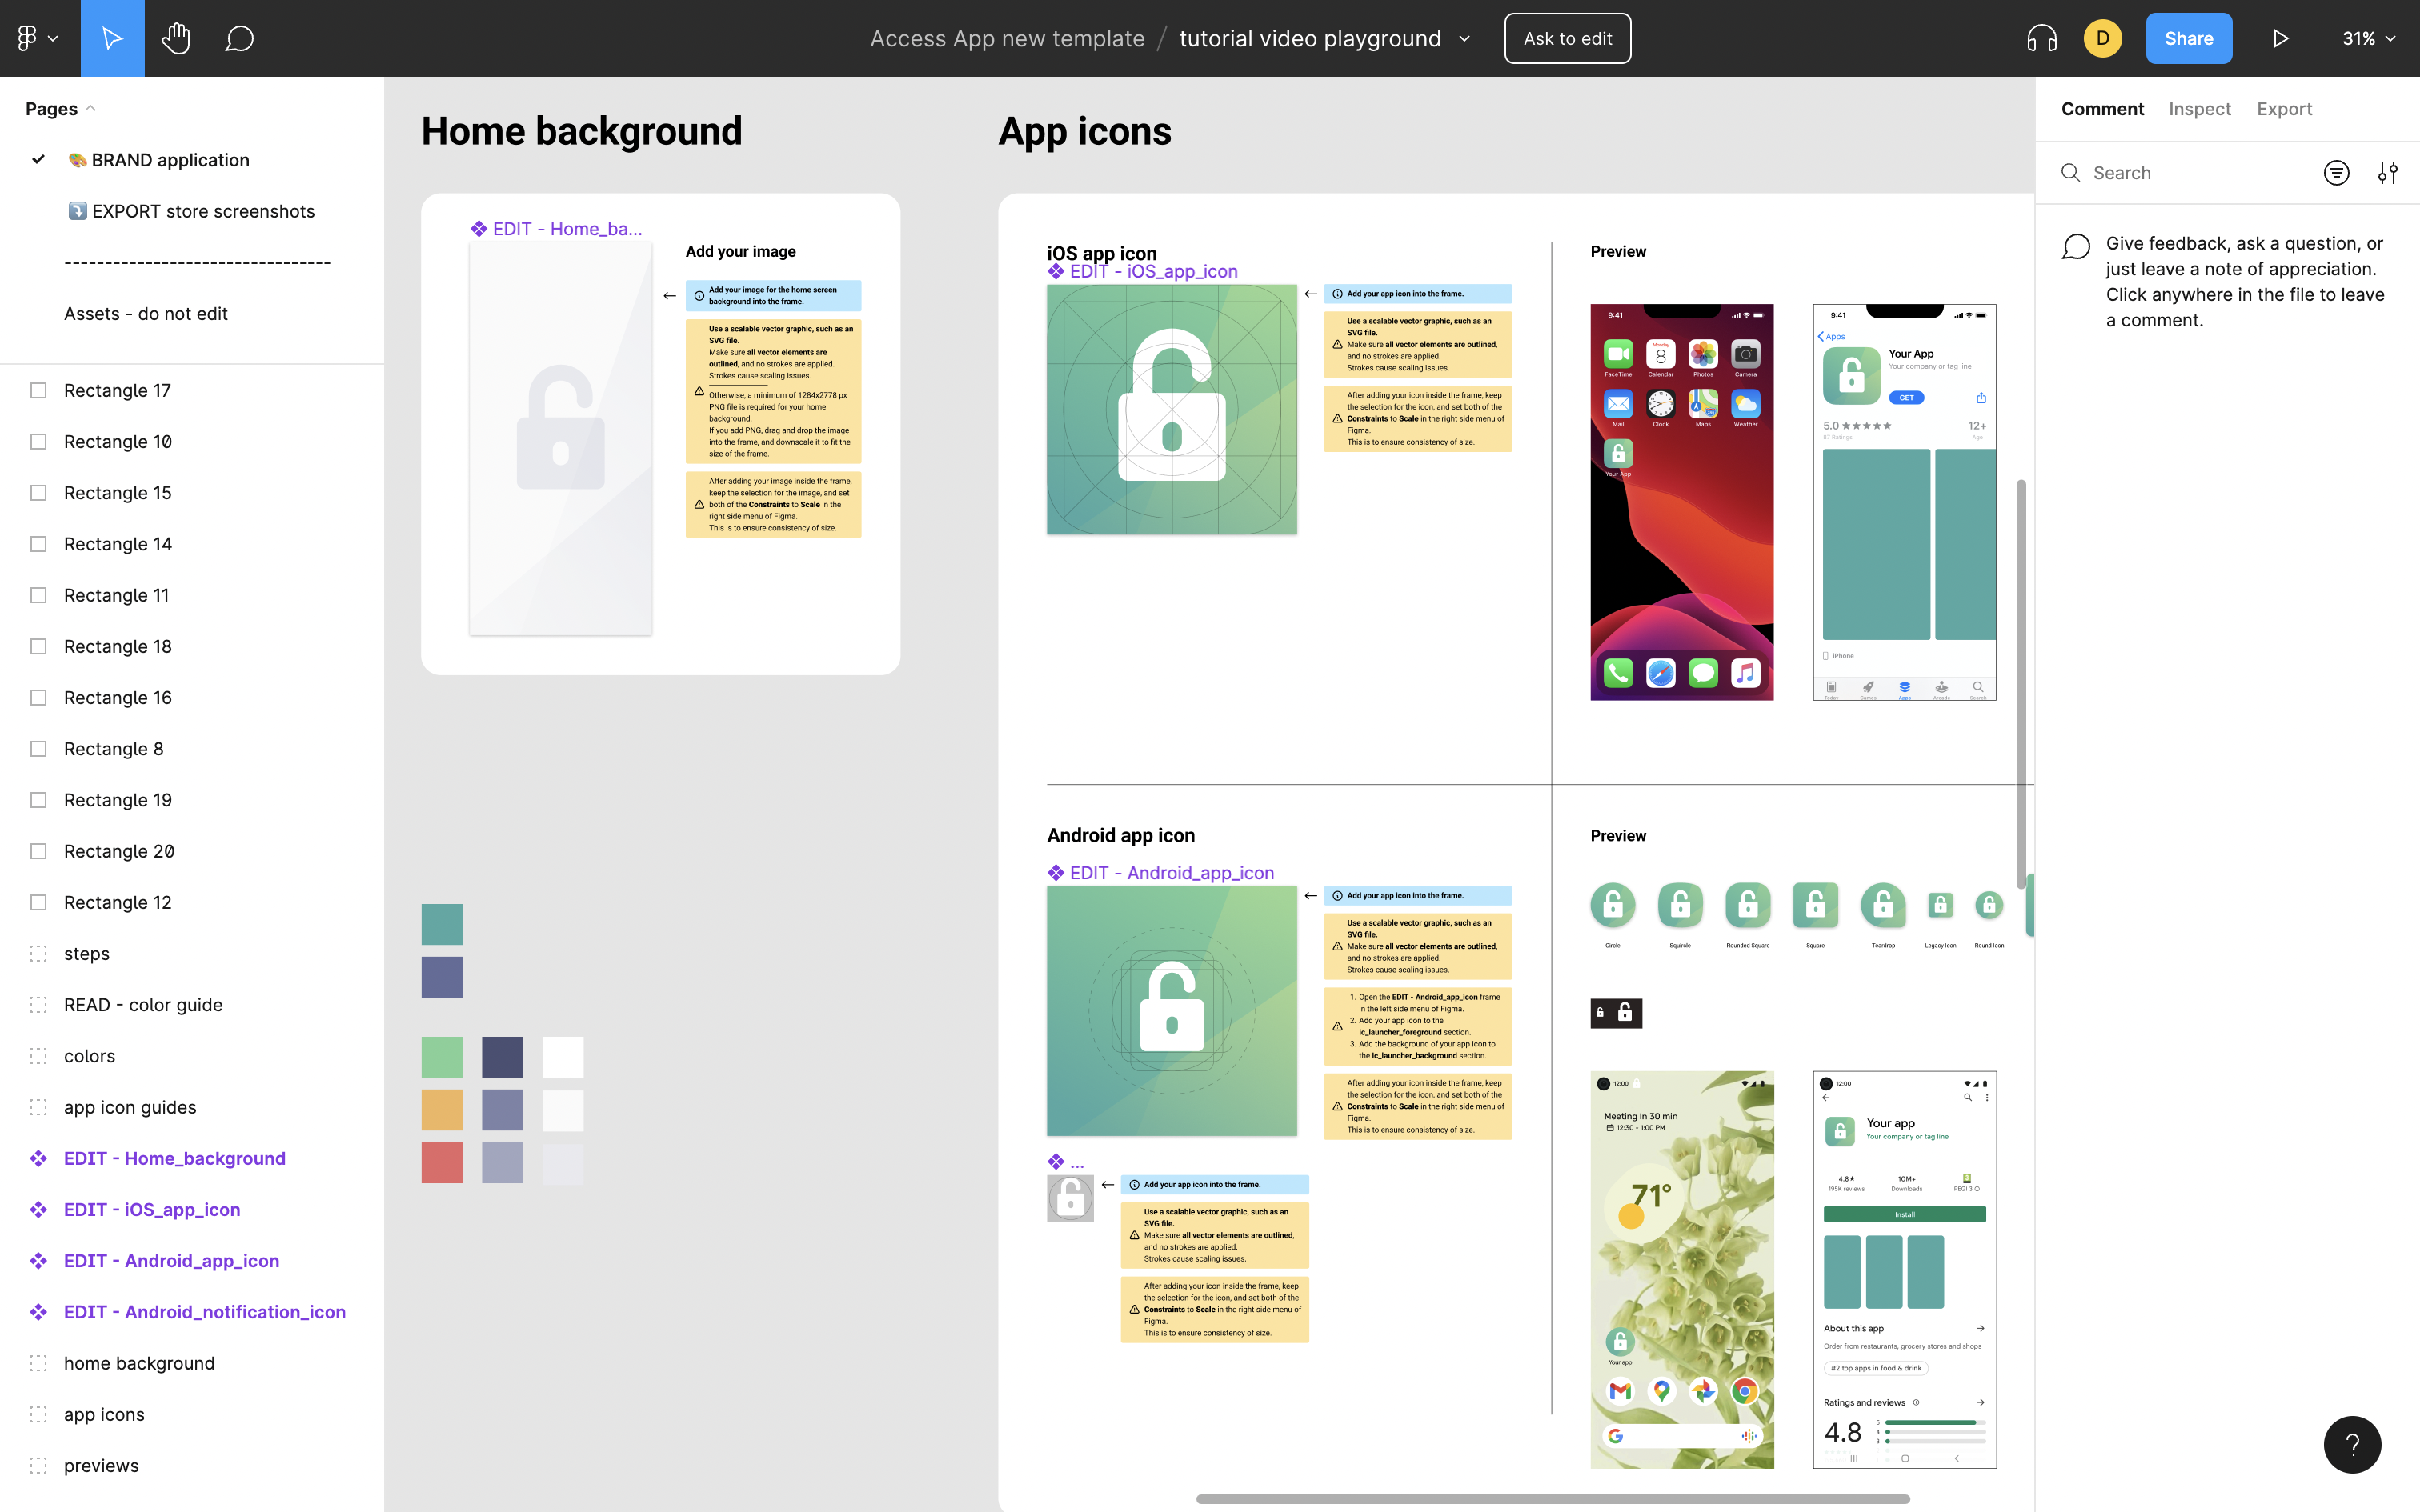
Figma allows you to customize the:
- app icons,
- app background image,
- app colors, and
- app elements and in-app icons.
To get access to our Figma customization template, provide an email address.
Using custom fonts in Figma is not supported at the moment. However the Nevis Access App supports using custom fonts. Contact us if you would like to use a custom font in the Access App.
Localizations
Localizations file
Nevis supplies standard translations of all app messages. If custom translations are desired, Nevis provides a localizations.csv file to adjust the text and translations to your needs. No changes are necessary if the provided translations and languages meet your requirements.
You can obtain the latest translations file from our public repository. The release tags indicate a specific, released Access App version - for example releases/2.6.x. The next tag indicates the localizations.csv file for the next unreleased Access App version.
We recommend using GitHub's notification feature to get notified when a new translations.csv file becomes available.
Languages
Default translations are provided in the following five languages:
- English
- German
- French
- Italian
- Simplified Chinese
In case no specific, custom values are defined (per translation key), the default translations will be used. This means when providing custom translations, only changed translation key-value entries must be supplied.
Format of the .csv file
The first line contains the list of supported languages, every other line contains a translation key with the values for the given language.
Placeholders
The provided translations contain the following placeholders: <app_name>. During the application build, the placeholder is replaced with the value provided as App Name, see the table Required technical information.
How to remove a supported language
If no modifications of the translations themselves are needed, a localizations.csv only containing the first line, listing only the needed language keys suffices. In case there are customizations necessary in any translations, only provide the translations in the needed languages.
change first line from:
Key,en,de,fr,it,zh
to:
Key,en,de,fr,it
How to add a new language
Duplicate the localizations.csv file and extend the first line with the needed language(s). Also add the translations for all the lines below.
Key,en,de,fr,it,zh,sp
home_screen_title,...
home_screen_scan,...
...
Submission
To trigger the creation and delivery of the Access App, submit the following items to Nevis:
- The required technical information, see the table Required technical information.
- The localizations.csv file, in case of modifications.
Access App Delivery
Responsible: Nevis
Nevis delivers two separate flavors of the Access App: the integration and production flavors.
- The production flavor represents the application package to be distributed to end users, either publicly to the app store or Google Play Store, or internally to employees. In the case of Android, the application is delivered as Android App Bundle to be published to the Google Play Store and also for convenience as an APK, to be installed directly in mobile phones for testing, or to distribute and test the application using play stores other than the Google Play Store. In addition, non-Google play stores such as Chinese app stores do not support the Android App Bundle (.aab) format. In these cases, use the APK format.
- The integration flavor can be used for testing before releasing the app to production. While being visually identical to the production flavor, it uses a different configuration that allows the application to communicate with an integration (or staging) backend and permits self-signed certificates in the network layer. In addition to that, this flavor logs messages that can be useful to debug errors. Be aware that although app logs are in clear text, the SDK-generated log entries are still obfuscated. However, the generated entries can be used for issue analysis by Nevis.
The delivered applications must be signed before they can be published to an app store. See the Finalization section for further information.
Finalization
Responsible: Partner and customer
You cannot just publish the delivered artifacts to the app stores as delivered. Since you, the customer, are responsible for the app distribution, sign the applications with your own certificates and profiles.
The artifacts are shipped with the -unsigned suffix which indicates the signing is required, as unsigned apps cannot be installed on a mobile device.
For a description of the steps that are required to sign the app per platform, refer to Prepare Android publication or Prepare iOS Publication.
Distribution
Responsible: Partner and customer
The partner/customer is responsible for distributing the application to its end users. Different types of distribution are possible:
- Ad hoc distribution of the integration version, to be tested internally on specific devices.
- App store distribution of the productionversion, to the app store or Google Play Store.
- In-house distribution of the integration or production version, to employees.
Ensure that the signing certificate used for app signing exists for the whole lifetime of the app. An app signed with a different signing certificate can not be uploaded to the play store as an app update.
To distribute the application, the customer needs to have its own Apple Developer account and/or Google Play account. Customers are also responsible for managing the app store and Google Play information like screenshots (from Figma), app descriptions or metadata.