Zone
You configure the network zones in the Infrastructure tab of nevisAdmin. These zones represent your layer 3 network architecture and are used to store the server objects within their appropriate zone. Zones also regulate the access control mechanisms to decide who is allowed to manage which infrastructure components, see the chapter Managing users and groups), you need to configure the zone's netmask and default gateway and these parameters will be applied to all servers within the same zone.
Servers hosting nevisProxy instances are typically located within the web access zone, usually the outmost perimeter network (also called the demilitarized zone (DMZ)), while your application servers may be located within a different sub-network which is not connected to your Internet firewall.
*In our sample set-up, which is used throughout this guide, the "Lab" zone contains the server that hosts the nevisProxy instance. This server also hosts some of the applications used in the examples, e.g., the web mail application.
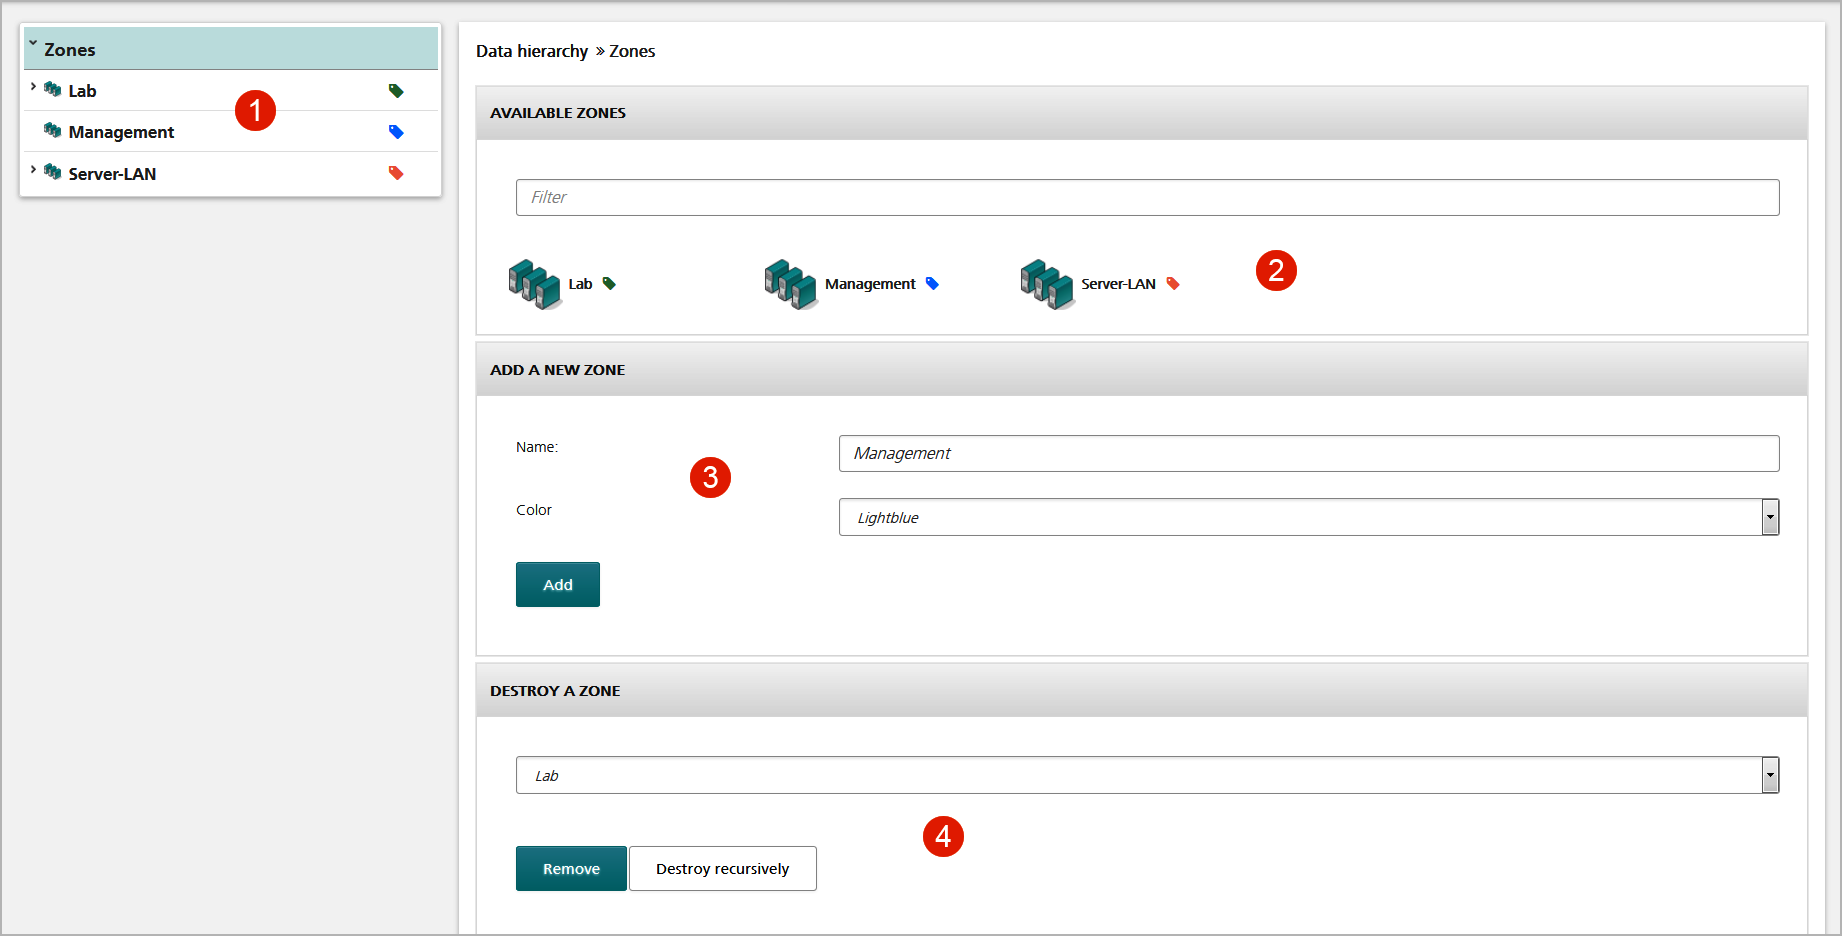
The [figure] below shows a sample Zones view on the overall level.
- The navigation pane at the left hand side of the screen lists the available zones (no.1 in the figure). The zone that you are currently editing is highlighted by a colored background.
- The available zones are also displayed in the Zones view at the right hand side of the screen (no.2).
- You can add new zones, too (no.3). Give each zone its own color to ease the identification of the objects within a certain zone.
- To destroy a zone, select the involved zone and click Remove (no.4 in the figure).