Mobile Authentication with Deep Links
Mobile Authentication with Deep Links is a special use case. It comes into play when an [out-of-band channel] is required, but only a mobile device is available. It uses deep linking to be able to navigate between the mobile device's browser and the Access App.
Configure Out-of-band Registration with Deep Links
Prerequisites
- The Base Setup and nevisFIDO Setup are completed.
- The Out-of-Band Registration is completed.
- A relying party application is available, which is capable of participating in out-of-band flows. Such an application is called Browser Application. For additional information, see the chapter Out-of-Band Registration in the Nevis Mobile Authentication Concept and Integration Guide.
- The relying party must be able to call the Dispatch Token Service of the nevisFIDO component with a payload requesting the link dispatcher. For further information, see the nevisFIDO Reference Guide, chapter Dispatch Token Service.
Documentation references
Should you wish to learn about deep linking, mobile authentication or Nevis in general, see the following sources:
- The Nevis Mobile Authentication - Concept and Integration Guide
- Chapter Out-of-Band Operations Using Push, QR Code or Deep Links in the Nevis Access App Guide
- Chapter Out-of-Band Registration in the Nevis Mobile Authentication Concept and Integration Guide
- Android App Links1
- Universal Links (iOS)2
Tutorial
Mobile Authentication with Deep Links is a more complex use case with a lot of nuances. This tutorial supports you in setting up the use case.
The tutorial uses the following URLs as examples:
https://example.siven.dev/
https://app.example.siven.dev/
Make sure to adapt them to match your environment, when necessary.
Part 1 - Requesting an Access App
- Open the Virtual Host pattern of your nevisAdmin 4 project. Go to the Frontend Address field/property in Basic Settings tab.
- Enter the backend URL in this field.
- Then enter a second URL in the same field.
- This second address must be the same as the first one, except for the "app" subdomain. For example, if your first address is
https://**app**.example.siven.dev/,https://app.user9000.admin4aks.azure.nevis.dev. - The domain in this second address will be the Deep Link Domain. So in our example, the deep link domain would beapp.example.siven.dev.
- This second address must be the same as the first one, except for the "app" subdomain. For example, if your first address is
- Now you can order an Access App:
- Follow the instructions on the page Ordering an Access App of the Nevis Access App Guide.
- Make sure to provide the backend URL and the deep link domain you specified in [step 1], so that they can be built into the application.
- When the application is built, note down the information in the following table. You will need this information later on - without it, deep linking support is not possible.
| System | Information to obtain |
|---|---|
| iOS | Team Identifier, Bundle Identifier |
| Android | Package Name, SHA256 Fingerprint |
Part 2 - Creating the basic Mobile Authentication with Deep Links pattern
- Add the Mobile Authentication with Deep Links pattern to your nevisAdmin 4 project. Set the following fields:
- Assign the existing nevisFIDO Instance pattern to the nevisFIDO field/property.
- Assign the existing Virtual Host pattern to the Virtual Hosts field/property.
- Specify the Deep Link Path in the Deep Link Base Path field/property. The deep link path is the path rendered into the deep links. For example, a deep link path that will only be used for registration would look like this:
/registration
You can only set one deep link path
You cannot set multiple deep link paths. The path set in the Deep Link Base Path field will be used in every deep link that the backend generates.
Part 3 - Creating and hosting well-known files
For deep linking to work well, the mobile operating system needs to fetch a well-known file from the backend. The operating system uses this file to verify the deep links. This section explains how to create such a file. As Android and iOS have different well-known files, we show you the process for both.
For Android
-
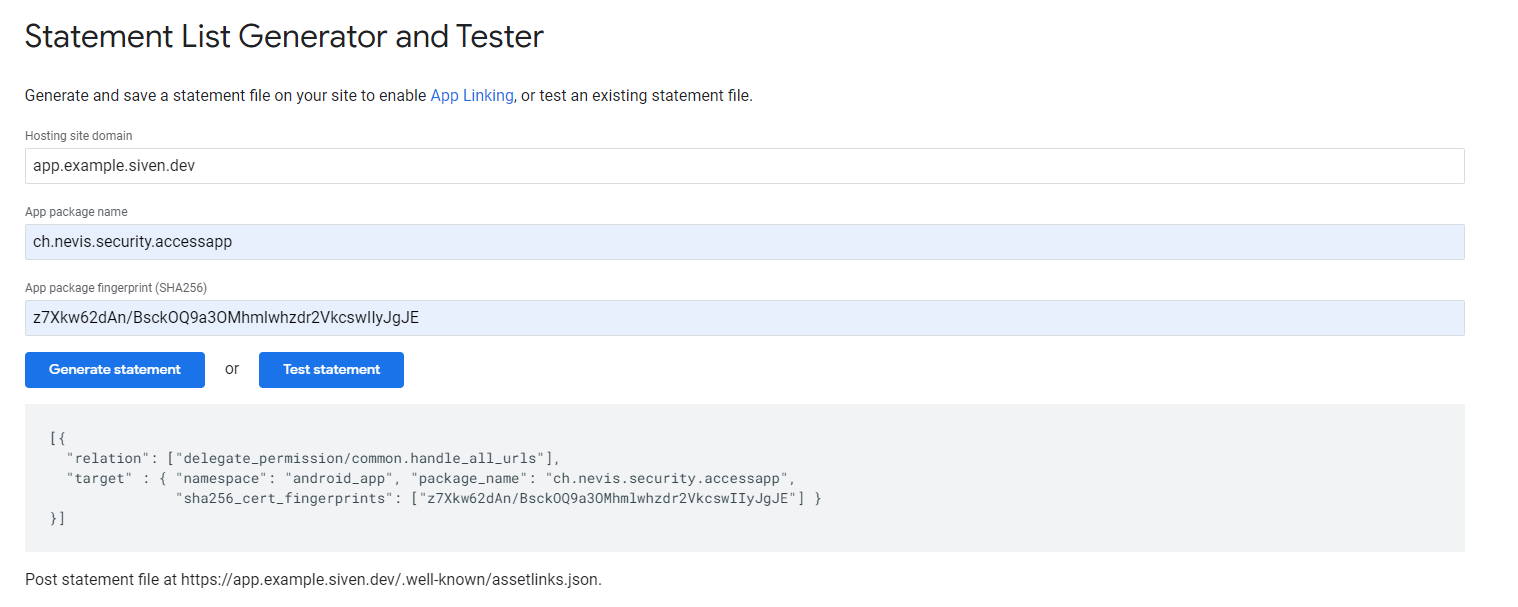
In case of Android, the well-know file is called Android App Links. Visit the Statement List Generator site and provide the following information:
Input required by the generator Information you have Hosting site domain Deep Link Domain App package name Package Name App package fingerprint (SHA256) SHA256 Fingerprint With this information, the List Generator can generate the content of the Android App Links file we have to host.
-
After entering the required information, click the Generate statement button. The tool will now generate a text and display it in the field below the Generate statement button. The following figure shows how the tool and the generated text look like:
-
Copy the generated text into a new file. Save the file under the following name: assetlinks.json
-
Go to the Mobile Authentication with Deep Links pattern and upload the file assetlinks.json into the Android App Links field.
For iOS
-
In case of iOS, the well-known file is called Apple App Site Association. This is a boilerplate of the JSON file structure:
{"applinks": {"apps": [],"details": [{"appID": "<app-id>","paths": ["*/<deep-link-base-path>"]}]}} -
To build the App ID, take the iOS Team Identifier and the Bundle Identifier, place them together and put a dot between them:
App ID = <Team Identifier>.<Bundle Identifier>For example, see the following table:
Team Identifier Bundle Identifier App ID U8KPBF668H ch.nevis.accessapp U8KPBF668H.ch.nevis.accessapp -
Copy the Apple App Site Association boilerplate into a new file. Replace the placeholders in between the angle brackets with the information shown in the next table:
Placeholder in the boilerplate Information you have app-id App ID deep-link-base-path Deep Link Path -
Name the file apple-app-site-association (without any extension!) and save it. An example of how this file might look like can be found here.
-
Go to the Mobile Authentication with Deep Links pattern and upload the file apple-app-site-association into the Apple App Site Association field.
Part 4 - Configuring the relying party application
See also Protecting a Web Application.
The relying party application is responsible for requesting the deep link from the nevisFIDO component and rendering/displaying the link to the end user. This application is not provided by Nevis. Deploy it independently. This section shows how to integrate the relying party application into the project to enable deep links.
- Add a Web Application pattern to your nevisAdmin 4 project (or open the pattern, in case there already exists one for the relying party application). Specify the following fields:
- Virtual Hosts field, Basic Settings tab: Assign the same Virtual Host pattern to this field as the one assigned to the Mobile Authentication with Deep Links pattern.
- Frontend Paths field, Basic Settings tab: Specify any desired frontend path.
- Authentication Realm field, Basic Settings tab: Assign the same Authentication Realm pattern as the one assigned to the Mobile Device Registration pattern (which you created when you configured the Out-of-Band Registration).
- Application Access Token field, Basic Settings tab: Assign the same token as the one assigned to the Mobile Device Registration pattern.
- Backend Addresses field, Backend Connection tab: Provide an accurate backend address that points to the relying party application's backend.
Part 5 - Deployment
Deploy the configuration with nevisAdmin 4.
Test
Now that we have deployed the Mobile Authentication with Deep Links use case, we can test it.
-
Open a browser on the mobile device where the Access App is installed
-
Navigate to the relying party application. The URL of the application can be constructed by merging the Backend URL and whatever you configured in the Frontend Pathsfield of the Web Application pattern.
-
Log in.
-
The relying party application will approach nevisFIDO for a deep link, which it should render on the screen. The following figure shows how it might look like:
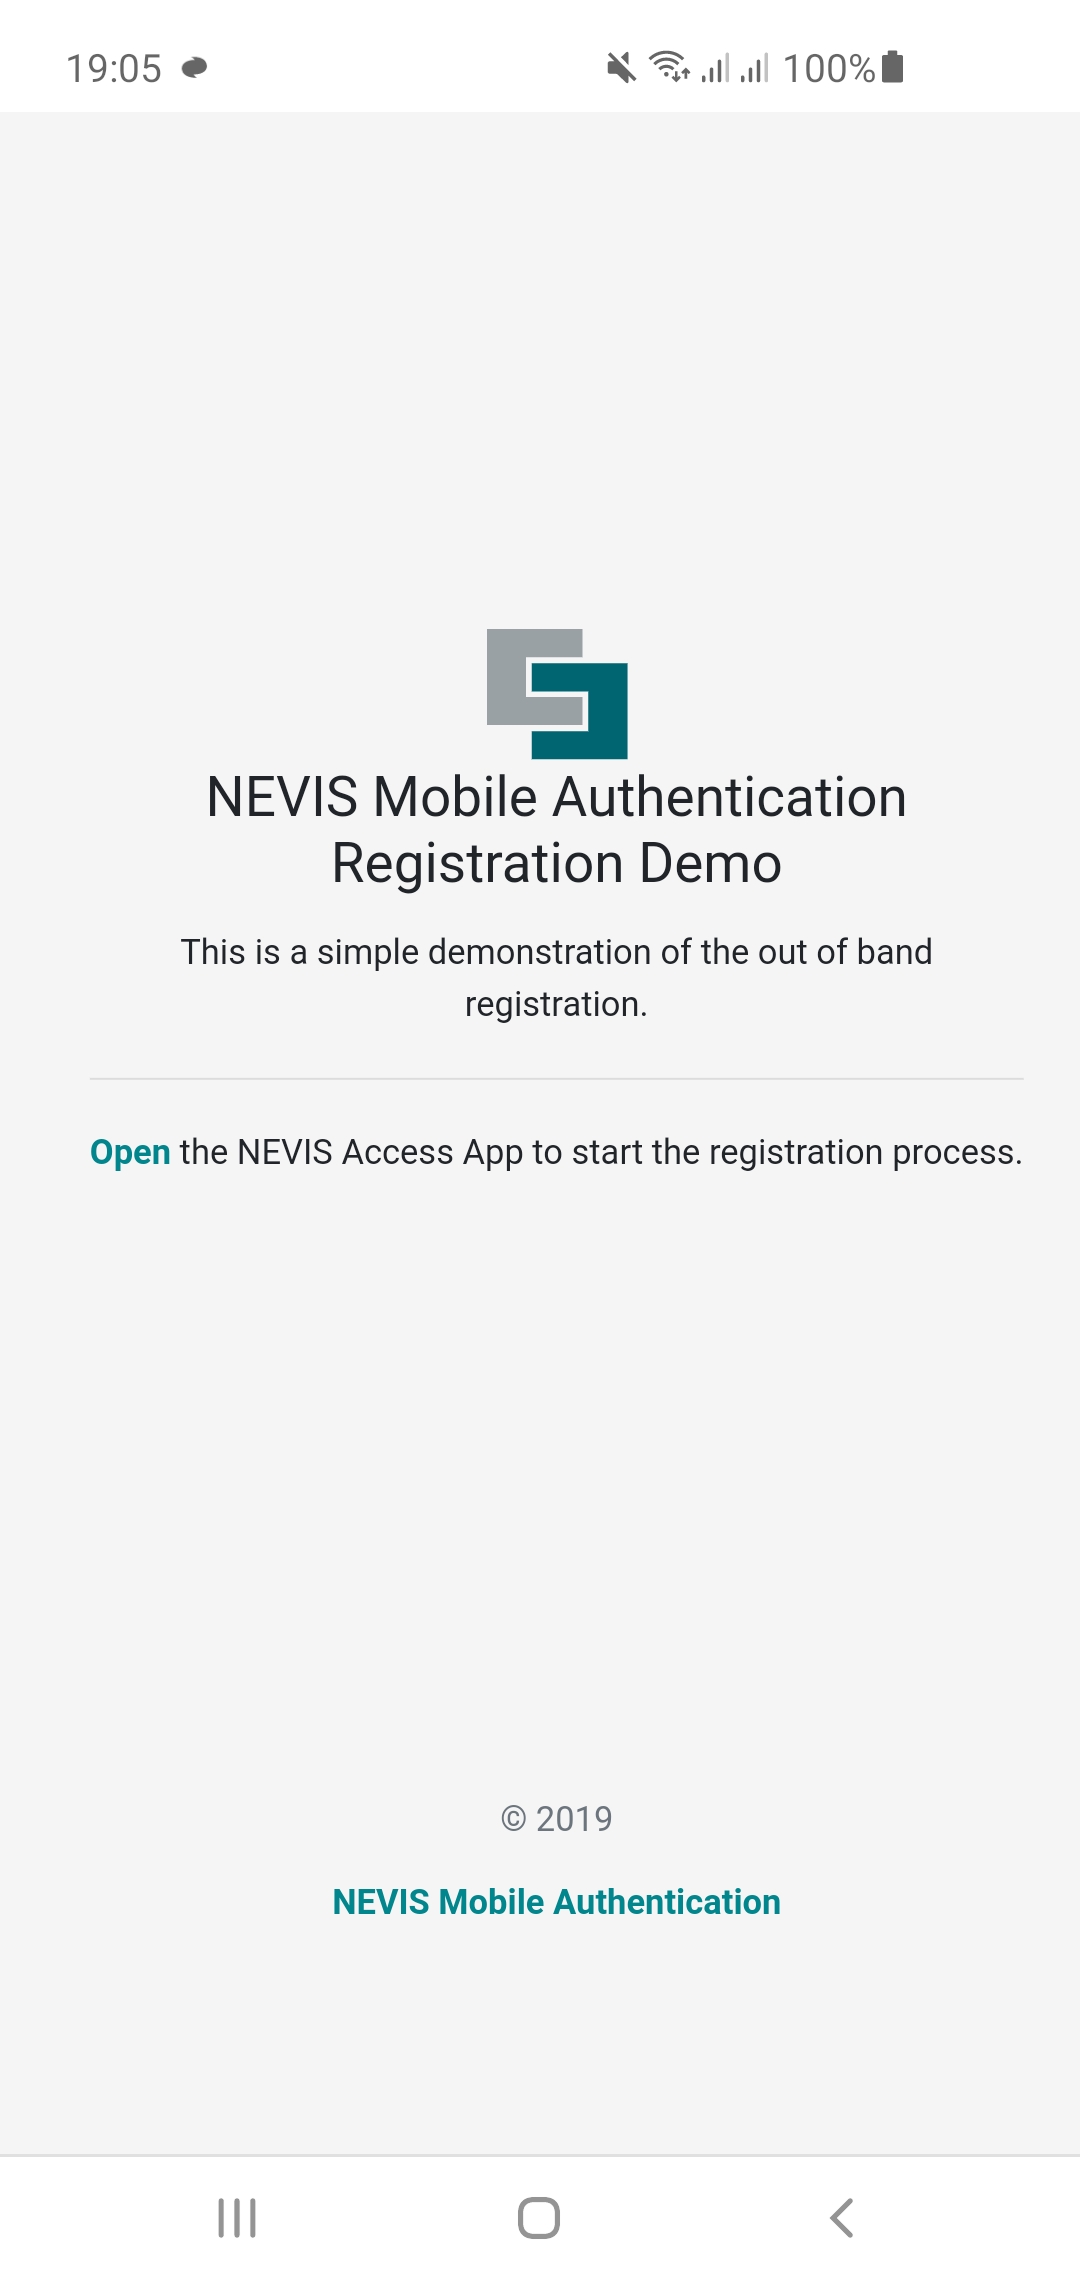
For debugging purposes, this is an example how the generated link should look like:
https://app.example.siven.dev/registration?dispatchTokenResponse=eyJubWFfZGF0YSI6eyJ0b2tlbiI6ImZjNGYyNGRjLWU4OGQtNGNhNC04ZWU5LTQ0OTM2NDdhNTViMyIsInJlZGVlbV91cmwiOiJodHRwczovL3VzZXI5MDAwLmFkbWluNGFrcy5henVyZS5uZXZpcy5kZXYvbmV2aXNmaWRvL3Rva2VuL3JlZGVlbS9yZWdpc3RyYXRpb24ifSwibm1hX2RhdGFfY29udGVudF90eXBlIjoiYXBwbGljYXRpb24vanNvbiIsIm5tYV9kYXRhX3ZlcnNpb24iOiIxIn0 -
Click the link, after which a banner should be visible, prompting you to choose the application to open the link.
-
Choose the Access App.
-
Complete the registration process shown in the Access App user interface.
You just executed out-of-band mobile registration, using deep links!
[1] http://developer.android.com/training/app-links,http://github.com/google/digitalassetlinks/blob/master/well-known/details.md