Base Setup
Nevis Mobile Authentication relies on the following Nevis components: nevisProxy, nevisAuth, nevisLogRend, nevisIDM and nevisFIDO.
The amount of base setup you have to do depends on your existing configuration (if any):
- If you are configuring Mobile Authentication for an existing setup, you already have a project. In this case, check the steps in this section and adapt your already configured patterns to the instructions, if required.
- In case you are starting from scratch, or with a setup that has only a subset of the needed patterns, then follow the instructions below.
The movies in the next sections show the base patterns you need to configure:
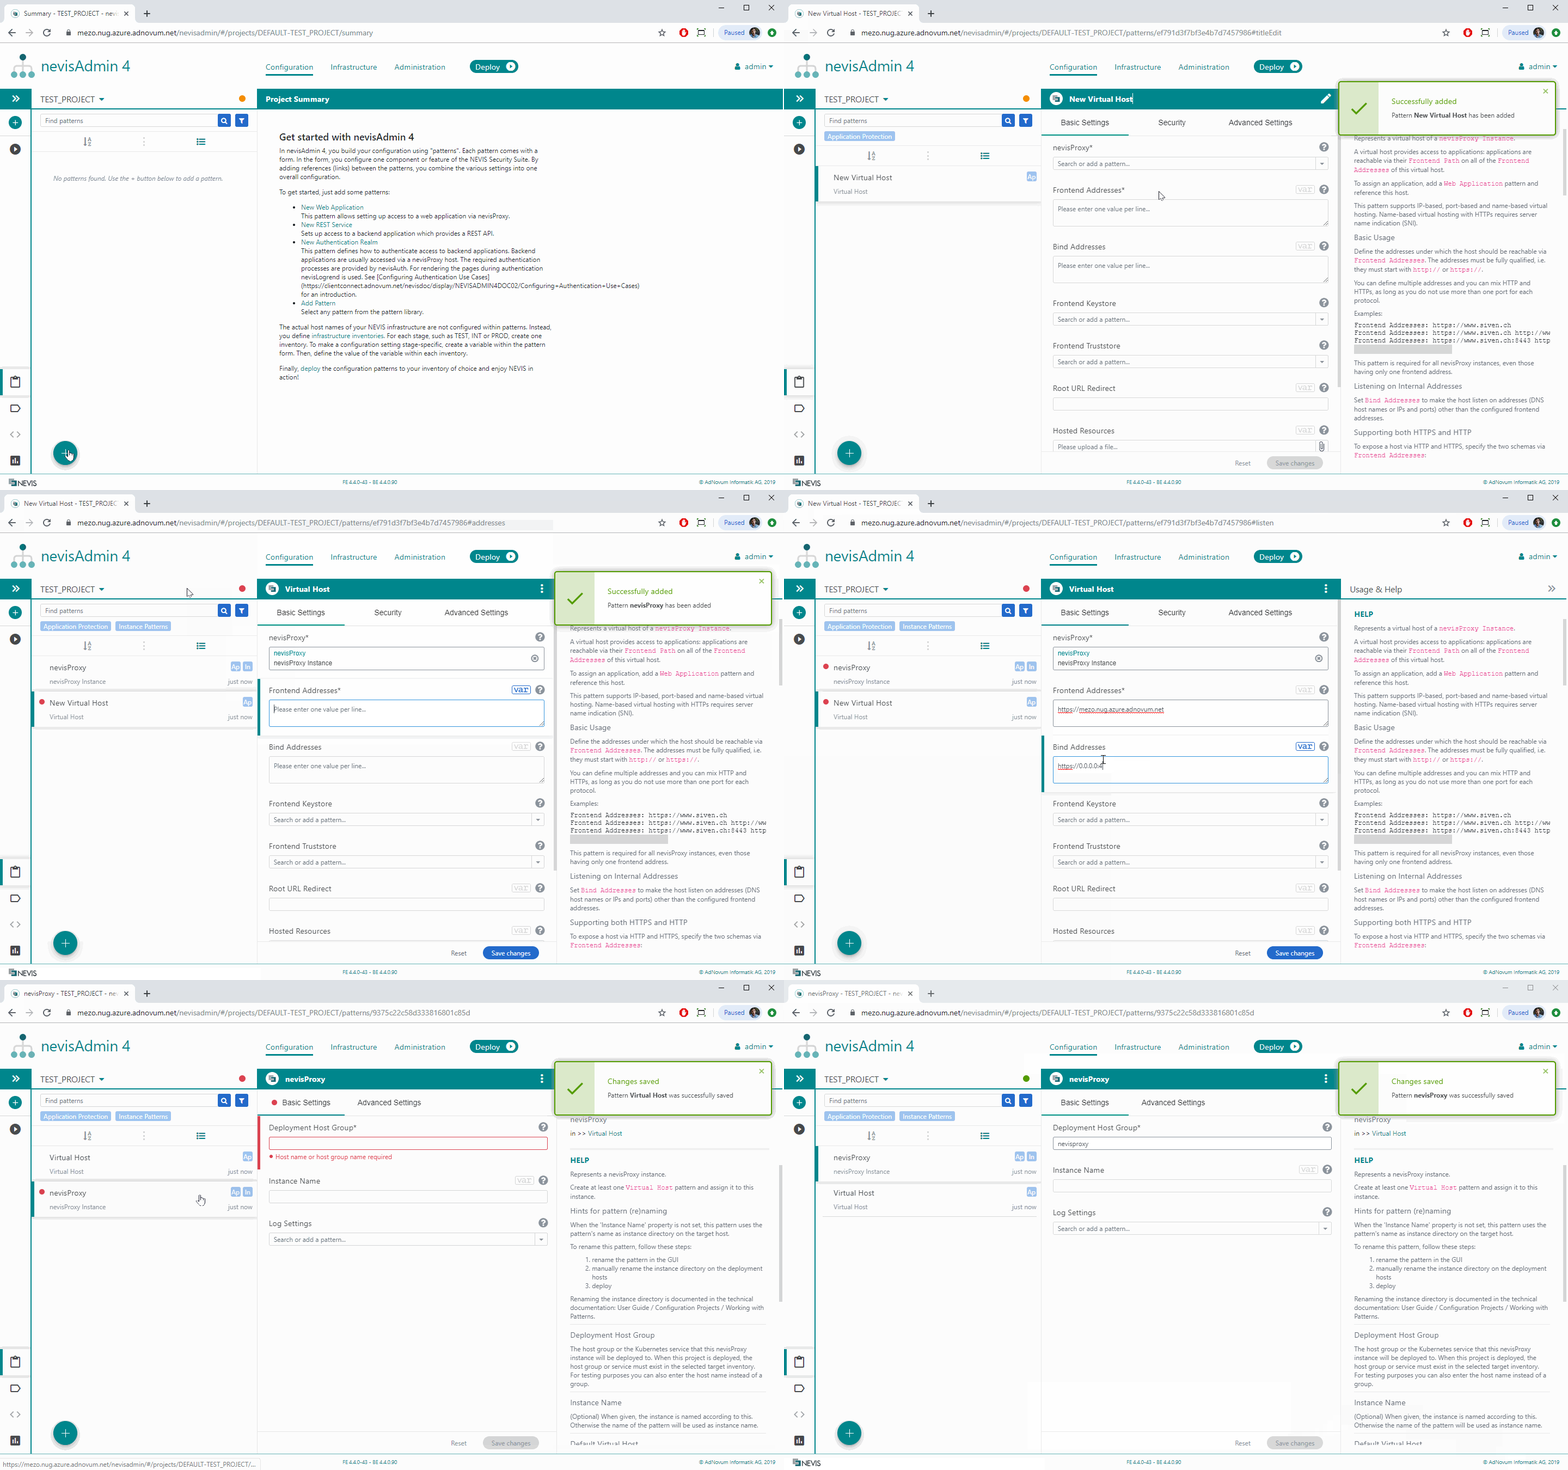
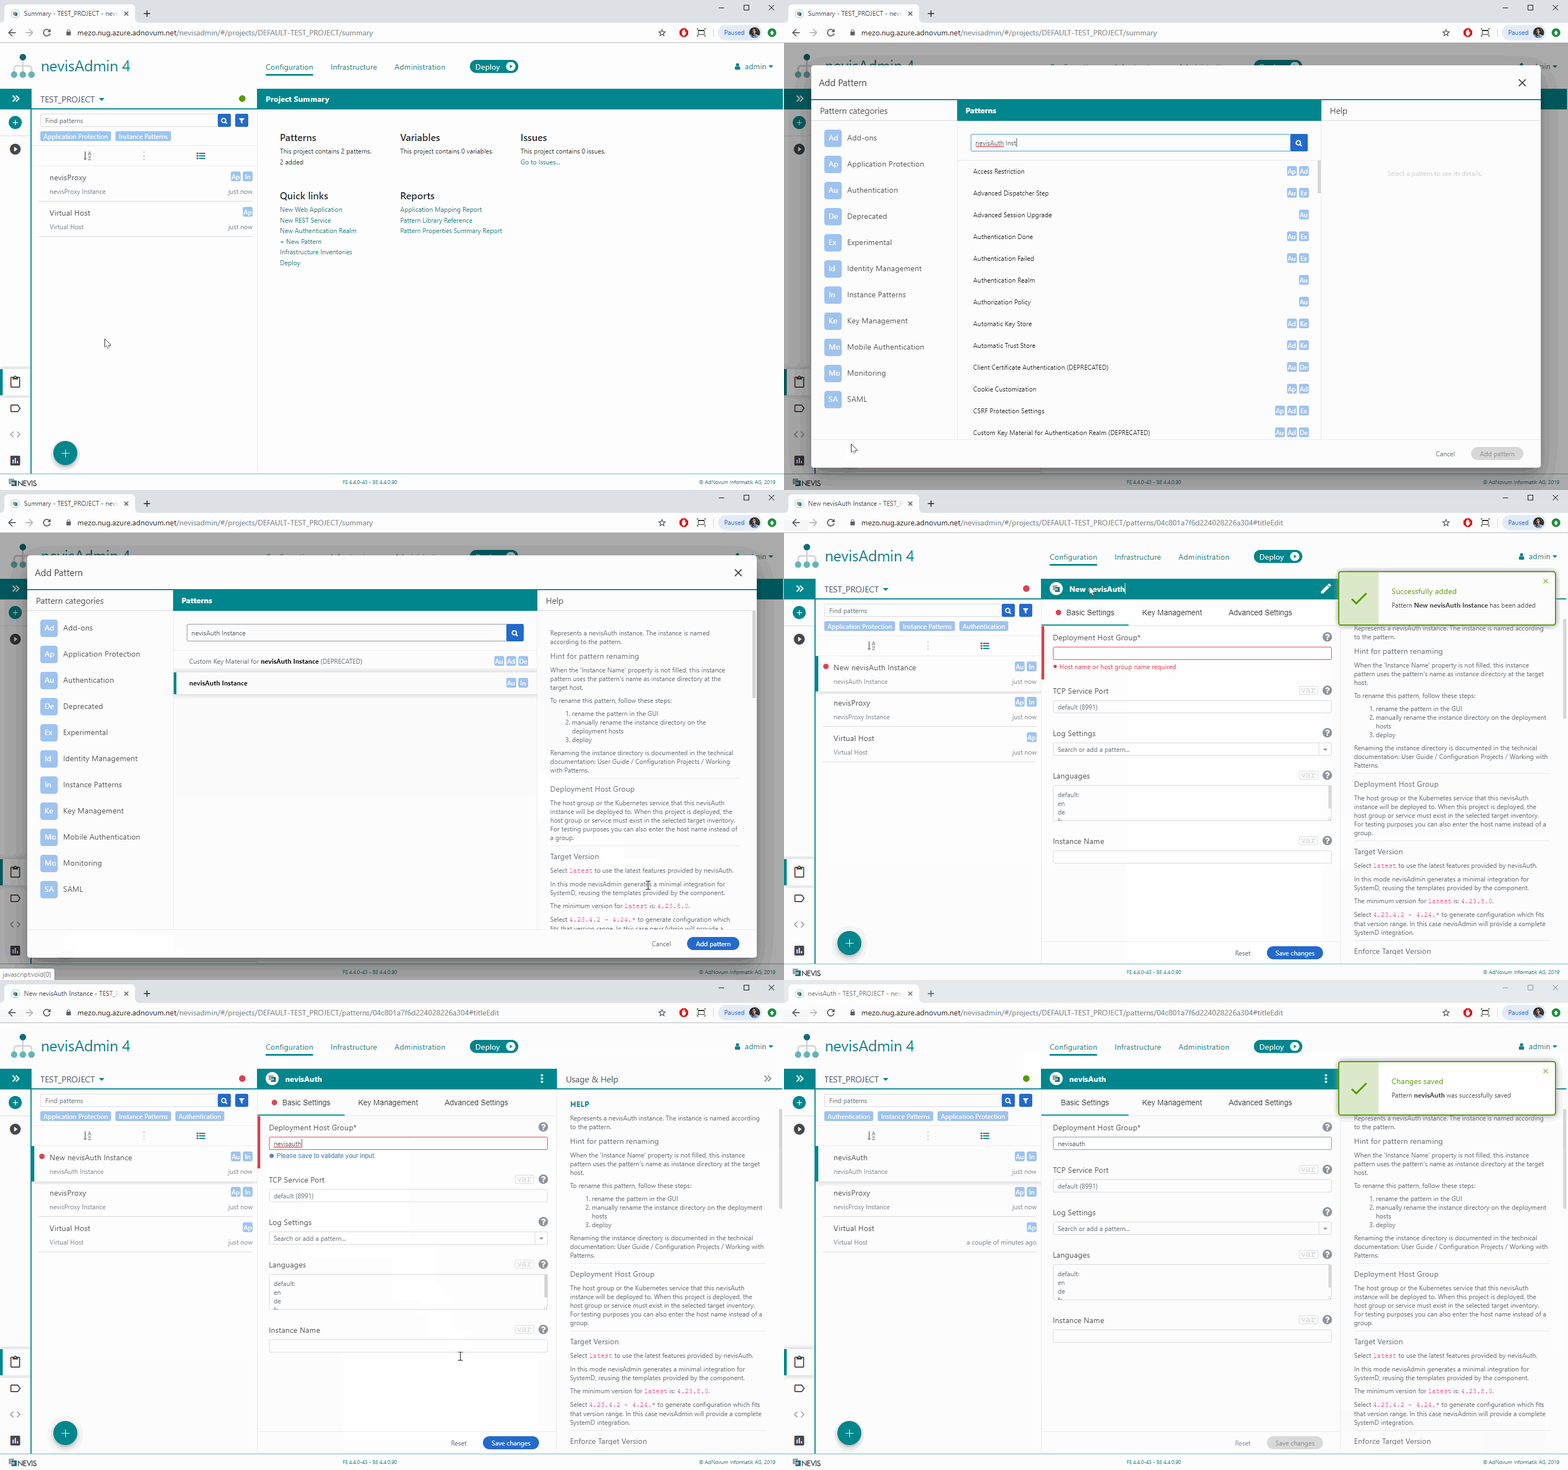
- Virtual Host, nevisProxy and nevisAuth
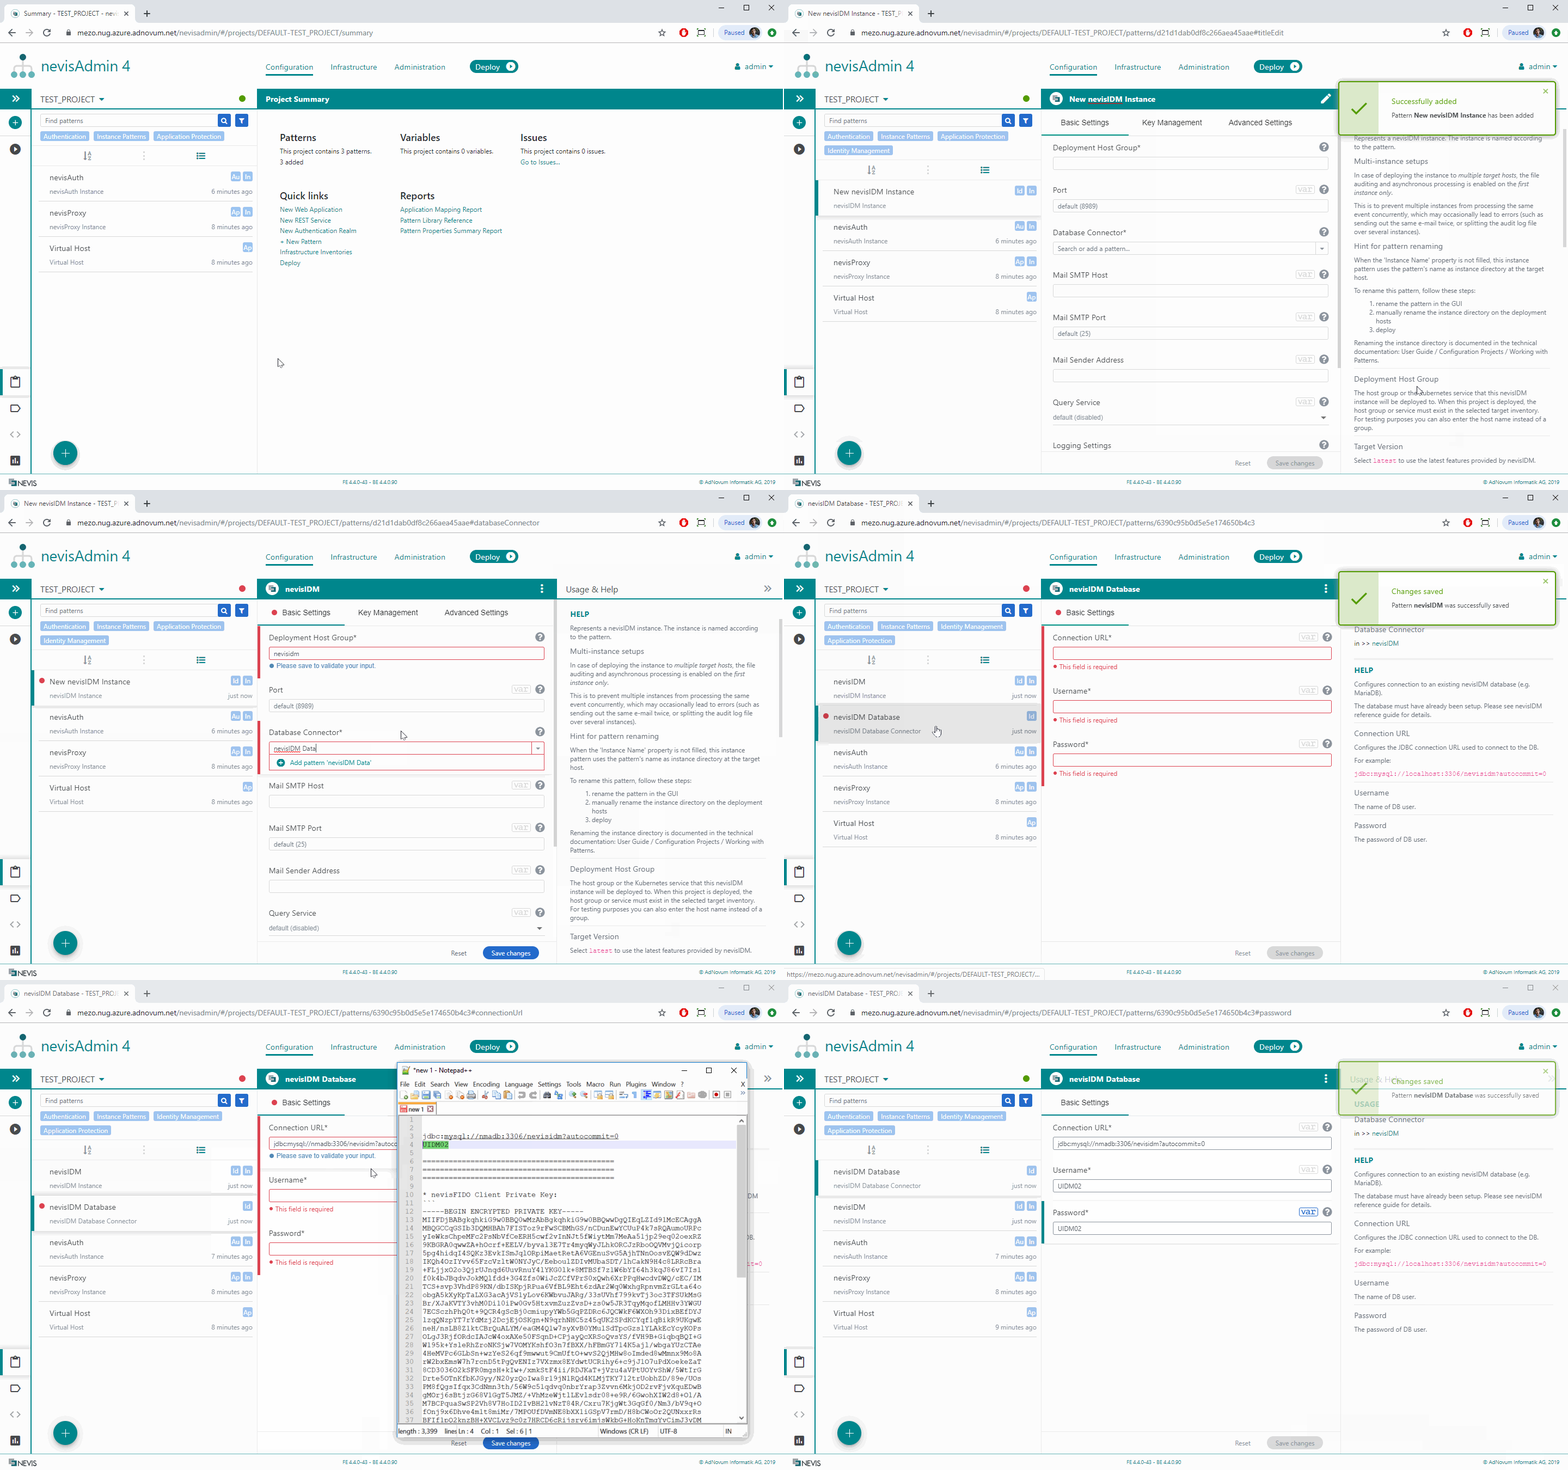
- nevisIDM
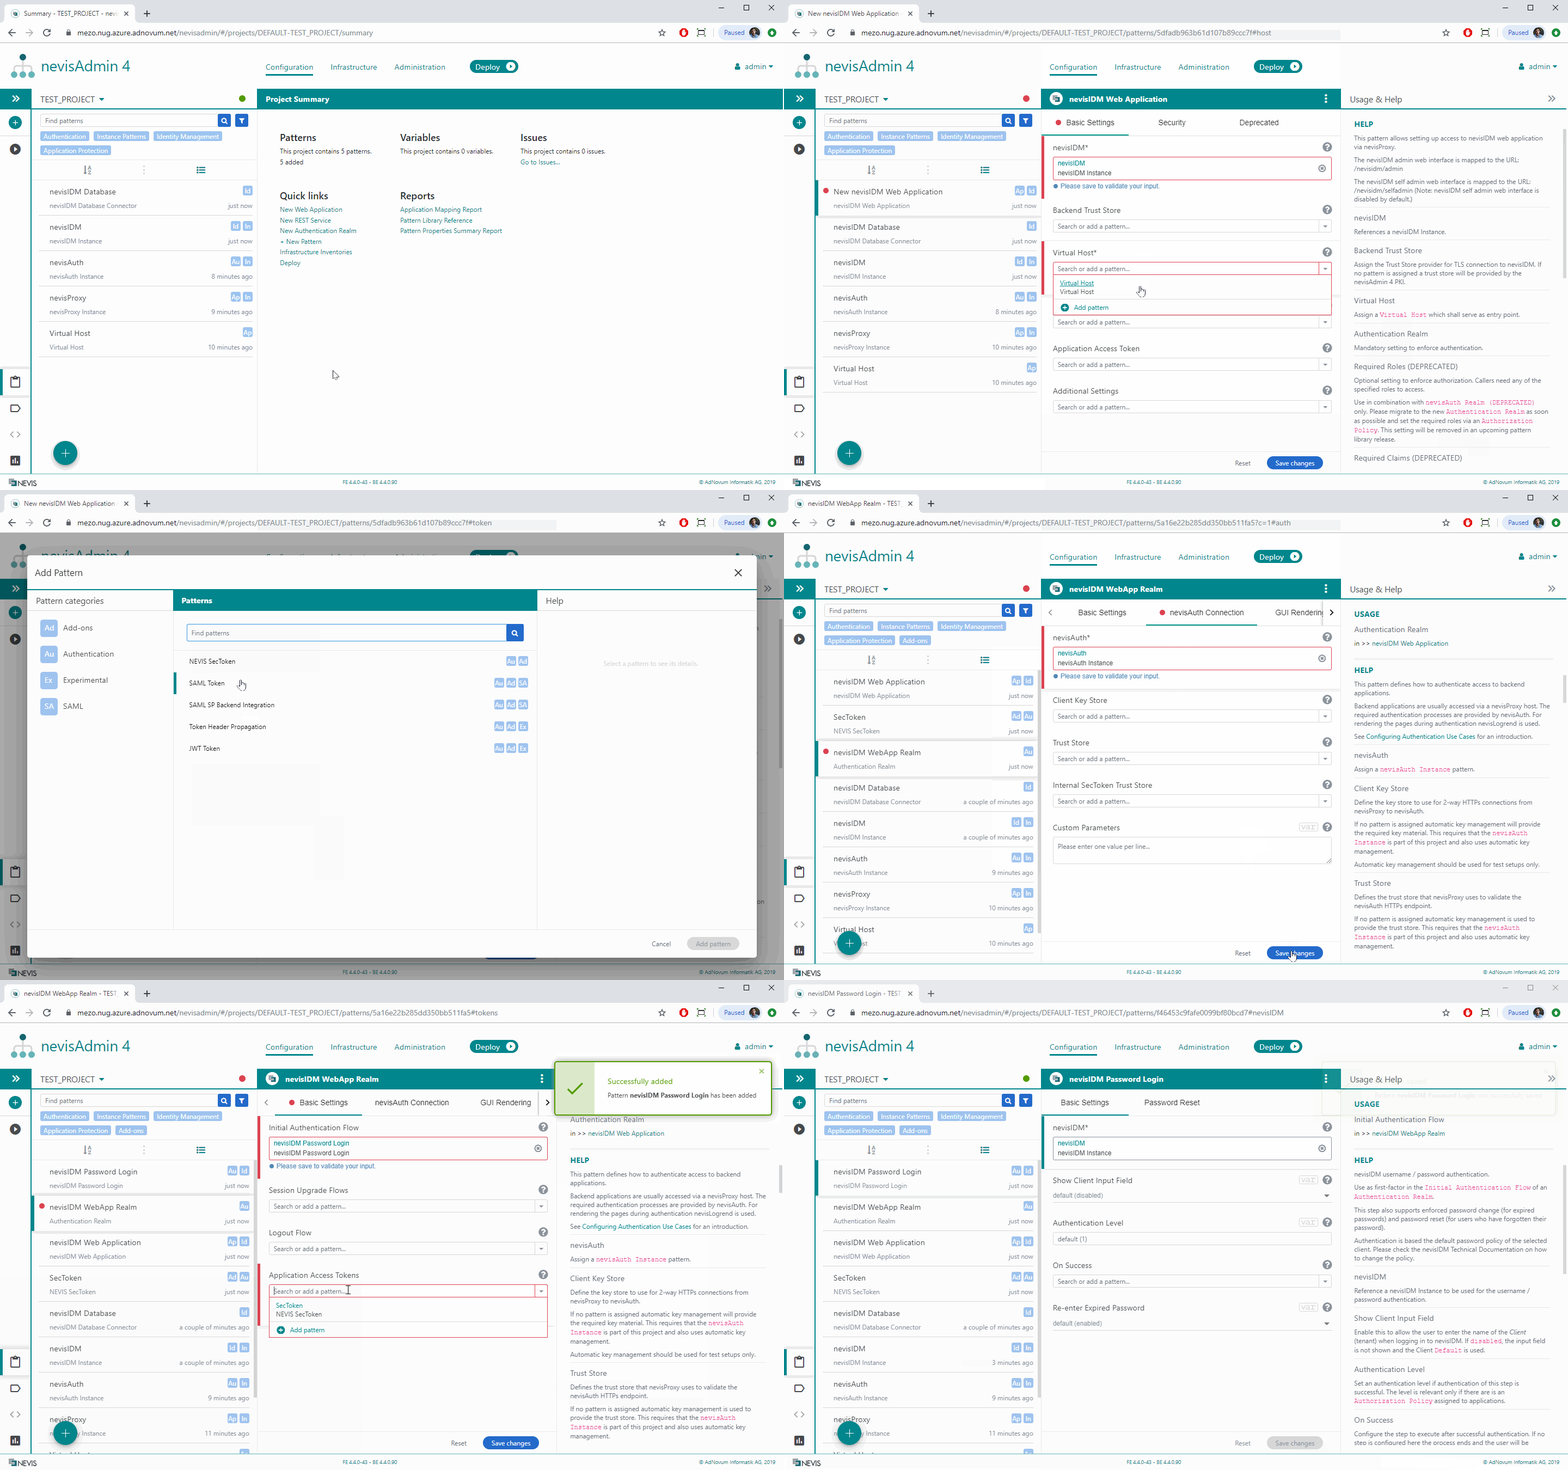
- nevisIDM Web Application
- nevisFIDO
Further resources
If you want to set up Mobile Authentication from scratch, also see the following resources: of nevisAdmin 4., which shows how to configure a web application protected by nevisProxy.
- Alternatively, the following Nevis yoU books are available (requires registration):
Virtual Host, nevisProxy and nevisAuth
Nevis Mobile Authentication needs a Virtual Host where the Mobile Authentication services will be exposed.

Some settings in the movie above, such as Frontend and Bind Addresses, will be different or skipped in your setup. See the documentation listed in the [Further resources] box above in case you need more detailed instructions.
Nevis Mobile Authentication needs a nevisAuth Instance where its authentication flows will be configured. Note that a nevisLogRend Instance will be created automatically.

nevisIDM
Nevis Mobile Authentication uses nevisIDM as its user and credential database.
In classic deployments, the nevisIDM database is not managed by nevisAdmin 4. In our example, we use a prepared database docker image as DB. Make sure to create or attach your own database.

nevisIDM Web Application
To be able to access the nevisIDM UI, we have to configure a nevisIDM Web Application:

nevisFIDO
Now continue with the setup of nevisFIDO.