Setup nevisDetect
Main Components
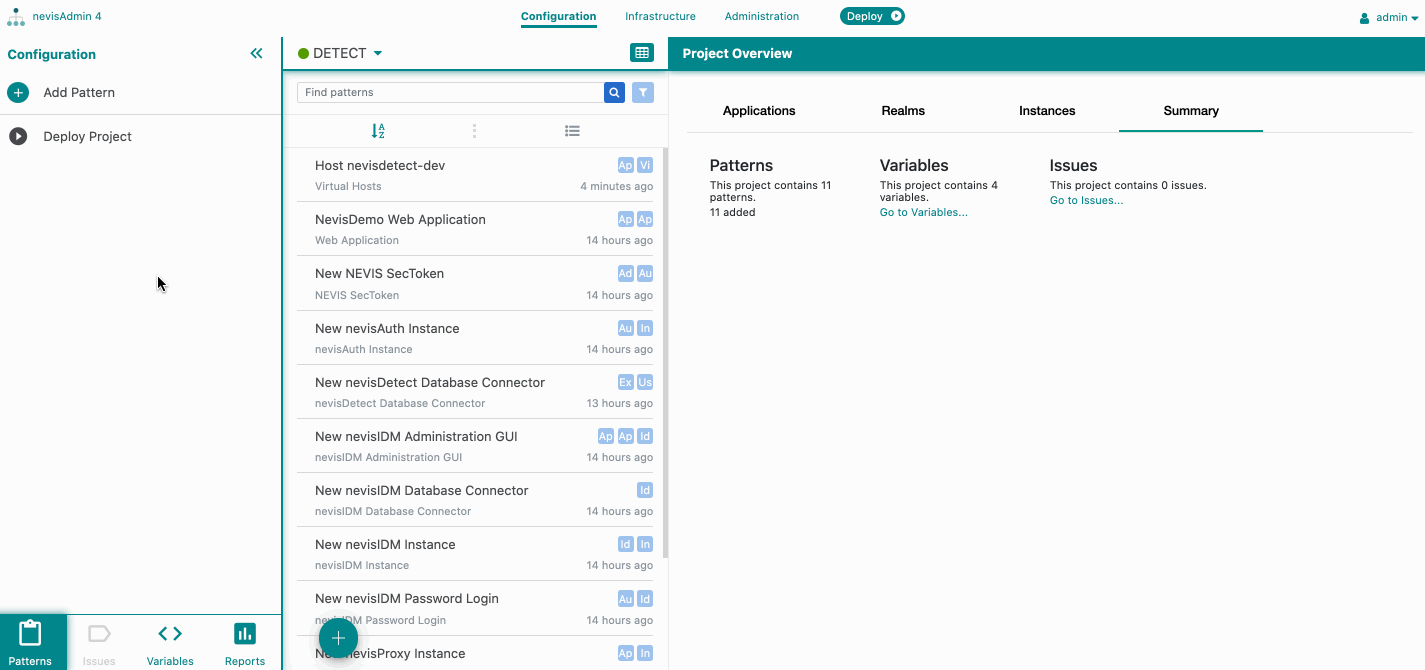
This chapter describes how to configure the technical components of nevisDetect. These steps are required before you can configure the use cases.
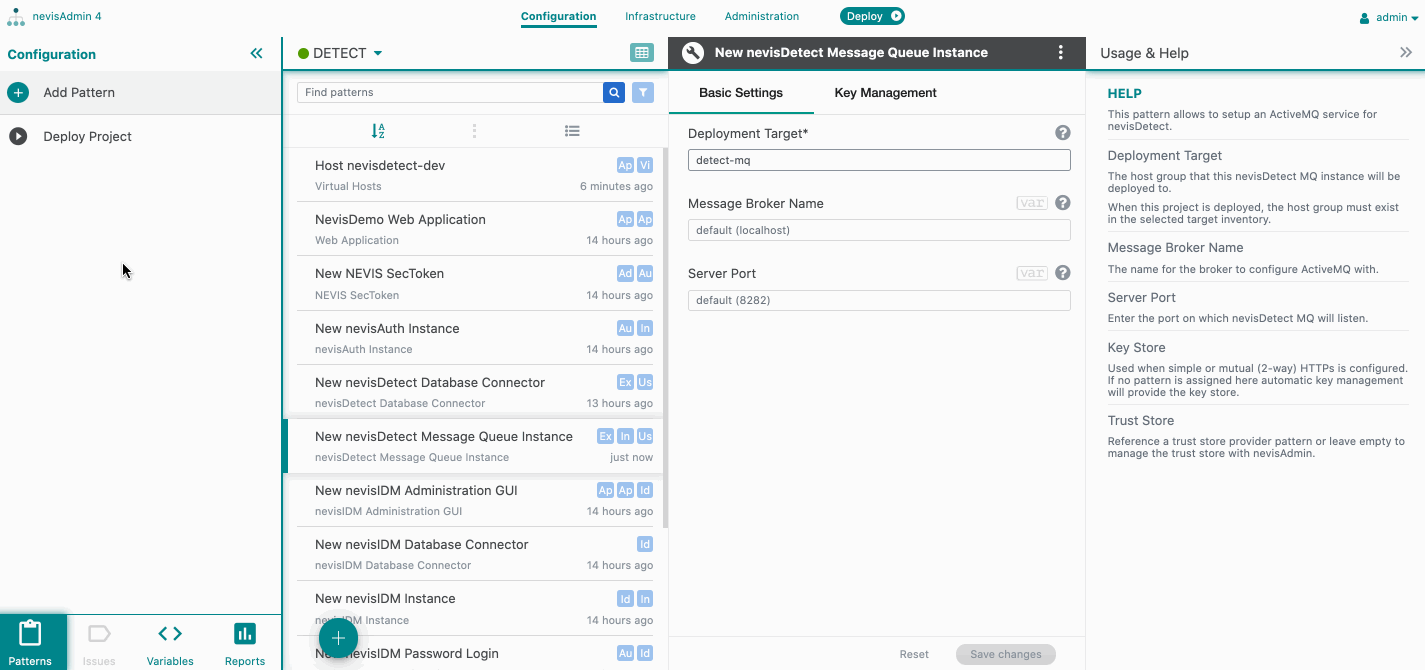
nevisDetect Message Queue Instance / ActiveMQ Client Configuration
The first pattern to add is the nevisDetect Message Queue Instance pattern. This pattern facilitates messaging between the various components of nevisDetect using an ActiveMQ service.
Kubernetes Deployment
In case of a Kubernetes deployment, the nevisDetect Message Queue Instance pattern is not supported. Instead, use the ActiveMQ Client Configuration pattern, which connects to an external ActiveMQ service.
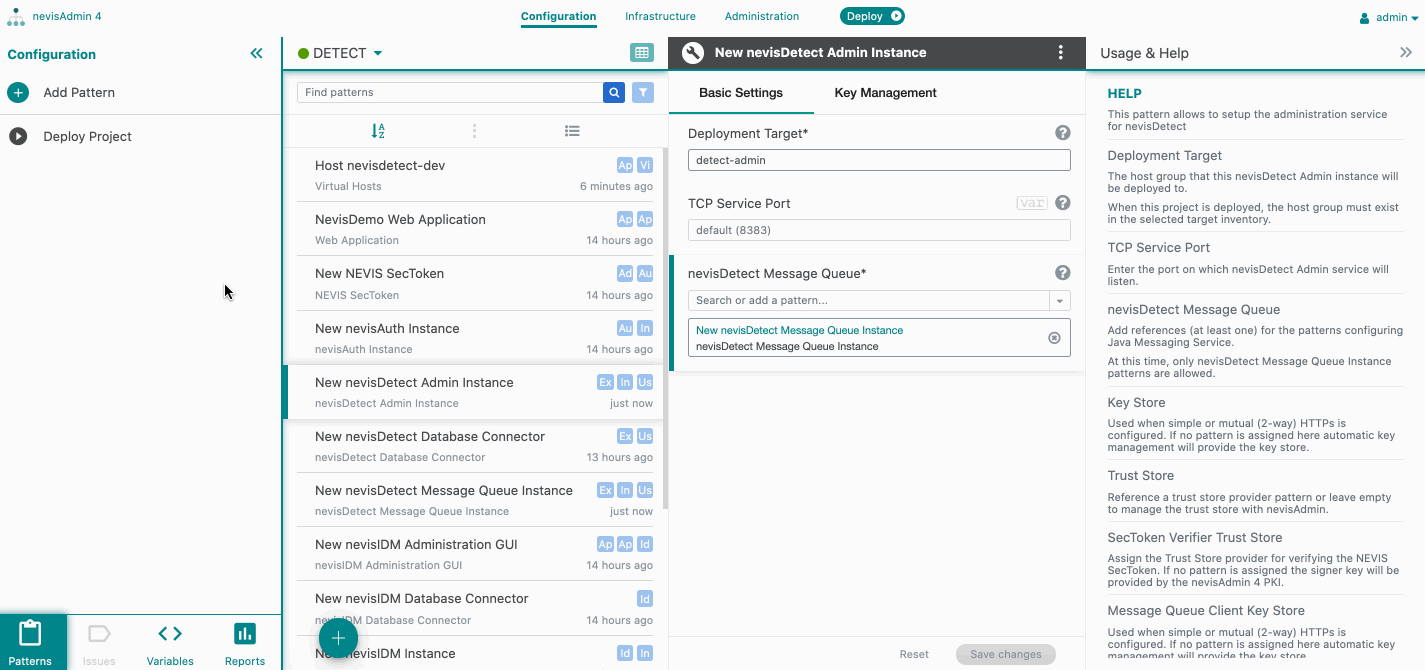
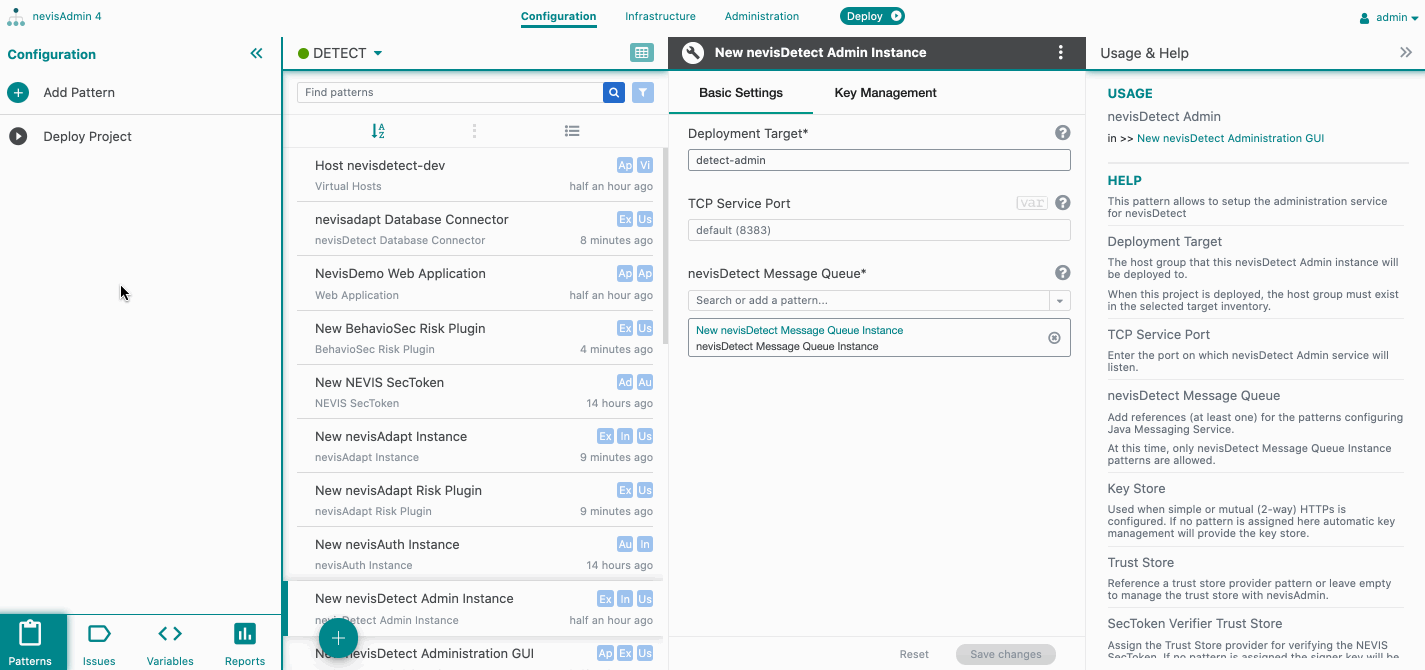
nevisDetect Admin Instance
To be able to manage the nevisDetect service, configure a nevisDetect Admin Instance pattern.
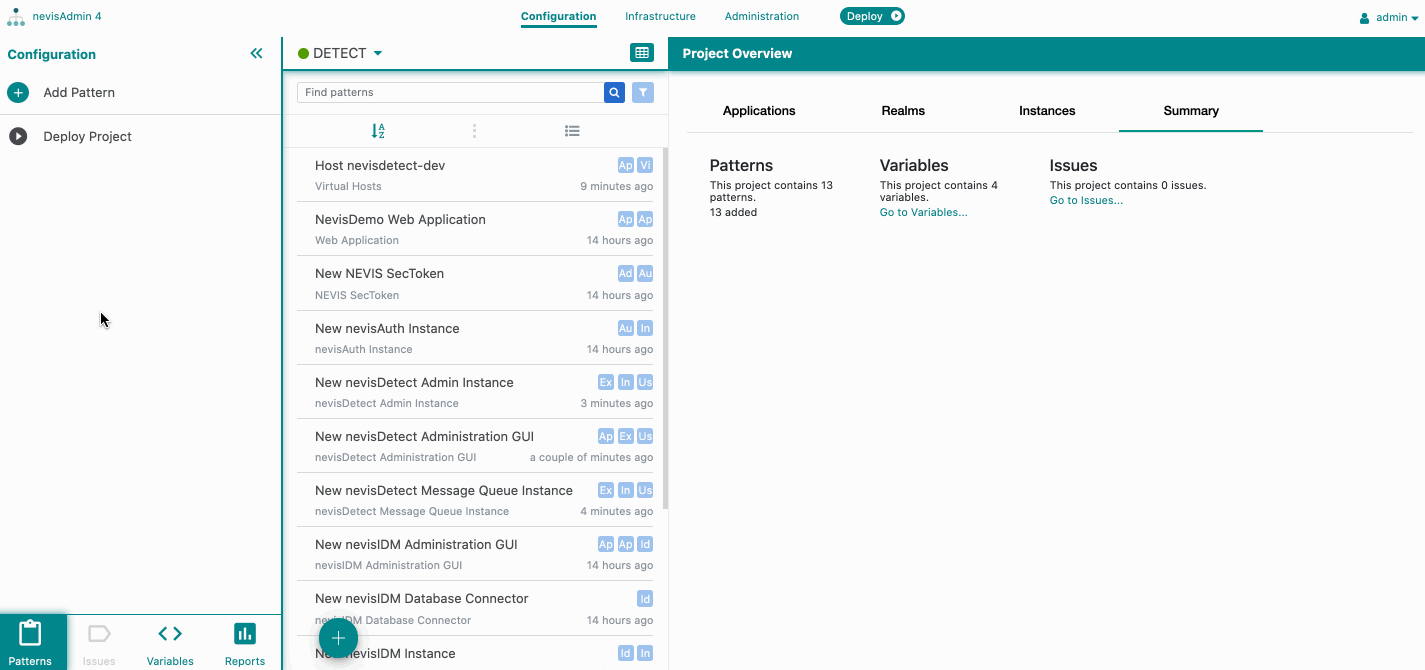
nevisDetect Administration GUI
The administration of the service is conducted via a web application so add a nevisDetect Administration GUI pattern. The following properties are mandatory to set:
- nevisDetect Admin: set a reference to the nevisDetect Admin Instance pattern created above.
- Virtual Host: set a reference to the Virtual Host pattern created during the base setup.
- Authentication Realm: set a reference to the Authentication Realm pattern of the nevisIDM configuration.
- Application Access Token: set a reference to the Nevis SecToken pattern of the nevisIDM configuration.
nevisDetect Persistency Instance
The main purpose of this component is the management of the database for nevisDetect. For that purpose, add a nevisDetect Persistency Instance pattern. You should set two mandatory pattern references in this pattern. One points to the nevisDetect Database Connector (see below), the other one to the nevisDetect Message Queue Instance you created before.
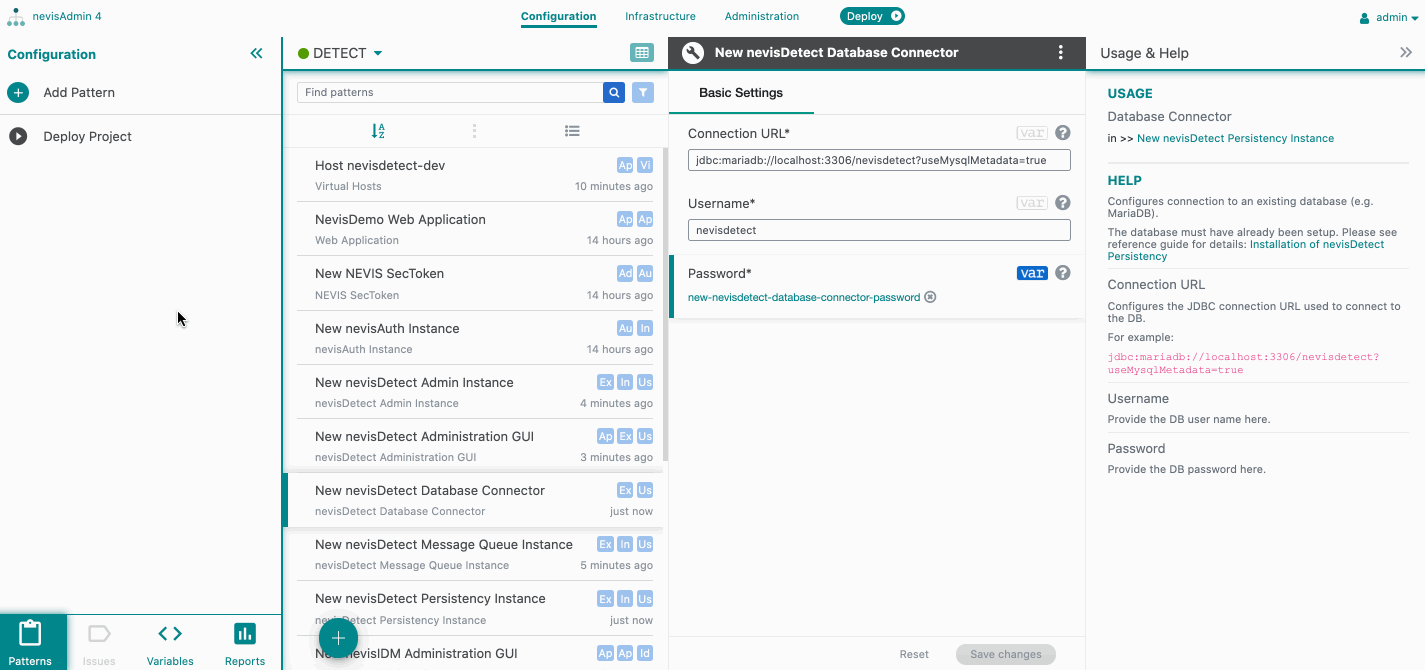
nevisDetect Database Connector
The database connection must be configured with a nevisDetect/nevisAdapt Database Connector pattern.
If you have not set up the database yet, you can find the instructions to do so in the chapter "Installation of nevisDetect Persistency" in the nevisDetect reference guide.
Specify the following properties/fields in the nevisDetect/nevisAdapt Database Connector pattern:
- Database User: Enter the database user.
- Database Password: Press the var icon to create a link to a secret value to be defined in the Inventory screen.
- Database Hosts: Enter the hostname.
- Advanced Settings tab > Custom Connection URL field: Specify the JDBC URL referencing the nevisDetect database.
- Advanced Settings tab > JDBC Driver field: In case of an Oracle database, upload the driver's .jar file.
nevisDetect Persistency REST API
We use the Persistency REST services from the administration UI. To make it available, add a nevisDetect Persistency REST API pattern.
- nevisDetect Persistency: add a reference to the nevisDetect Persistency Instance pattern configured above.
- Virtual Host: set the same Virtual Host as for nevisDetect Admin Web Application Access.
- Authentication Realm: set the same Authentication Realm as for nevisDetect Admin Web Application Access.
- Application Access Token: set the same Nevis SecToken as for nevisDetect Admin Web Application Access.
nevisDetect Core Instance
The Core component consumes the HTTP request from the message bus and invokes the configured plug-ins. Add the references to the already configured nevisDetect Persistency Instance and nevisDetect Message Queue Instance patterns. You should add at least one risk plugin. You can skip this step for now and do it later when you configure the User Behavior Analytics Use Cases.

Risk Plugins
There are currently 3 different options available, at least one should be picked based on the use case and added under Risk Plugins. They are described in detail in the User Behavior Analytics Use Cases section.
Integration with other Nevis components to protect web applications
nevisProxy integration
In this section we describe how you can integrate nevisDetect with nevisProxy so all the requests going through nevisProxy will be analysed by nevisDetect.
nevisDetect Feature Correlator Instance
The nevisDetect Feature Correlator receives the HTTP request from nevisProxy and correlates and passes it on to the message bus.
- Deployment Target: it is advised to set the same target host as for nevisProxy Instance.
- nevisDetect Persistency Instance: add the reference for the instance configured above.
- nevisDetect Message Queue Instance: add the reference for the instance configured above.
nevisAuth Integration
In this section we describe how you can integrate nevisDetect into your authentication flow.
nevisDetect Authentication Connector
With the nevisDetect Authentication Connector you can integrate nevisDetect into your Authentication flow. Add the nevisDetect Authentication Connectorpattern as a follow up pattern to one of your other authentication step patterns. See below for example, the onSuccess step of the nevisIDM Password Login. Set the reference to the nevisDetect Core Instance pattern configured above.
Use Cases
Continue with User Behavior Analytics Use Cases.