Working with Inventory File Attachments
Before you can add a file attachment to an inventory, you need to define the corresponding variable in the project configuration. This is explained in Working with Variables.
Adding an Attachment
If you want to add an file attachment to an inventory:
- Open the inventory file to which you want to add the attachment.
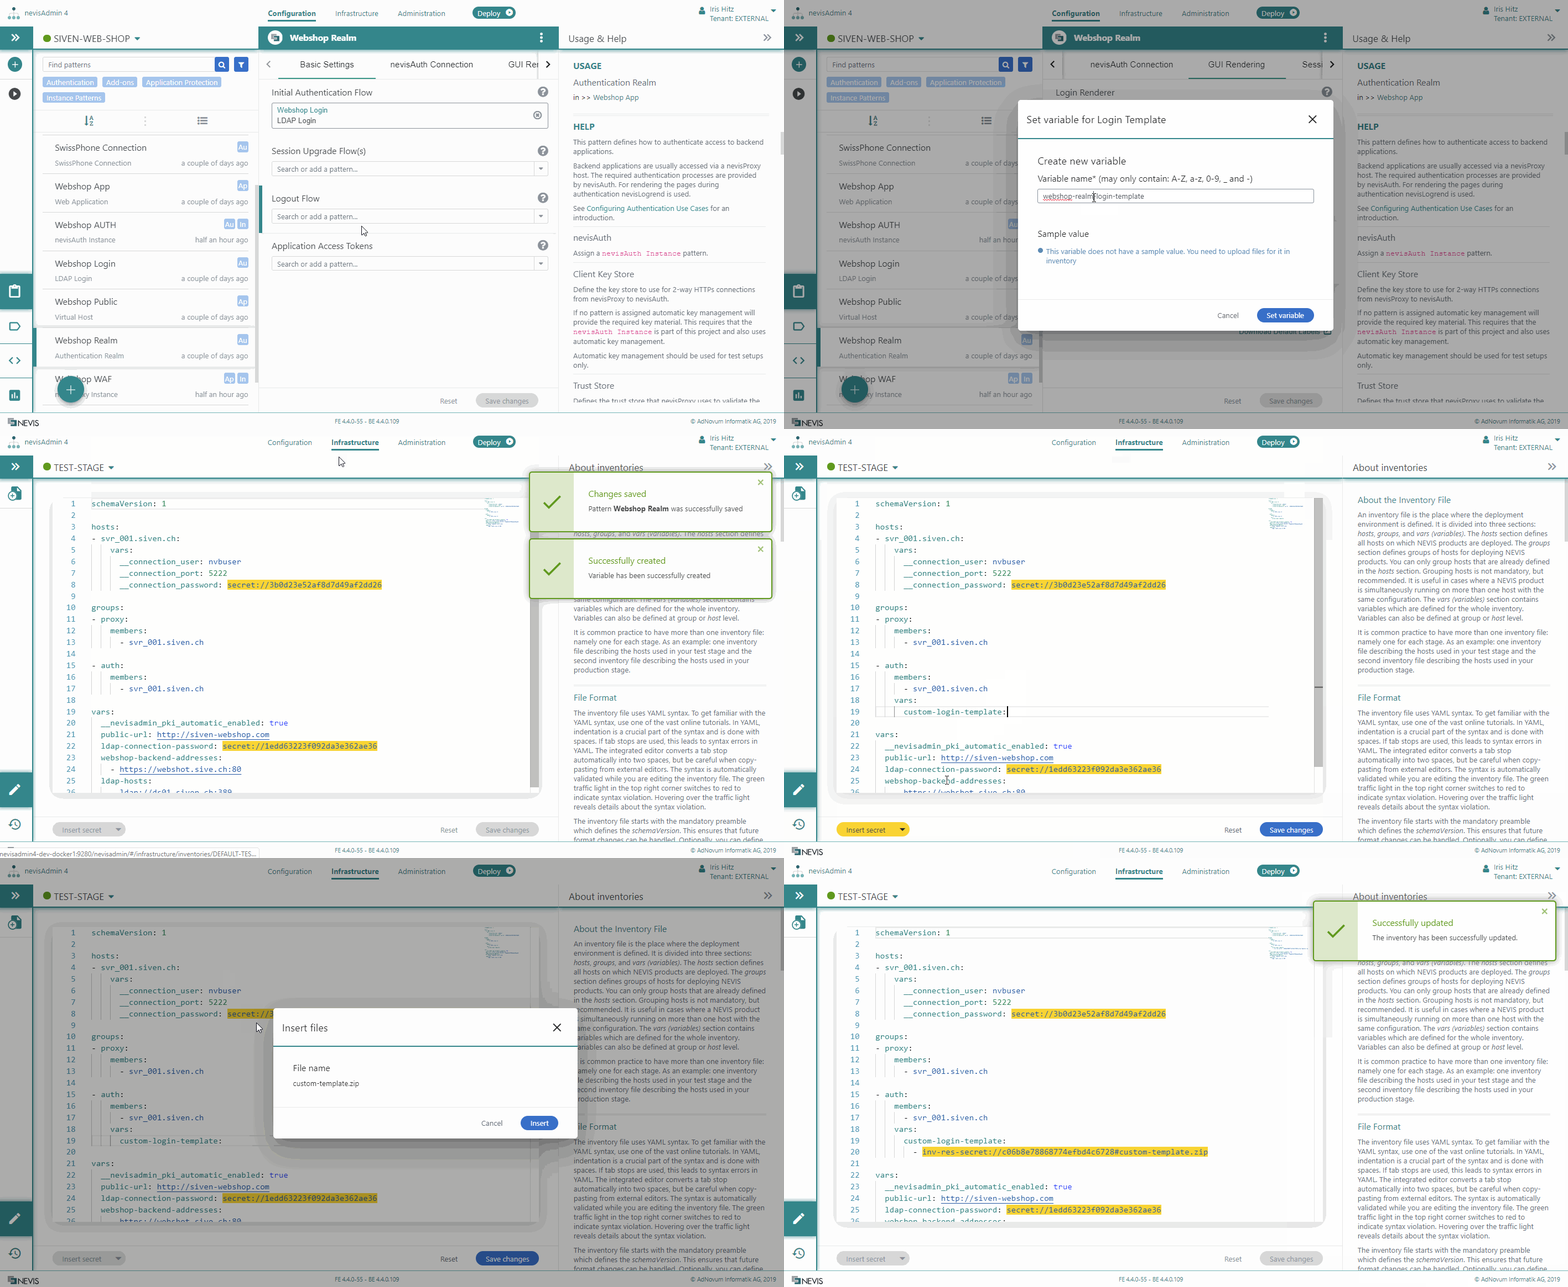
- Enter the variable name in the respective vars block.
- Place you cursor right after the relevant variable name.
- Click the triangle arrow icon on the Insert secret button, in the lower left corner of the inventory file. SelectAttach files from the drop-down menu.
- Select the file you want to add to the inventory.
- Click on Save changes in the lower right corner of the inventory file.
The following movie demonstrates the steps to perform. As an example, a file is inserted for the custom-login-template variable.

Some additional information
Note that attachments are added as secrets and cannot be modified once they are added:
- If you need to modify an existing attachment, delete the reference to the attachment in the inventory file and upload the modified version as previously described.
- Uploaded files are encrypted and stored in the database. They will not be published to Git or exported to Zip.
- Classic deployment: The file will be copied (via SSH) to the target machine, where it is saved in unencrypted form.
- Kubernetes deployment: The file will be stored in the Git deployment repository in unencrypted form. Deleting an Attachment
If you no longer need to use a specific attachment, simply delete the reference to the attachment in the inventory file.