Exporting and Importing a Project using ZIP
The Export Project to Zip Function
You export a project to a Zip file with the Export Project to Zip function. This function is part of the Action menu in the sidebar of the Project Settings screen.
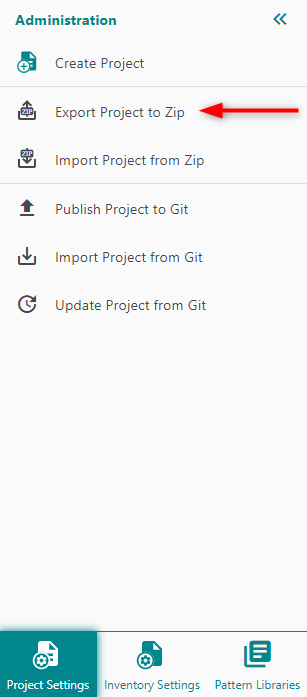
For more information on the format of the exported file, see Configuration Project Directory Structure and YAML File Formats using Git.
The Import Project from Zip Function
You import a project from a Zip file with the Import project from Zip function. This function is available:
- in the Welcome screen, and
- in the Project Settings screen.
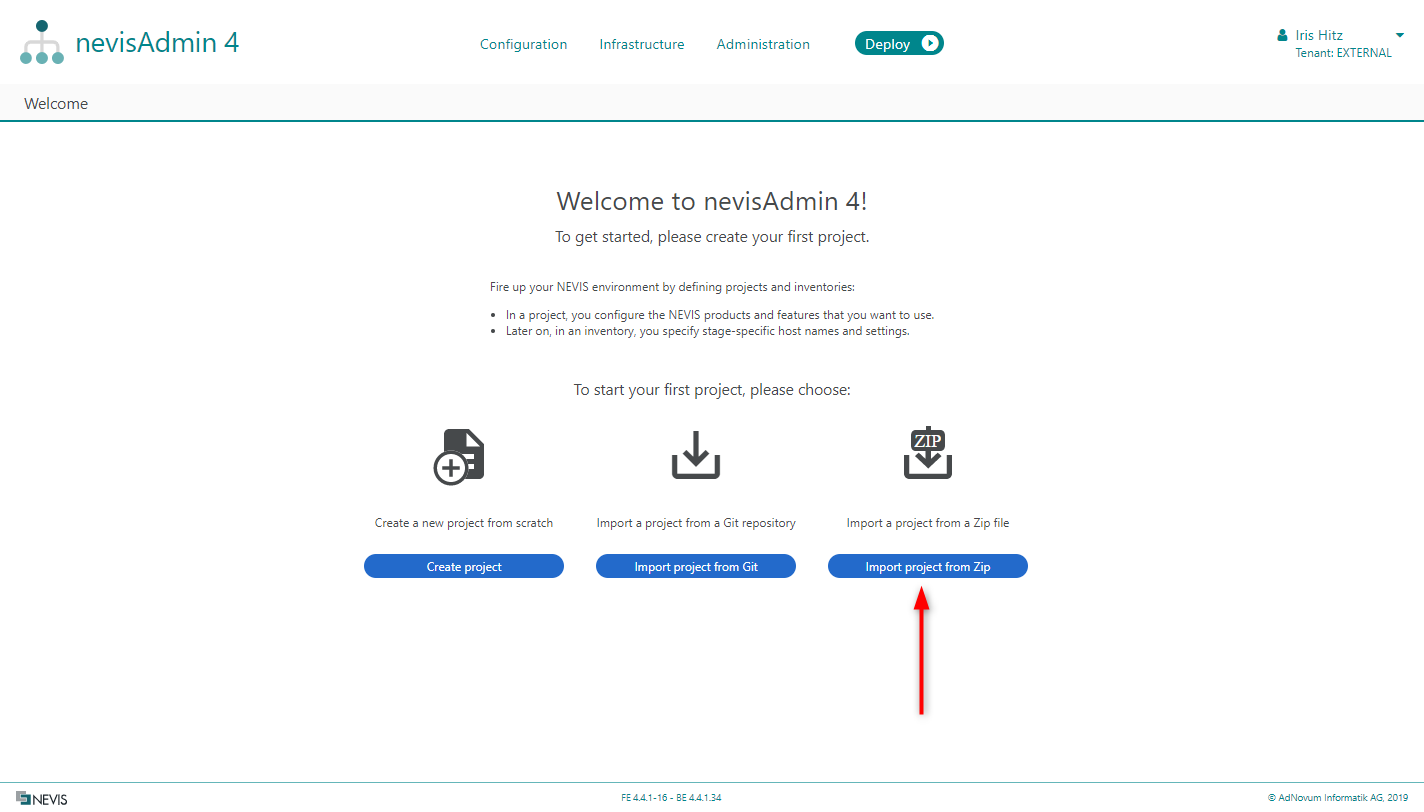
Importing a Project from Zip - In the Welcome Screen
The Welcome screen appears:
- when nevisAdmin4 does not contain any projects yet, or
- when you do not have the permission to view any of the existing projects.
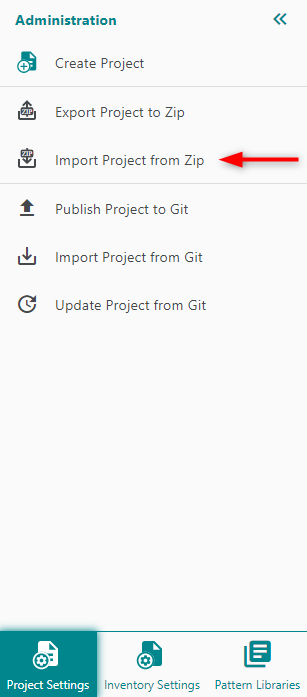
Importing a Project from Zip - In the Project Settings Screen
The Import Project from Zip function is part of the Action menu in the sidebar of the Project Settingsscreen.
Note that the Project Settings screen is only available when already projects exist.
Importing a Project from Zip
If you have previously exported a project configuration, you can import it back into the nevisAdmin4 web application. Based on the selected .zip file, the Import Project from Zip dialog will suggest you to:
- import the project data as a new project, or
- import it as an existing project. This will overwrite the existing project with the project data from the .zip file.
The Import Project from Zip
You specify the details for the import of the project from Zip in the Import Project from Zip dialog (see the next figure). This dialog appears after you selected the Import project from Zip function, either in the Welcome screen or from the main/hamburger menu in the Project Settings screen.
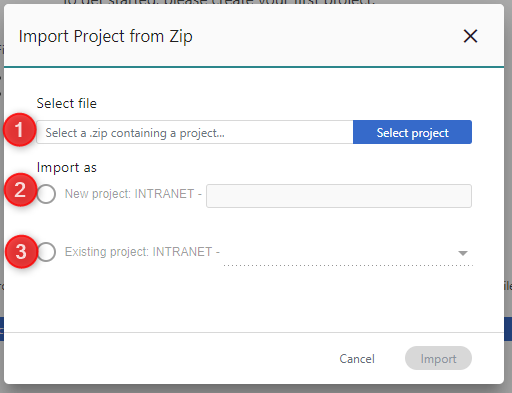
The Import Project from Zip dialog includes the following fields:
- The Select file input field (no. 1 in the figure) Select the project .zip file that you want to import. Click in the input field or the Select project button to open your local file explorer to pick a .zip file.
- The field Import as..
Based on the project .zip file to-be-imported, one of the following Import as options will be automatically selected. You can manually change the selection if needed.
Select this option if the project data in the .zip file must be imported as a new project. In this case, define the key for the new project in this field. Note that the project key must be unique. Select this option if you want to replace an existing project with the project data from the .zip file. In this case, choose the relevant existing project from the Existing projectdrop-down list. This list contains all existing projects for which you have MODIFY_PROJECT permission.