Background Deployment
This section describes how to start a background deployment of a project configuration created in nevisAdmin 4 to an infrastructure inventory. It supports both classic and Kubernetes (k8s) infrastructures. The Background Deployment feature allows you to deploy changes without requiring manual intervention. This is ideal for testing small updates, as it streamlines the deployment process and reduces manual actions. By running deployments in the background, you can continue working without interruptions, ensuring efficient testing and faster feedback on minor changes.
Starting the Deployment
The deployment of a configuration project is executed with the Deployment Wizard. You can access the wizard by clicking on Deploy button:
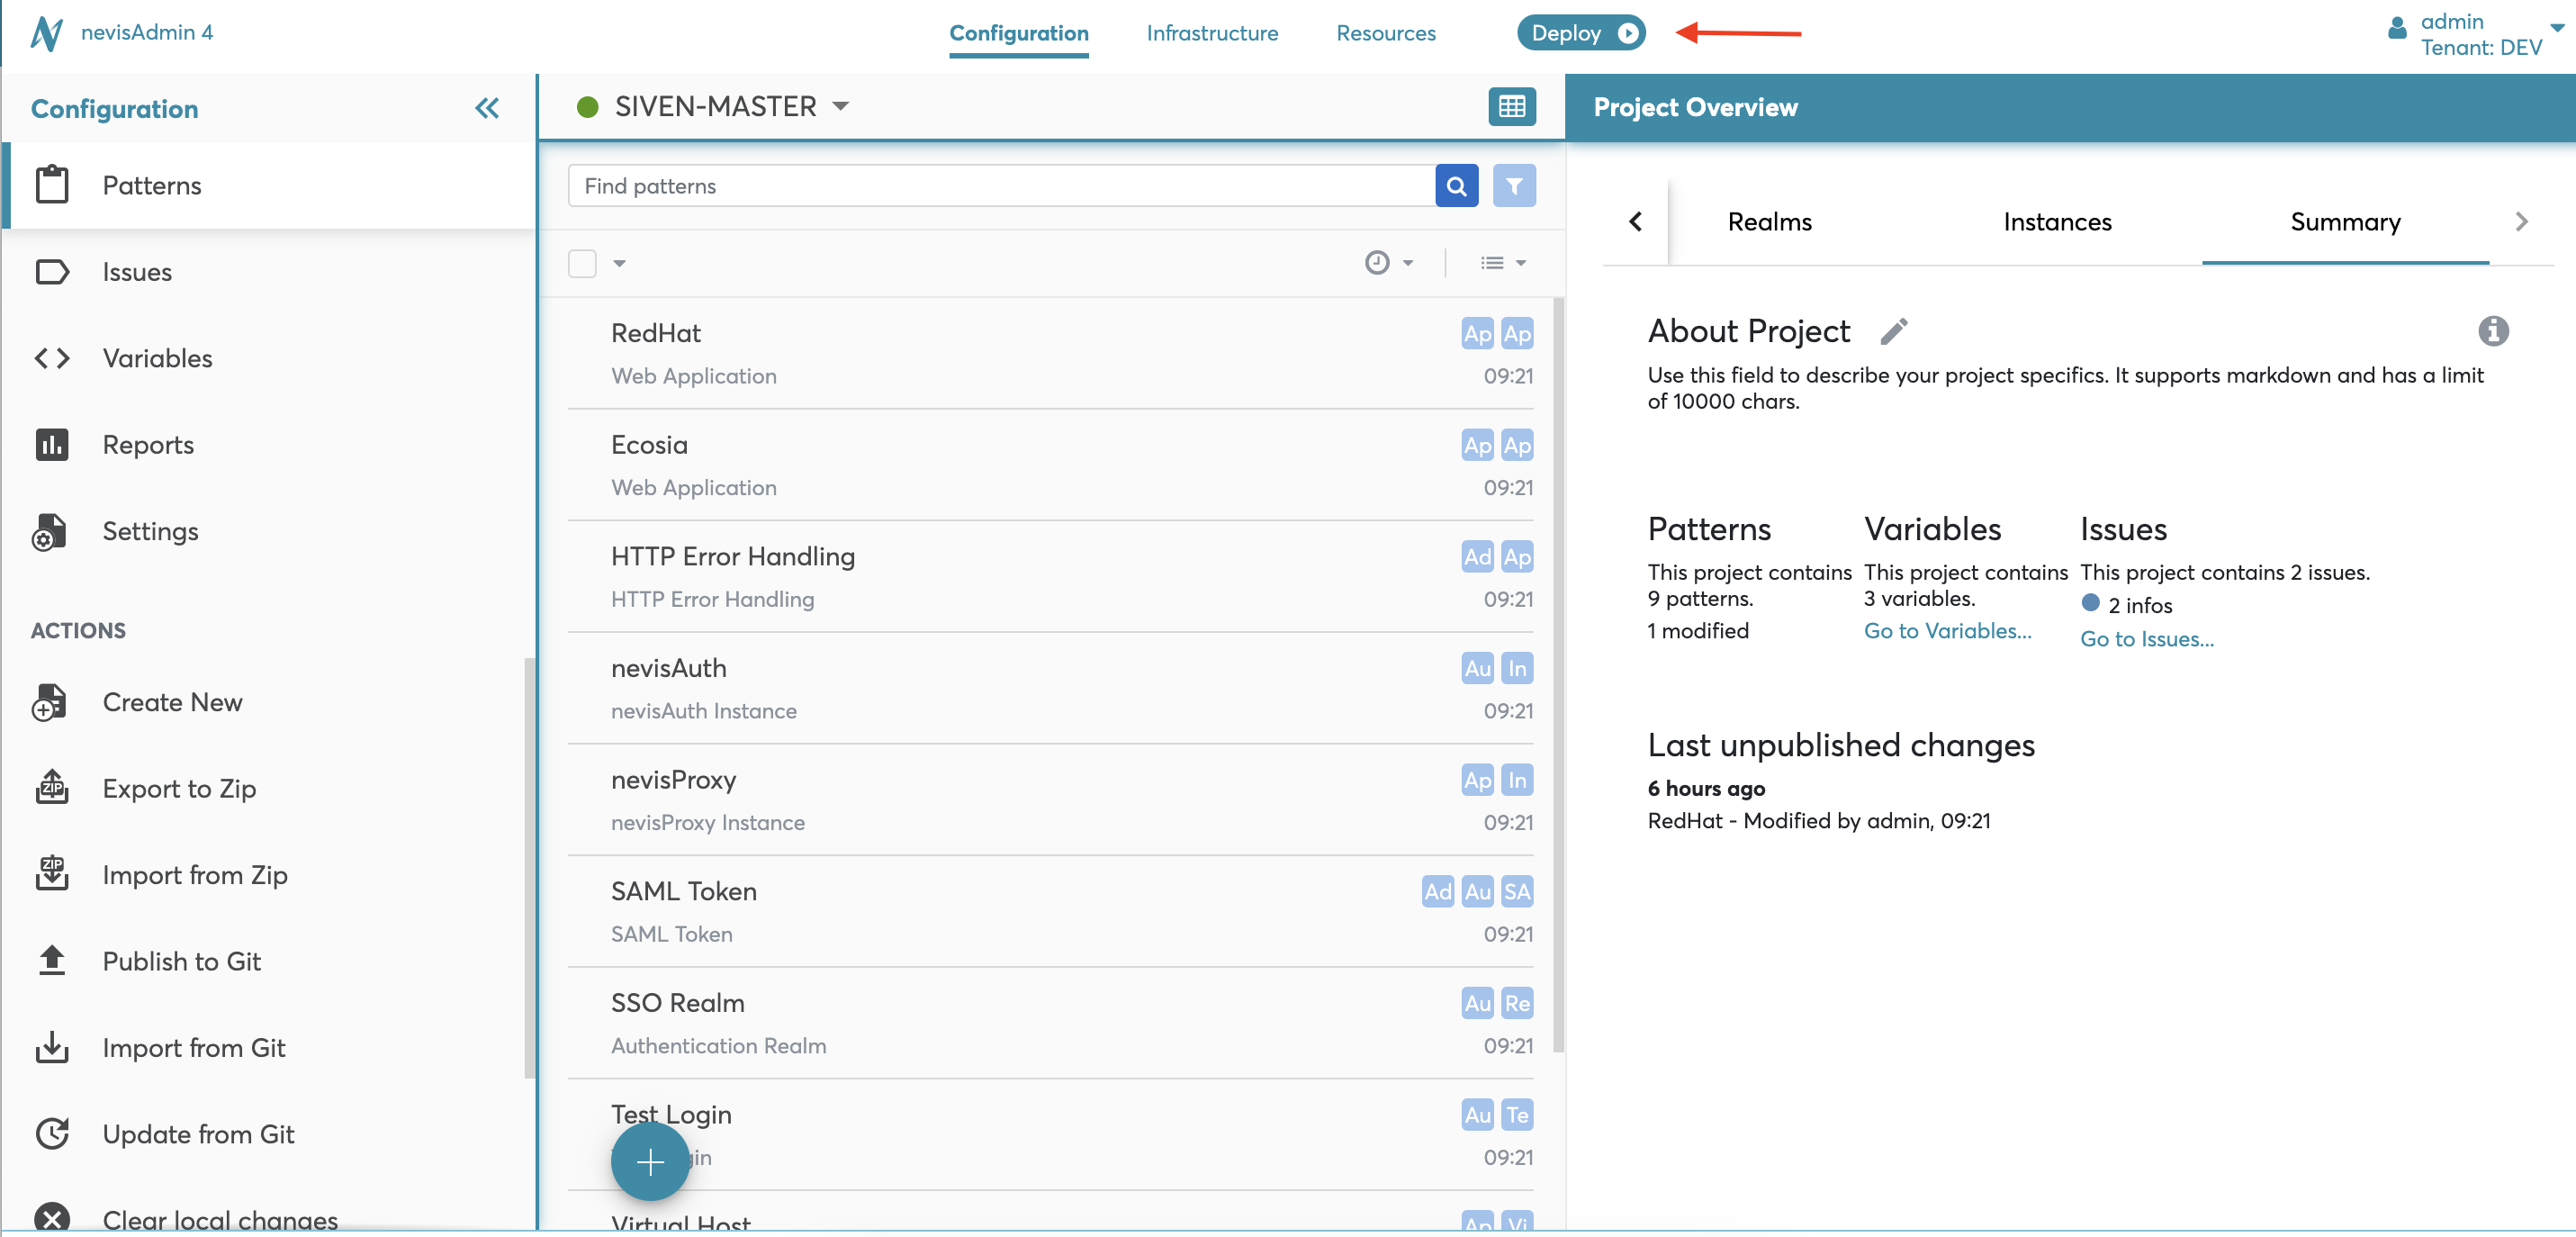
Deployment Step by Step
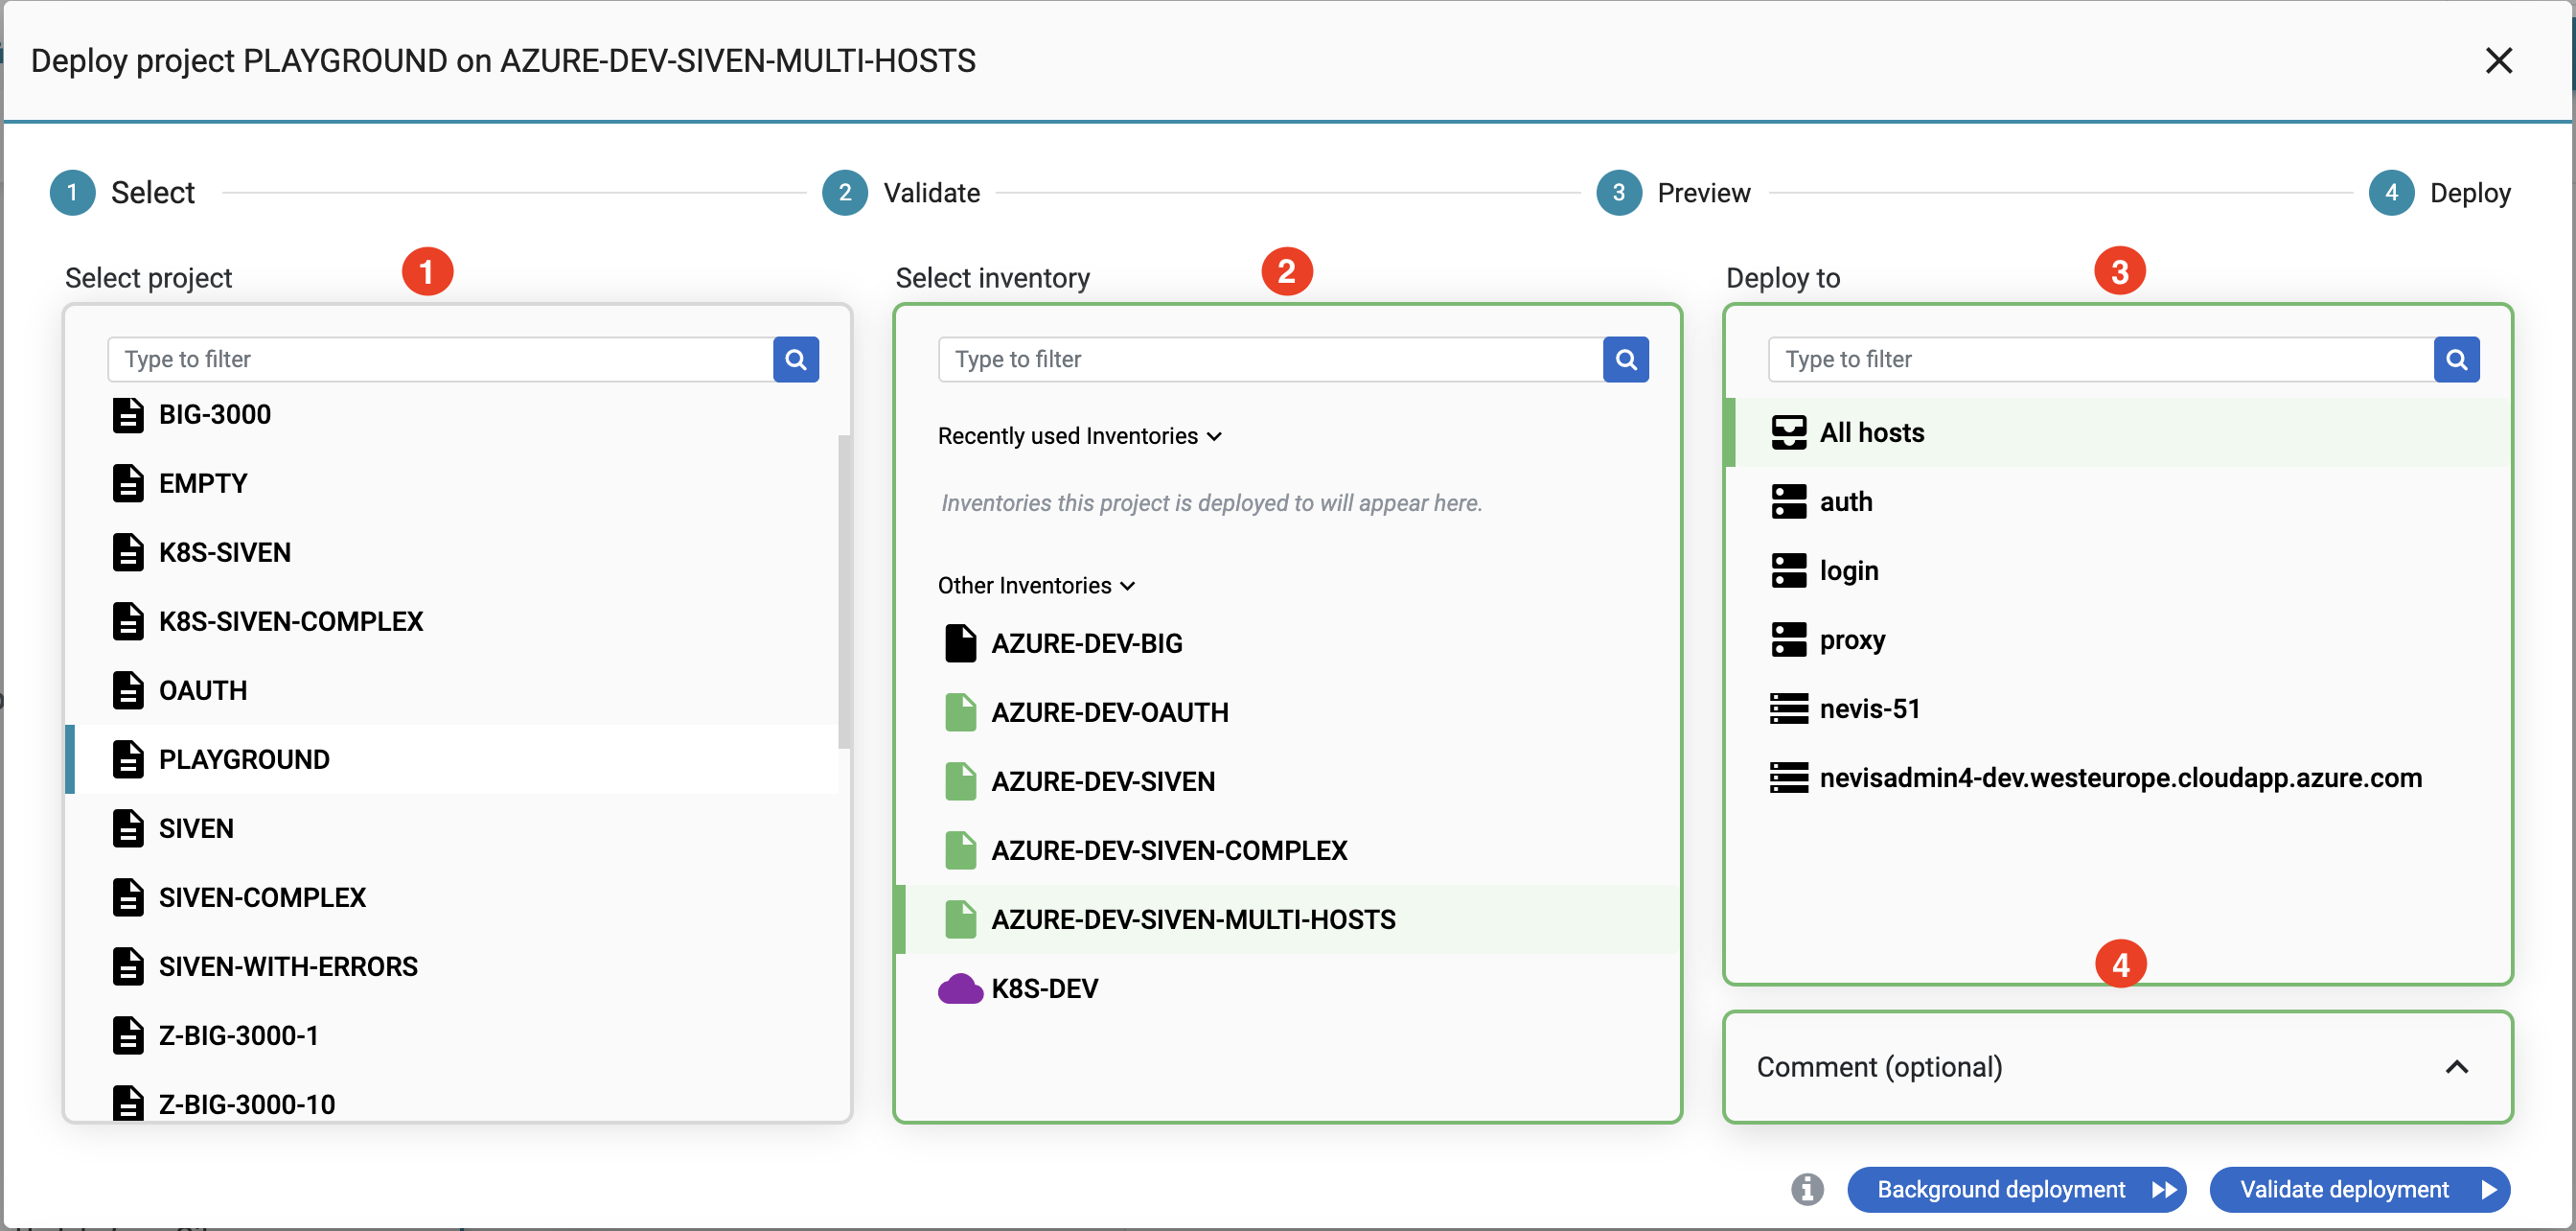
Select a project in the Select project field, on the left side of the wizard.
- Only the projects accessible by you are listed.
- Selection is mandatory.
- You can use the filter to search for a project.
- In case of classic deployments, instance patterns can be selected.
Select an inventory in the Select inventory field in the middle of the wizard.
- Only the inventories accessible by you are listed.
- The deployment wizard adopts the color of the selected inventory.
- Selection is mandatory.
- You can use the filter to search for an inventory.
Select the host or host group to deploy to in Deploy to field on the right side of the wizard.
- The list in Deploy to includes all hosts and host groups from the selected inventory.
- It is possible to restrict the deployment to a single host, host group or (instance) pattern.
- The default setting is "All hosts". This means that your project is deployed to all hosts of the selected inventory.
- You can use the filter to search for a host.
You can add a comment to this deployment in the Comment box in the lower right corner of the Deployment Wizard.
Inventories marked with the warning icon can only be used with projects that are published. If your project is not published, you will not be able to proceed.
For a selected project and inventory pair at one time only one deployment can run.
Deploy
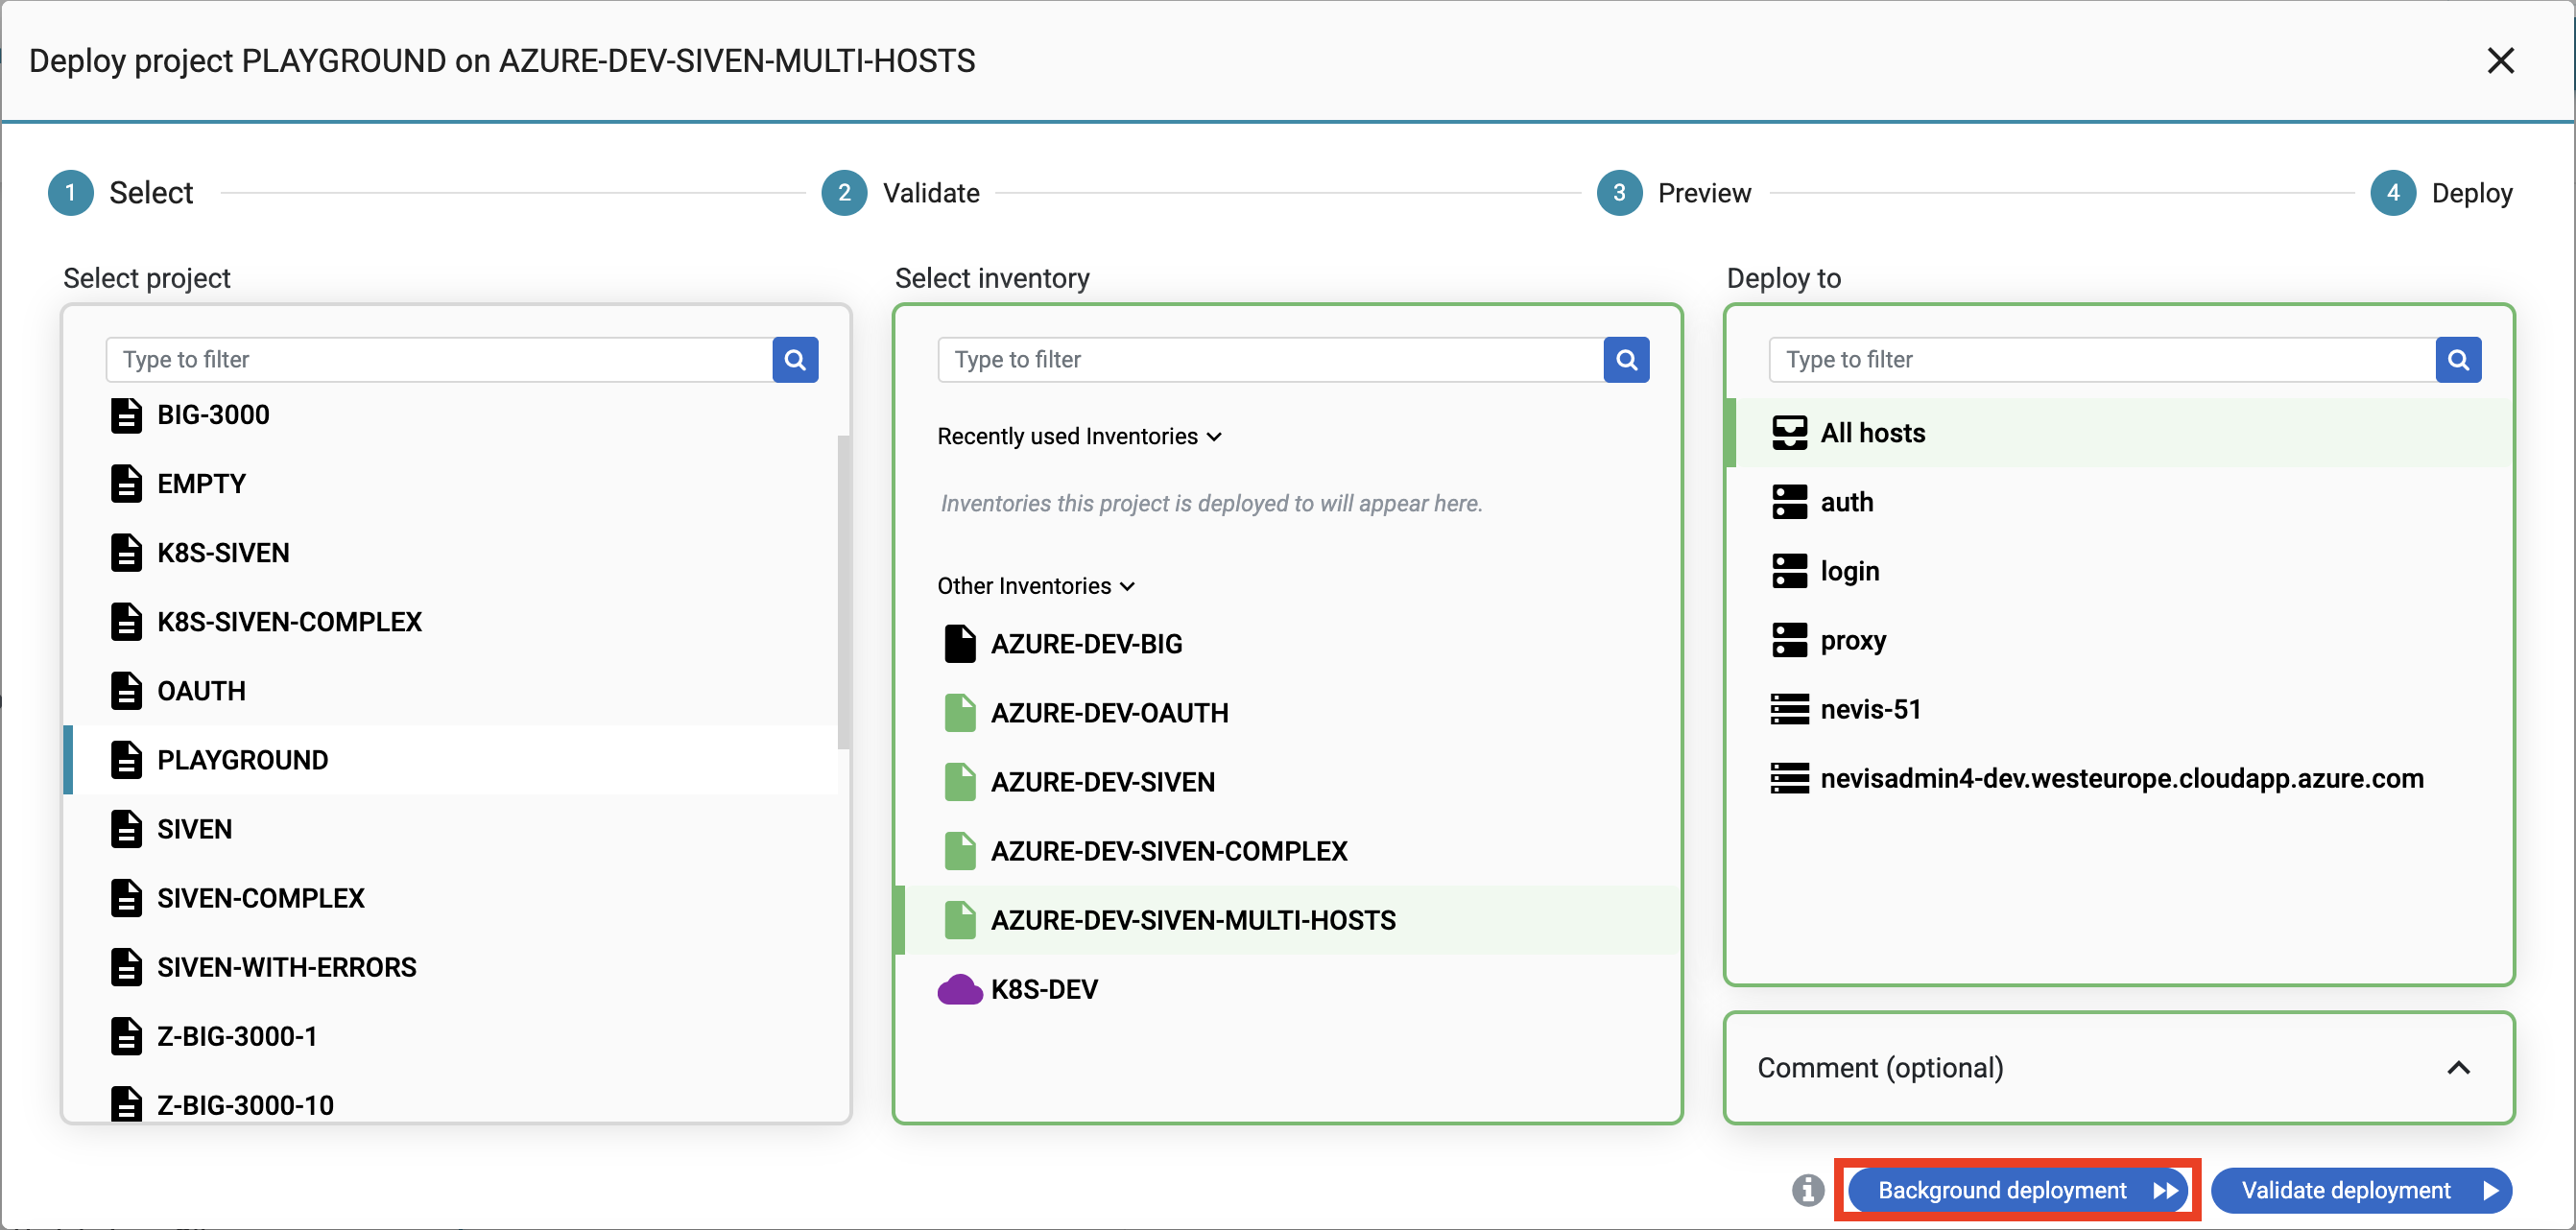
The final step in the deployment process is the actual execution of the deployment by clicking on Background deployment. Now, all generated configuration files and commands will be deployed on the target host(s).
Once the deployment has finished:
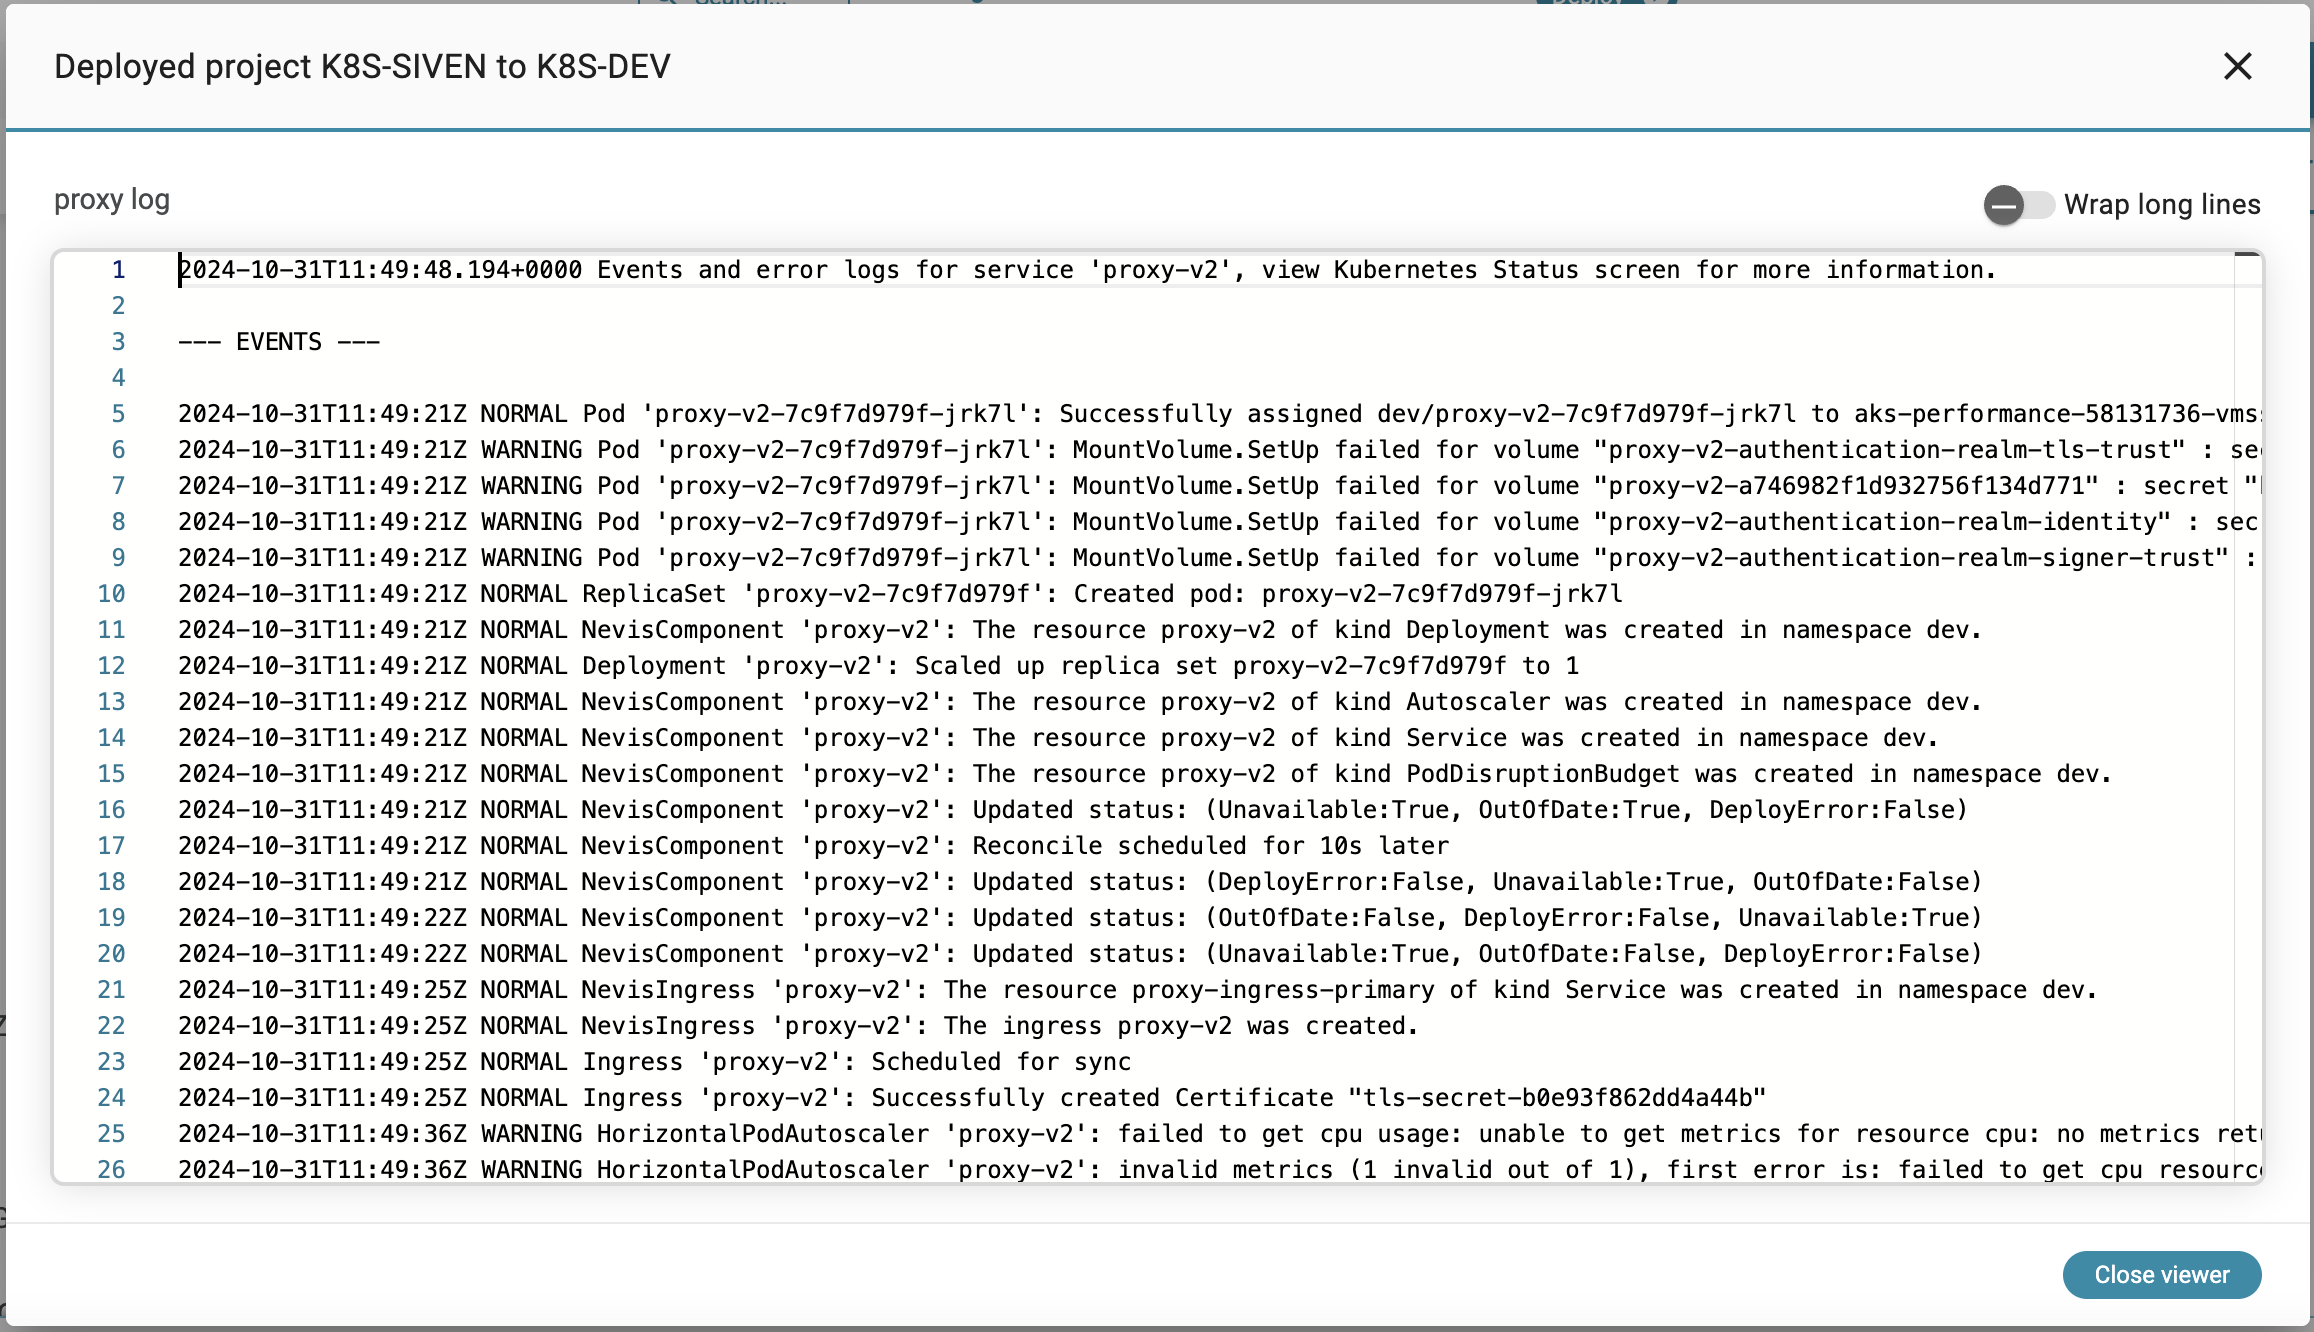
- In case of successful deployment you have the following toast message. To see a report with the result of the deployment execution click on the Show report link. If you want to view the deployment details for each host in a log file, click the view log link.

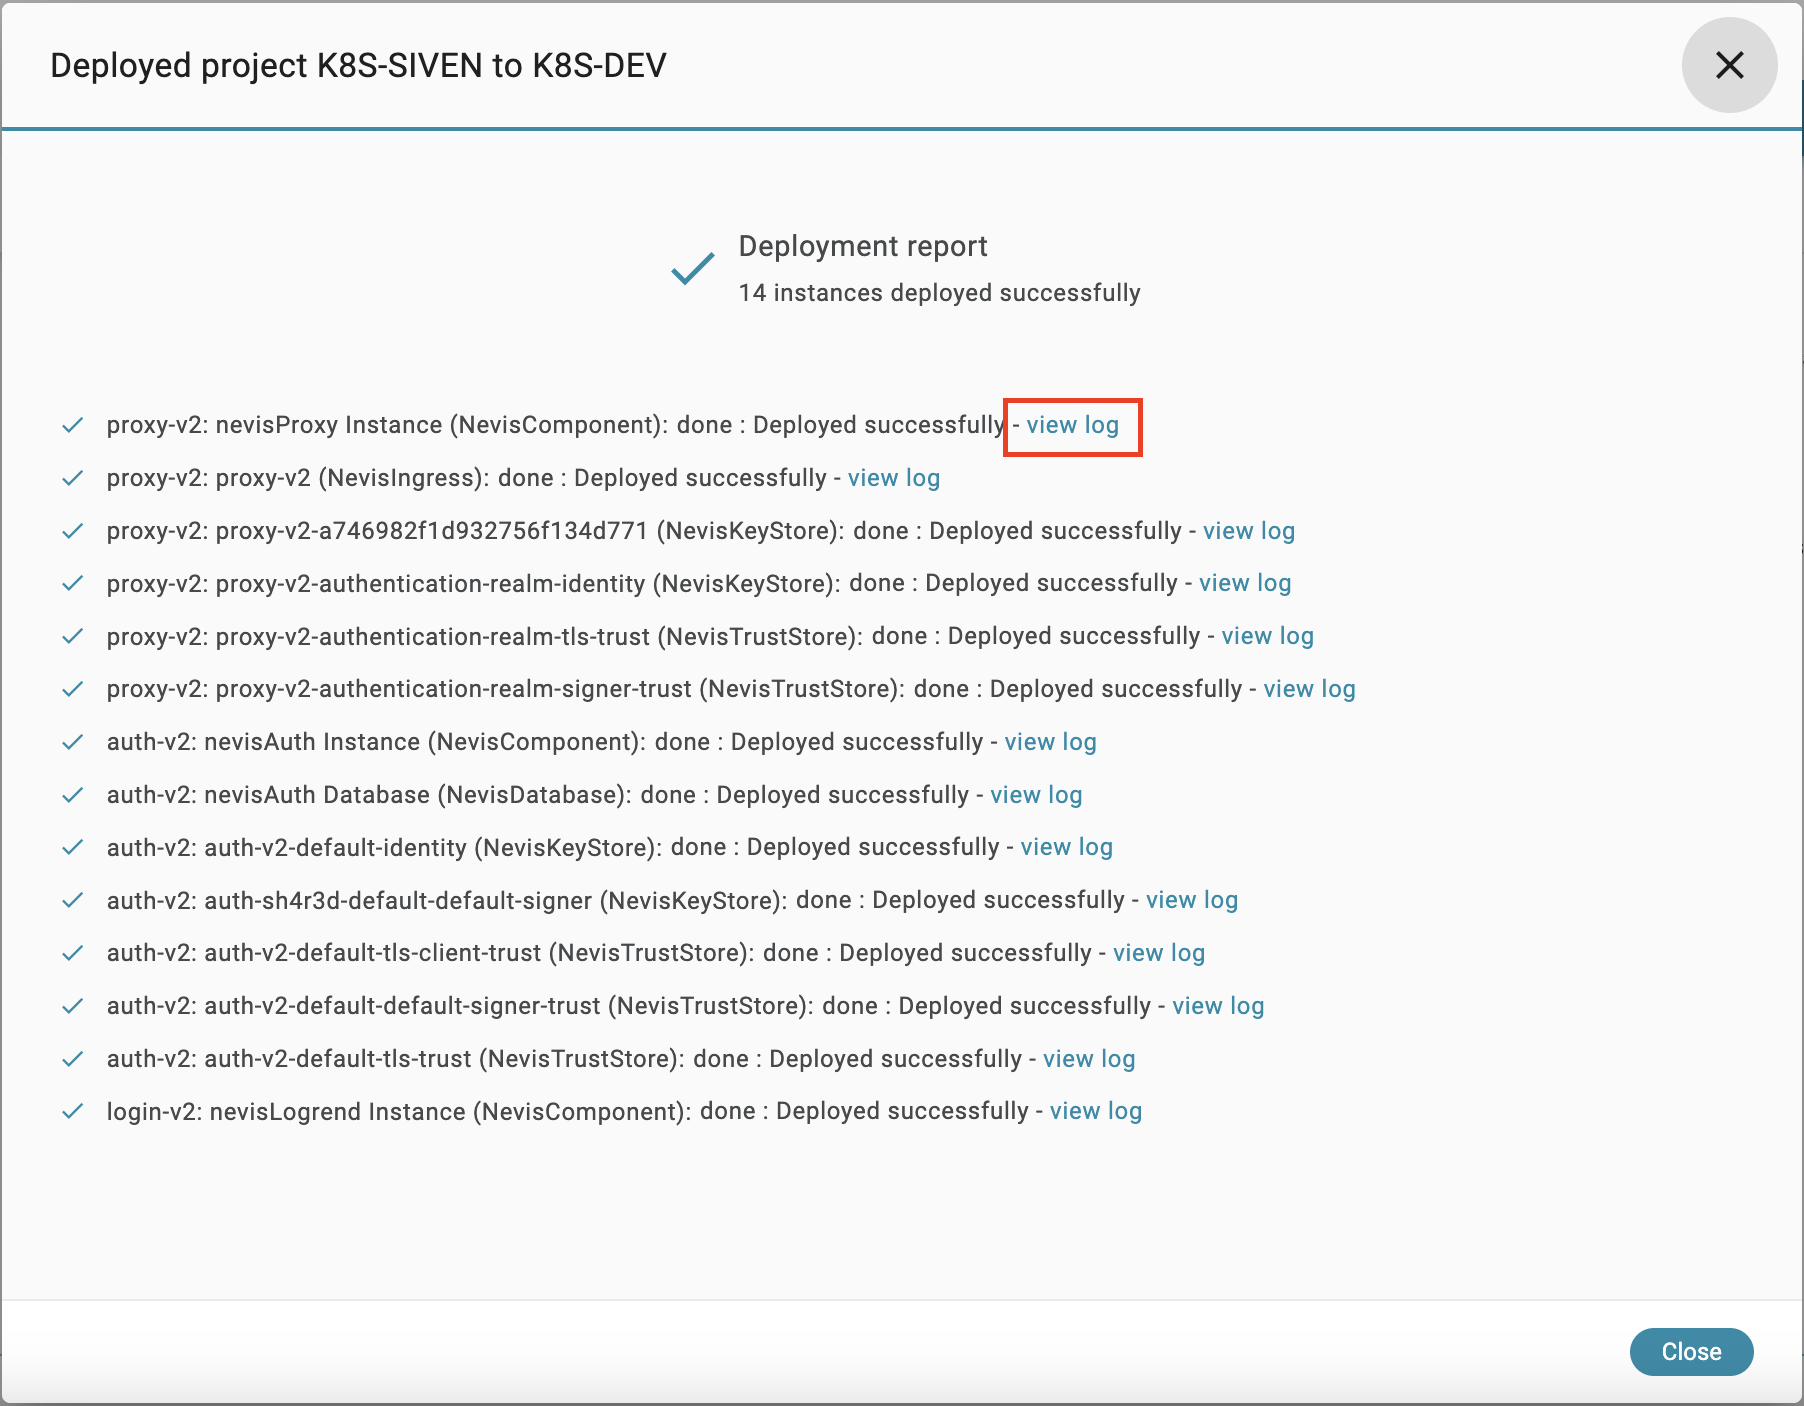
- It could happen that your deployment fails. You see the following toast message for failed deployments. If you want to view the deployment failure in details then a step by step deployment is suggested in the wizard.

- Deployments that doesn’t contain any changes since the last deployment will not be executed and you see the following toast message.
