Software installation
Preparing the server
You have to boot the server using the installation image. You can either use the ISO image (called nevisappliance-install-<version>.iso or a real CDROM.
Make sure you have chosen the BIOS or legacy BIOS mode to boot your server, and not UEFI, which is often the factory default.
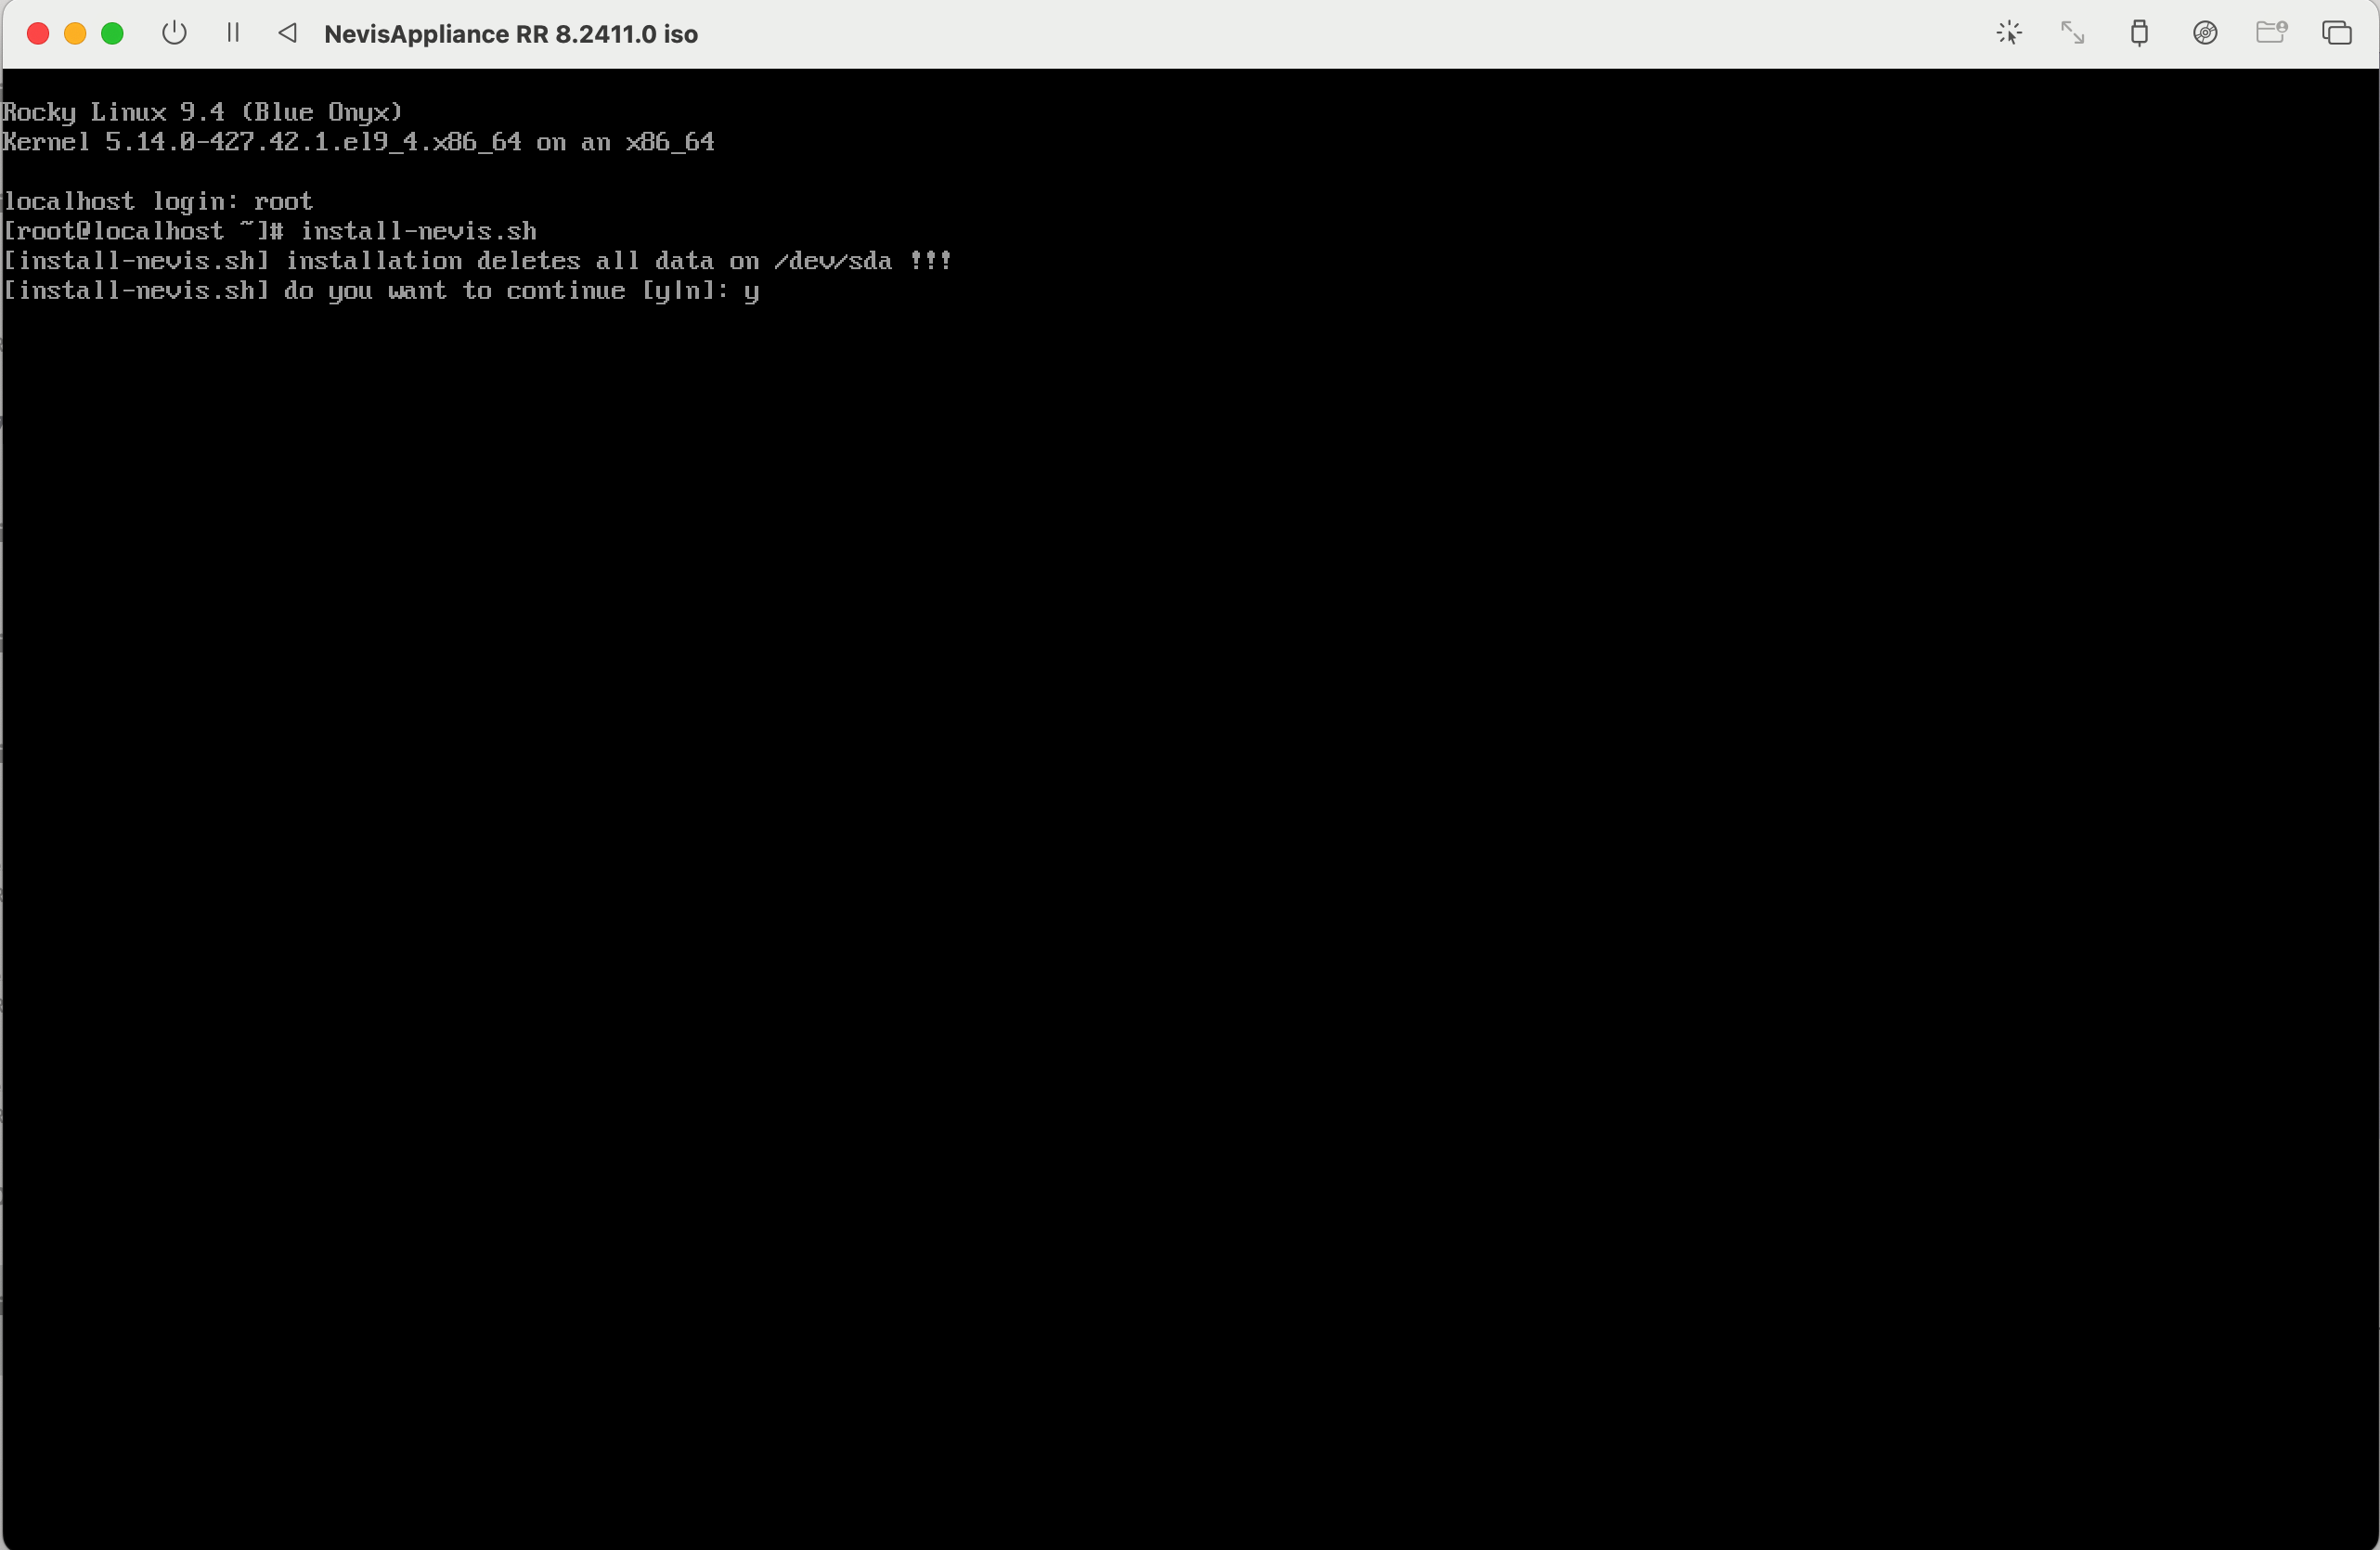
Log in to the console using the user root (no password is required for this step). Then start the installation process by invoking the install-nevis.sh command as shown in the figure below.
The installation performs the following tasks:
Partitioning of the local hard disk drive:
- The boot partition size is 2GB and stores the boot loader (grub, kernel and initrd) and the basis OS image.
- The size of the swap partition depends on the server's memory (at least 2GB).
- The third partition uses the remaining disk to store Nevis software, the Nevis product and component instances, including their configuration and log files as well as any configuration or log file of any operating system or third-party software component.
Installation of the boot loader and system-specific kernel modules.
Installation of the nevisAppliance operating system installation image from which the server can then be booted.
The installation script ends with the message install-nevis.sh] normal end". After reaching this point, the CROM can be disconnected and the server must be restarted. The server then boots from the hard disk.
You can now log in to the server's console with the user root. You don't need a password to do this. However, set a passphrase for the root user right away to prevent other people from logging in to the server's console without a password. The command to do this is called passwd. When starting the passwd tool, you have to enter the new password twice (to ensure you haven't mistyped the password).
Example passwd execution:

After the password has been set, continue configuring the server's network settings.
Set the root password at this point. You will not be able to set it after the step "Install the OS and Nevis images" and after rebooting the nevisAppliance!
Network configuration
The minimal network settings require the following steps:
- Configure the server name, IP address and netmask using the option
iof thenevisappliancecommand. - Set the appropriate routes for the server by using option
aand/orsof thenevisappliancecommand.
See the chapter Server configuration for detailed information about the available options and the nevisappliance command line tool.
Install the OS and Nevis images
You can now transfer the desired images (OS and Nevis, see the table "Image file names and content") and install them using the update-nevis.sh command as described in the chapter "Software updates".