Copying Patterns
You can copy a single pattern or multiple patterns to another project. While copying a pattern, you can decide whether to copy with or without a link to the source pattern. If the link is kept, the content of the already copied pattern will be updated in the next copy of the same pattern. In case of the copy without the link, the same pattern can be copied multiple times without affecting the already copied pattern content.
See the steps below on how to copy patterns.
Only the property values, variables and attachments are copied with the pattern.
The patterns referenced by the pattern are not copied automatically. You can either copy these too, or you can re-create them manually in the target project after the copy.
For the patterns copied, the target project must have the corresponding pattern libraries enabled: see Editing Project Pattern Libraries for details. It is recommended that the two projects have the same pattern library versions to ensure that the patterns behave the same way in both projects.
Copying a Single Pattern
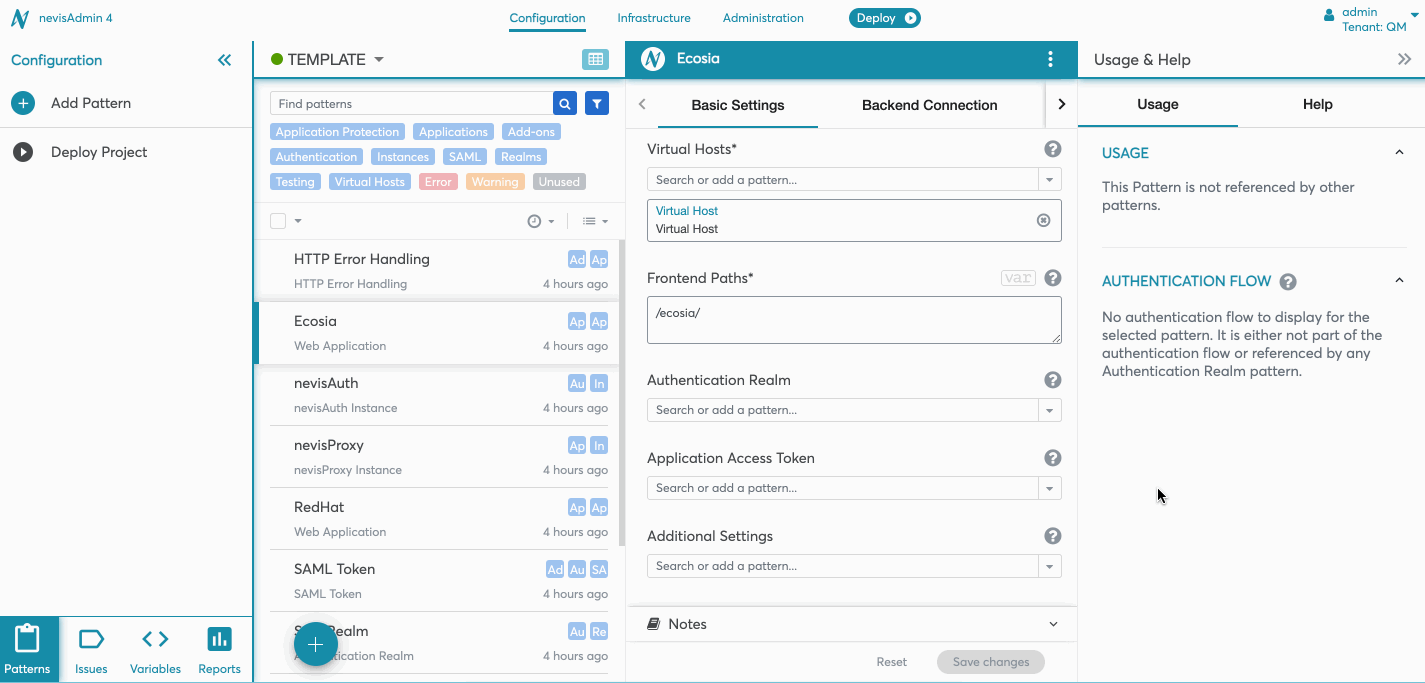
You can copy a single pattern to another project using the action in Pattern Editor:
- Choose a pattern in the source project.
- Click on the overflow icon in the top right corner of the Pattern Editor.
- Click on the Copy Pattern action from the overflow menu. The Copy patterndialog screen is opened.
- Select a target project to copy the pattern to.
- Uncheck the Link to the source patterncheckbox to copy it as an unlinked pattern to the source.
- The copied pattern will not be linked to the source pattern anymore. Therefore, it can be copied multiple times without affecting the already copied pattern.
- Check the Copy with variablescheckbox to copy it with variables.
- If the Link to the source patterncheckbox is unticked, define a prefix and/or suffix to add to the copied pattern name. This is to differentiate the copied pattern and also avoid duplicate pattern names in the target project.
- Click on the Copybutton. The pattern is copied to the target project.
In the target project, they will show up with a copy icon and an info message, if the Link to the source patterncheckbox is ticked.
The following movie shows how to copy a single pattern via the action from Pattern Editor:

Copying Multiple Patterns
You can copy multiple patterns at once via batch actions. Perform the following steps:
- Select the patterns you want to copy by ticking the pattern checkboxes.
- Open the batch actions menu by clicking on the expand arrow next to the main checkbox.
- Click on the Copy selected action. The Copy selected dialog screen is opened.
- As described in Copying a Single Pattern, select a target project and the checkboxes accordingly.
- Click on the Copy button. The patterns are copied to the target project.
In the target project, they will show up with a copy icon and an info message, if the Link to the source pattern checkbox is ticked.
You can also select all patterns that are currently in the pattern list, with the Select all action in the batch actions menu. Combine this with the searching and filtering functions to quickly select a group of patterns. For more information, see searching and filtering patterns.
The following movie shows how to copy multiple patterns via the batch actions:

Copying Referenced Patterns
Once you copy a pattern, the referenced patterns are not copied automatically. To keep the references in the target project, the referenced patterns have to be copied too.
- If the referenced patterns are copied, the references work automatically. With this you can avoid the errors caused by missing references in the copied pattern.
- If the referenced patterns are not copied, the references would be missing in the copied pattern triggering an error. The error can be fixed manually or by copying the referenced patterns.
See the following examples (with two projects):
Copy a pattern together with a referenced pattern
- Select the referenced patterns in the source project.
- Copy them at once via the batch action Copy selected.
- In the target project the references are linked automatically. There is no need to configure it manually.
The following movie shows how to copy multiple referenced patterns via the batch actions:
Copy a pattern without a reference and copy the referenced pattern later
- Select a pattern that has a reference and copy it.
- The reference would be missing in the target project. This needs to be fixed manually.
- Copy the referenced pattern later.
- The reference will be linked automatically in the target project. There is no need to configure it manually.
The following movie shows how to copy the referenced patterns one by one:
Copy a pattern without a reference and fix the error manually
- Select a pattern which has a reference and copy it.
- The reference would be missing in the target project. This needs to be fixed manually.
- Fix the error manually by removing the missing reference and adding a new one.
The following movie shows the case when the reference is missing:

Replacing and Updating a Copied Pattern
If a pattern already exists in the target project (it was either copied before as linked to the source pattern or imported), and you want to copy the same pattern again, the existing pattern content will be updated and replaced by the newly copied pattern. In such cases, a warning message is displayed next to each affected pattern in the Copy dialog screen.
Possible cases:
- The pattern already exists with the same name.
- by copying it, it will be replaced by the newly copied pattern.
- The pattern already exists with a different name.
- by copying it, it will be replaced by the newly copied pattern including the pattern name.
- There is a different pattern with the same name.
- by copying it, the pattern with the same name is not affected since the patterns are not the same (IDs are different).
See the following example for clarification:
Copying and updating an existing pattern
- If a pattern already exists in the target project because it was copied as linked to the source pattern or imported before.
- Initiate a pattern copying process as described above.
- Check the warning message and Replace checkbox in the Copy dialog screen.
- Click Copy action.
- The pattern in the target project is updated and replaced by the newly copied pattern. It is also visually differentiated from other patterns with a copy icon and an info message.
The following movie shows how to copy and update an existing pattern:

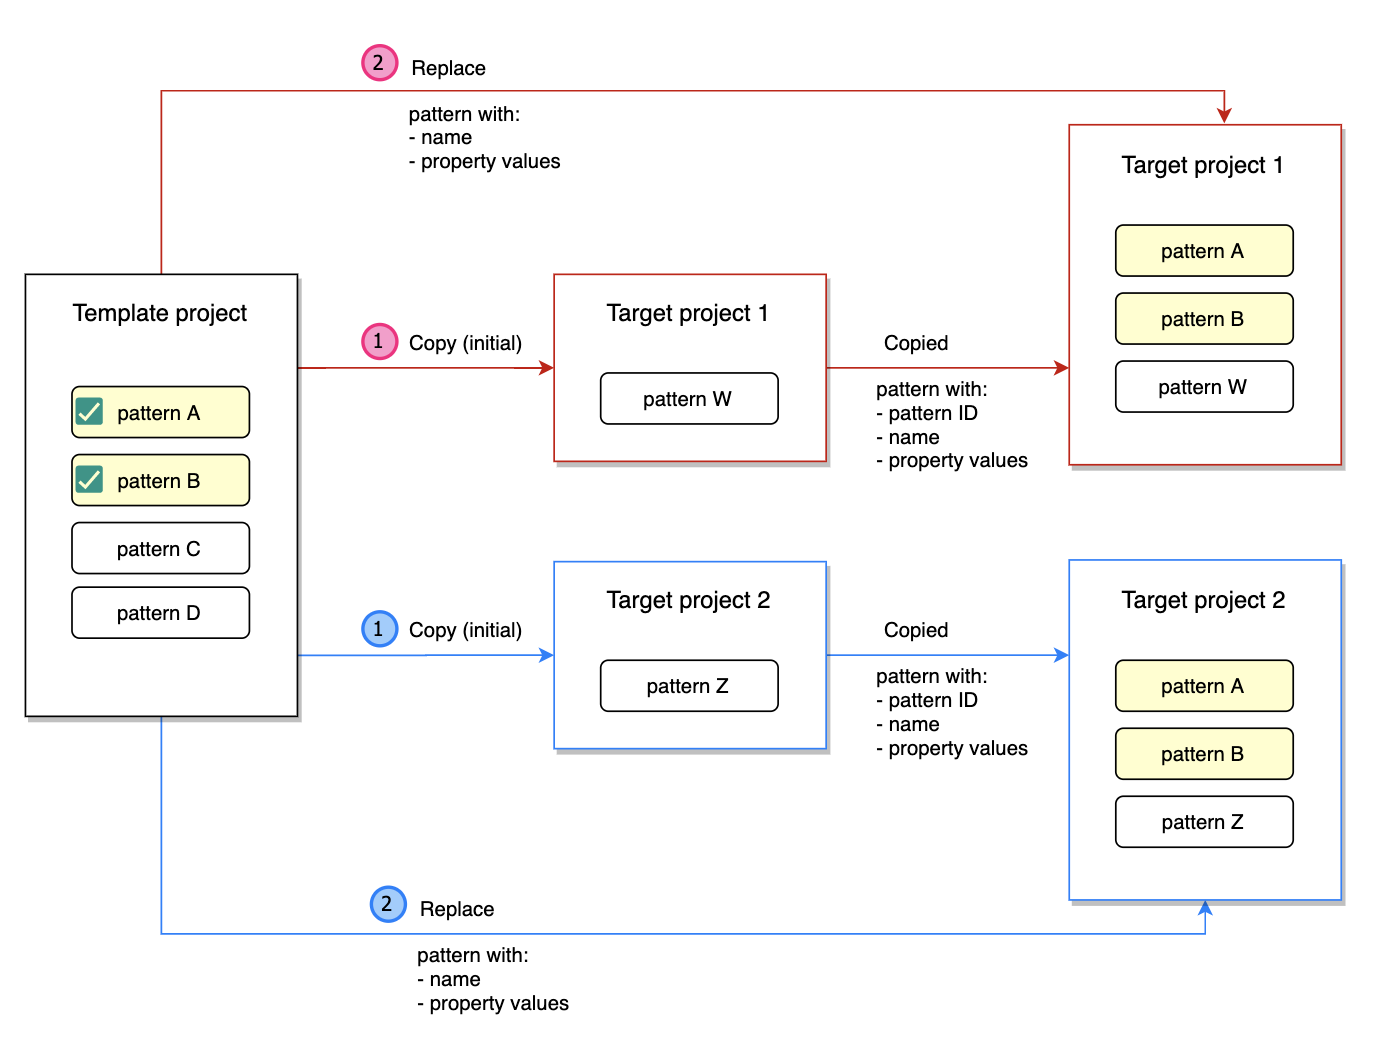
Using the Same Patterns in Multiple Projects
If you have multiple nevisAdmin 4 projects, some patterns in these projects will actually be the same (for example, an Authentication Realm.
With the copy function, you can edit these patterns once and then use them in all your projects.
We recommend the following setup:
- Create a template project containing the patterns you want to reuse.
- This is a normal configuration project, but we suggest to include TEMPLATE in the name to make the purpose clear.
- Optionally, configure version control for this project.
- Create all the variables you will need.
- Make sure the project is fully valid, all green.
- There is no need to create an inventory for this project, because it will not be deployed directly.
- Copy all patterns from the template to the target projects.
- See the section "Copying multiple patterns" above. Repeat this for each target project. While copying, make sure that the Link to the source pattern checkbox is checked.
- Advanced users may prefer to first search or filter patterns and then use the Select All option to copy a well-defined group of patterns. For more information on searching and filtering patterns, see Navigating Patterns.
- In the target projects, do the following steps:
- Recreate missing variables, if there is any. Use the same variable names as in the template project.
- Optionally, edit the copied patterns that require project-specific settings, for example, a nevisAuth Instance.
- If you do this, make sure not to copy these patterns again from the template as linked to the source pattern. Otherwise, your edits will be lost.
After the initial setup, make your updates as follows:
- Edit patterns in your template project.
- Copy the updated patterns to the target projects.
- Skip (unselect) any patterns that you edited directly in the target projects.
- See "Copying multiple patterns" above. Repeat this for each target project.
If you have existing projects and want to migrate to a template-based approach, we recommend this procedure:
- Make a backup of the existing projects and their inventories, for example by exporting them to Zip or publishing them to Git.
- Export one of the existing projects to zip and import it back as a new project. We suggest append the word TEMPLATE to the name.
- In the new template project, remove all patterns and variables that you do not need in the template.
- Make sure the project remains valid (green project indicator).
- For example, keep a template for the Authentication Realm and also keep the nevisAuth Instance.
- In the existing projects, make sure that the pattern IDs and variables names match.
There are two ways to achieve this:
- For each existing project, copy all patterns from the template into it. Then, in each target project:
- Remove all non-copied "duplicates".
- Fix broken references by pointing them at the newly copied patterns. For example, reference the copied realm pattern from your applications.
- Recreate any missing variables. Use the same variables names as in the template project.
- Delete unused variables.
- Optionally, edit the copied patterns that require project-specific settings, for example, a nevisAuth Instance.
- If you do this, make sure not to copy these patterns again from the template as linked to the source pattern. Otherwise, your edits will be lost.
- Advanced users:
- Export each existing project to zip and unpack it (or check them out from Git).
- Change the YAML files to fix pattern IDs, pattern reference IDs and variables names to match the template project.
- Pack the zip again and import it back, or push the changes to Git and update the project from Git.
- For each existing project, copy all patterns from the template into it. Then, in each target project:
- In existing inventories, make sure to update variable names too, if needed.
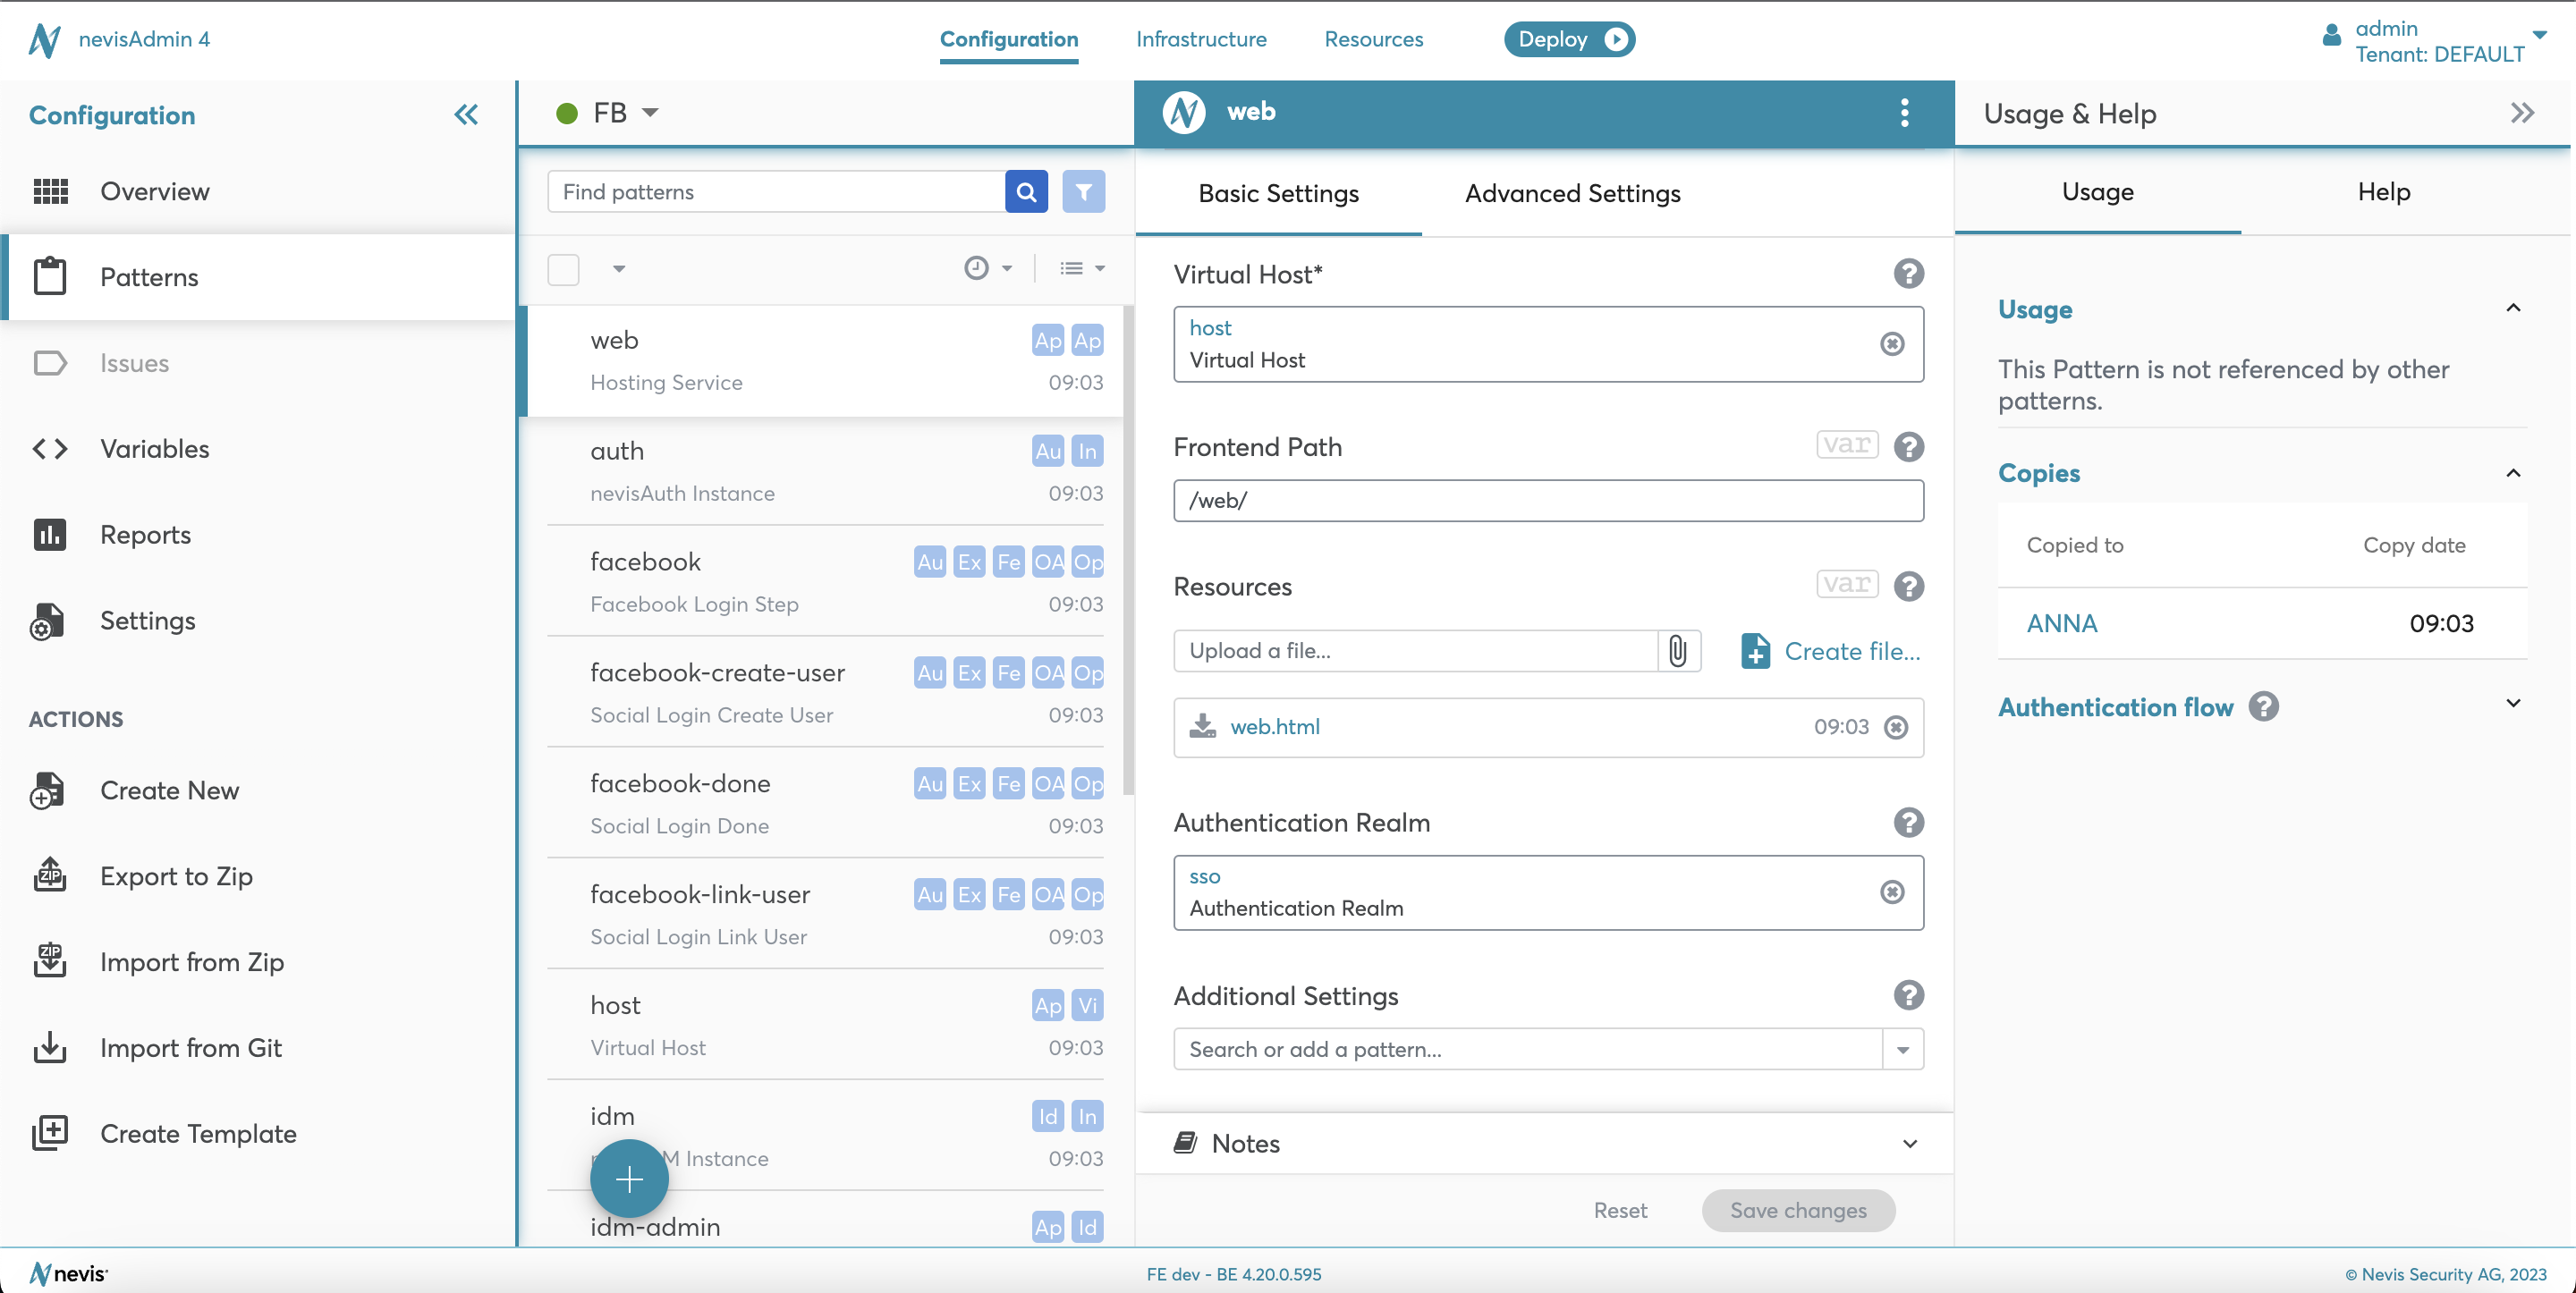
Copies info table
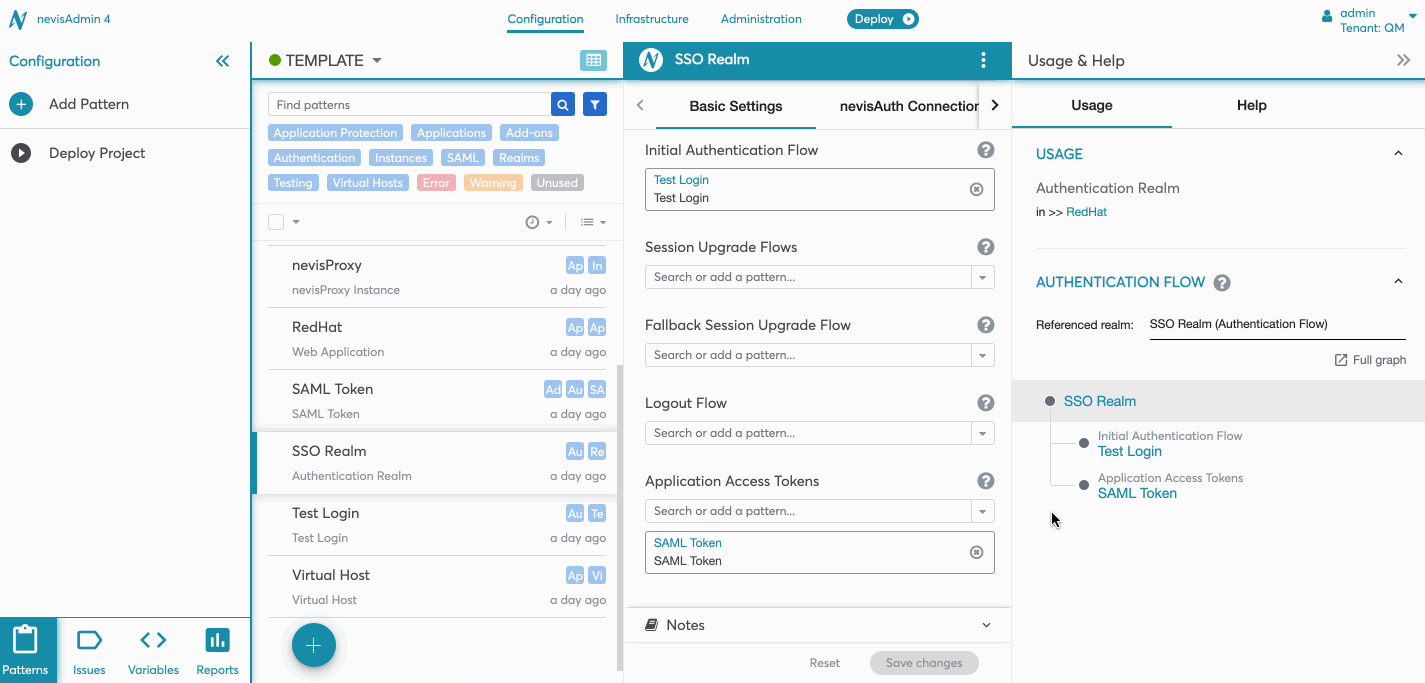
In the pattern editor, on the Usage tab we have a new Copies section. Here in a table format, you will find into which other projects the currently selected pattern was copied to. The date of the copy is also displayed.
Behind the Scenes
Technically, when copying a pattern to a target project, the following happens:
- If you copy it as linked to the source pattern, you create or replace a pattern with the exact same ID. If it is not linked to the source, you create a pattern with a new ID.
- References to other patterns are located by their ID.
- Variables are located by their name.
You can see the pattern ID in the URL when editing a pattern. The ID is also visible inside the pattern YAML file after you export your project to Zip or publish it to Git.
This has the following consequences:
- If a pattern with the same ID exists in the target project, it will be completely replaced.
- If the pattern references another pattern ID, but there is no pattern with that ID in the target project, the reference will be displayed as "broken".