Working with Variables
A pattern property (field) either has a fixed, constant value or it refers to a variable. Use a variable if you want the value of the property to be different depending on the inventory, or stage, that you deploy to. If you reference a variable, the actual value will be resolved during deployment.
Variable names are project-bound. This means that a variable name is only available within the projects in which you specify it.
Adding a New Variable
Perform the next steps to add a new variable to a project:
- Click the Var button on the right-hand side of the relevant pattern property field in the Pattern Editor.
- The Set variable dialog appears. Specify the properties of the new variable, such as its name and a value, in this dialog. Then click Set variable to create the variable.
- The Pattern screen reappears. The newly defined variable is visible (as a link) in the relevant pattern property field. Click Save changes to save the new variable.
The next screen shows how to add a new variable:
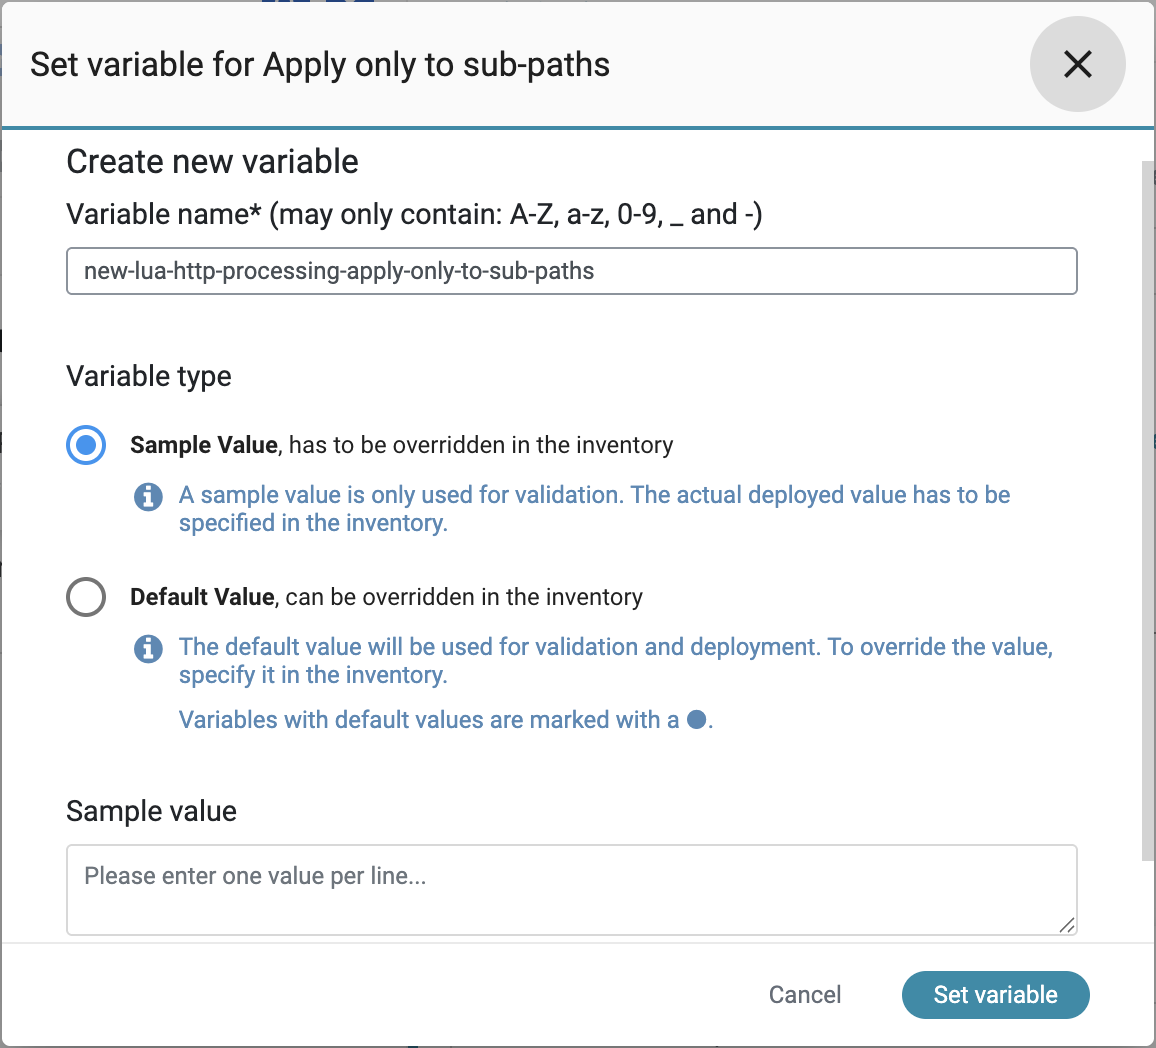
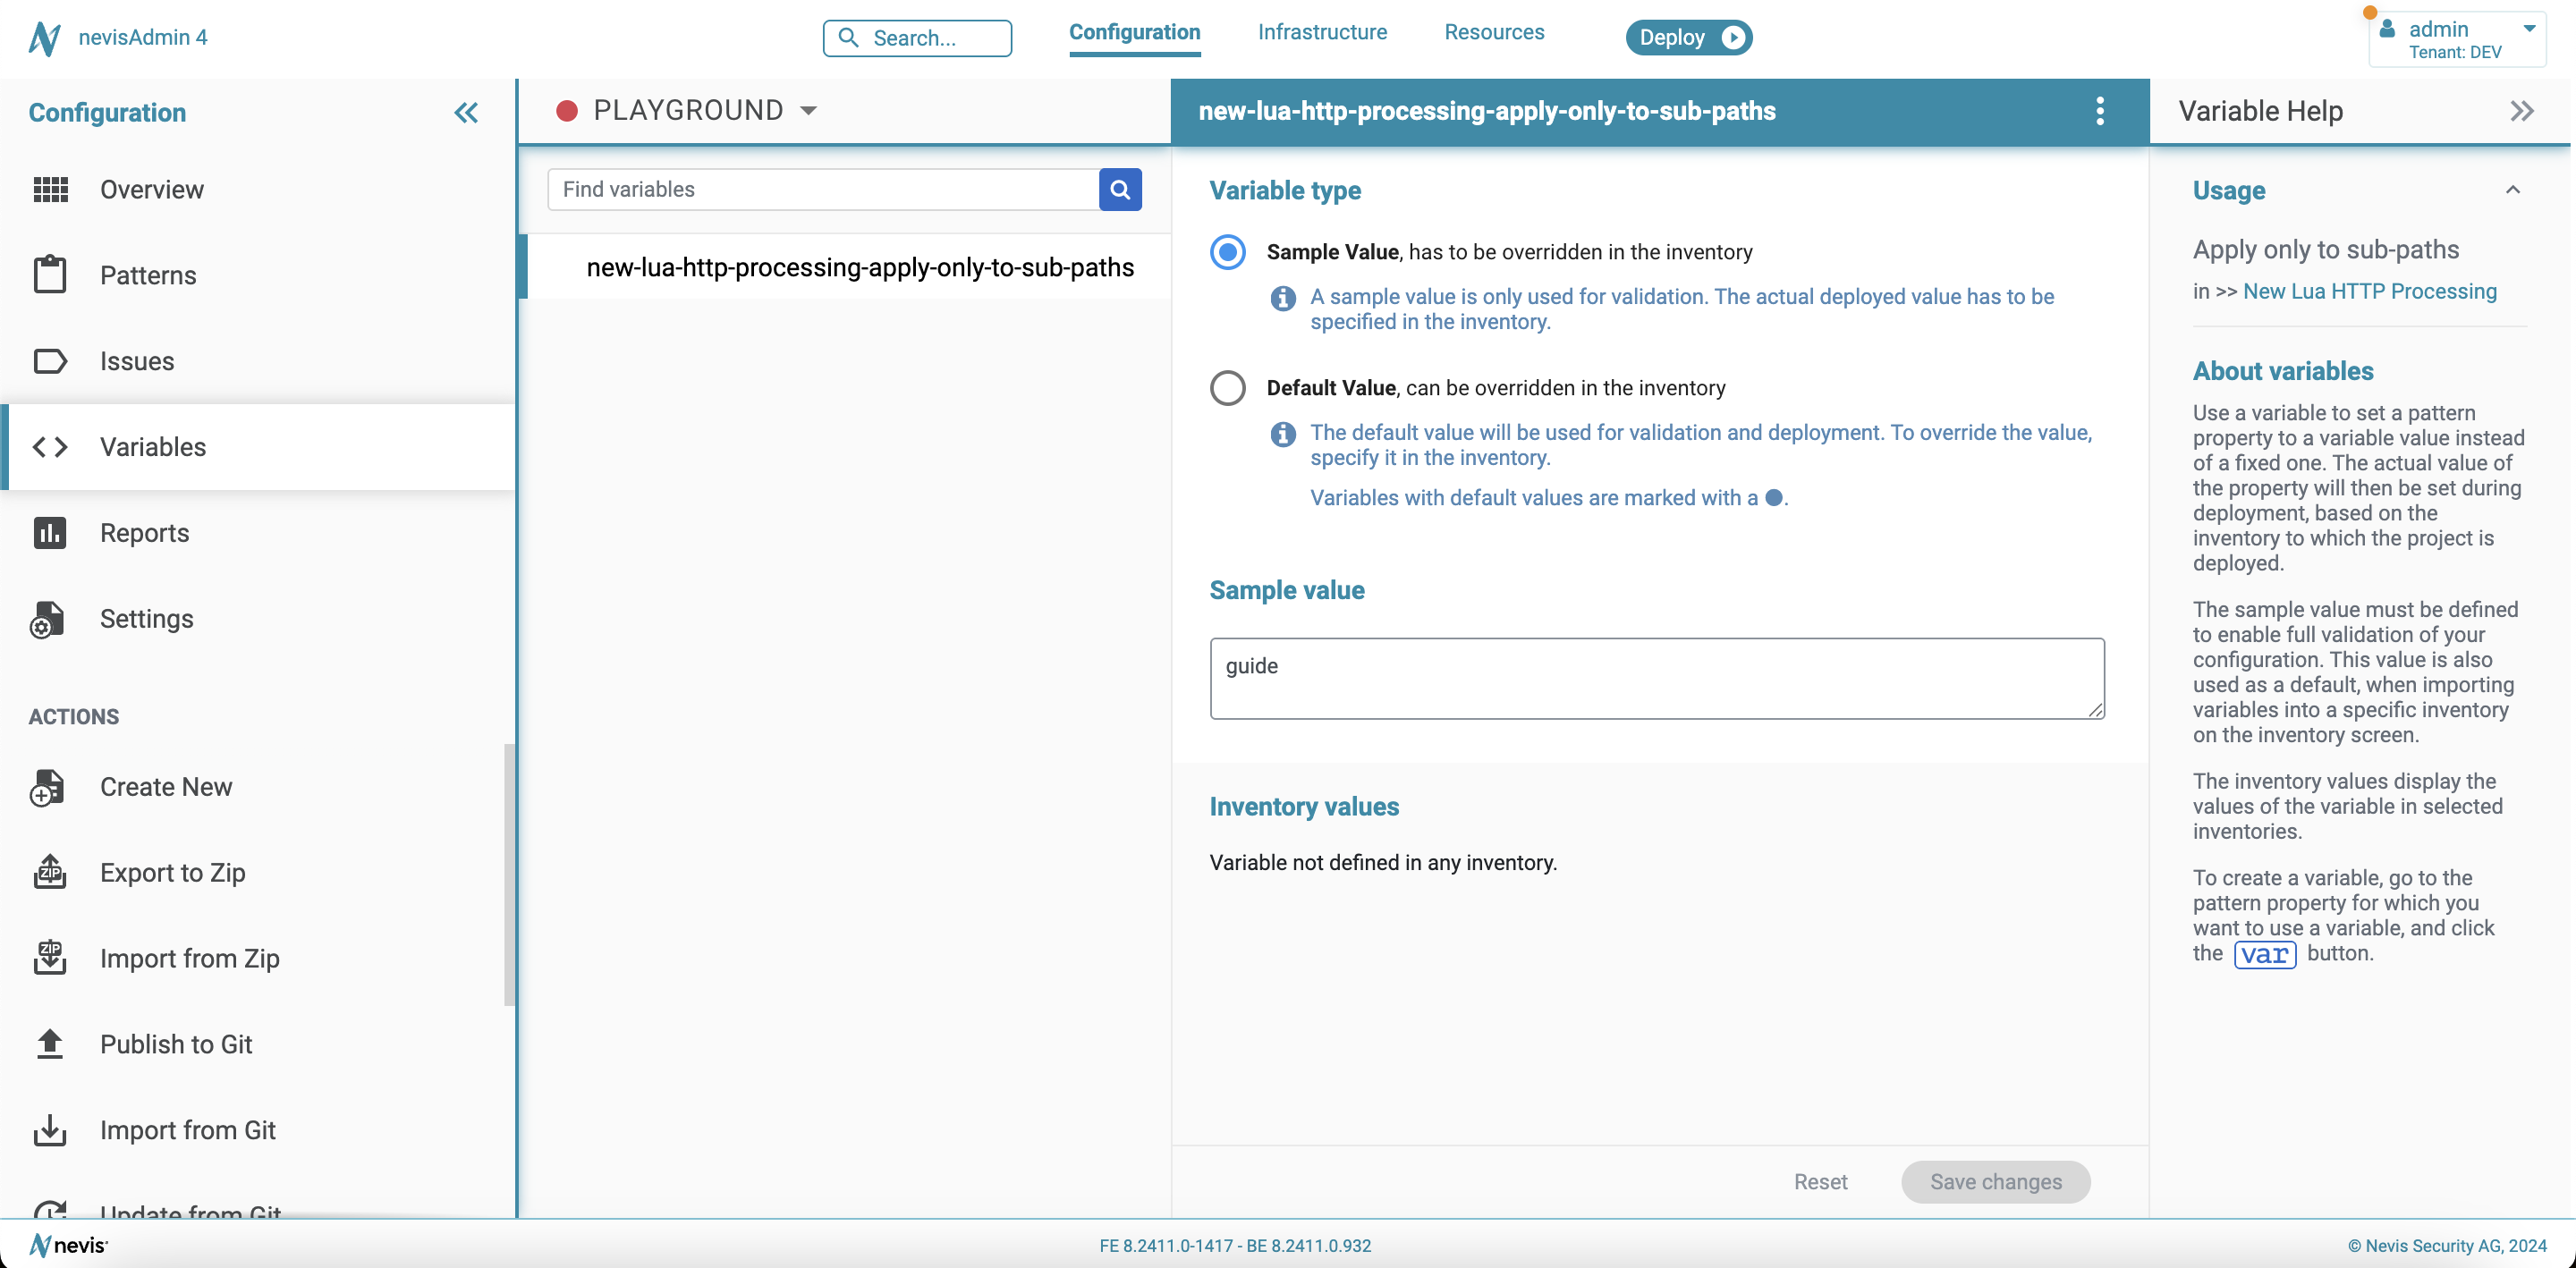
Sample Value for a Variable
When creating a new variable, it is possible to give the variable a sample value (except for file attachments, see "Adding a New Variable for File Attachments" below). This sample value is important for the validation process: nevisAdmin 4 needs the sample value to be able to validate the project in the configuration stage. The sample value is also used to give the variable an initial value in the inventory file. Replace this initial sample value in the inventory (file) by the definitive variable value, which will be validated during the deployment process. See Defining Variables for more details.
You can add a sample value to a variable in the following ways:
- Sometimes the pattern property field already has a value. When creating the variable for this field, nevisAdmin 4 uses this value as the sample value.
- If the pattern property field is empty, you specify a sample value for the variable in the Set variable dialog.
- If you do not enter a sample value during the variable creation, you can still enter a sample value for the variable in the Variables screen.
The sample values are not used during deployment. nevisAdmin 4 retrieves the value of the variable from the target inventory. See Defining Variables for more details.
Default Value for a Variable
When creating a new default value variable, it is mandatory to give the variable a default value (except for file attachments, see "Adding a New Variable for File Attachments" below). This value will be used both in the validation and deployment process. You can override this initial value in the inventory (file) with an inventory specific value, which will be validated during the deployment process. See Defining Variables for more details.
You can add a default value to a variable in the following ways:
- Sometimes the pattern property field already has a value. When creating the variable for this field, nevisAdmin 4 uses this value as the default value.
- If the pattern property field is empty, you specify a default value for the variable in the Set variable dialog.
- You need to enter a default value during the variable creation, but you can still enter a different value for the variable in the Variables screen or in the inventory (file).
Variables with default values are marked with a ●.
Variables for File Attachments
Some pattern property fields require the uploading of file attachments instead of entering text, as explained in Special Input Field Type: Attachment. It is also possible to define such property fields as a variable. This works similar to Adding a New Variable, but without having to define sample data. Because of this, these variables will not be validated during the project background validation. You will get feedback about possible issues in the Deployment Wizard when the project is validated against an inventory (see Deployment of the Configuration).
The next movie shows how to add a new variable to an attachment property field:
See Working with Inventory File Attachments to learn how to upload file attachments on the inventory.
Variables Screen
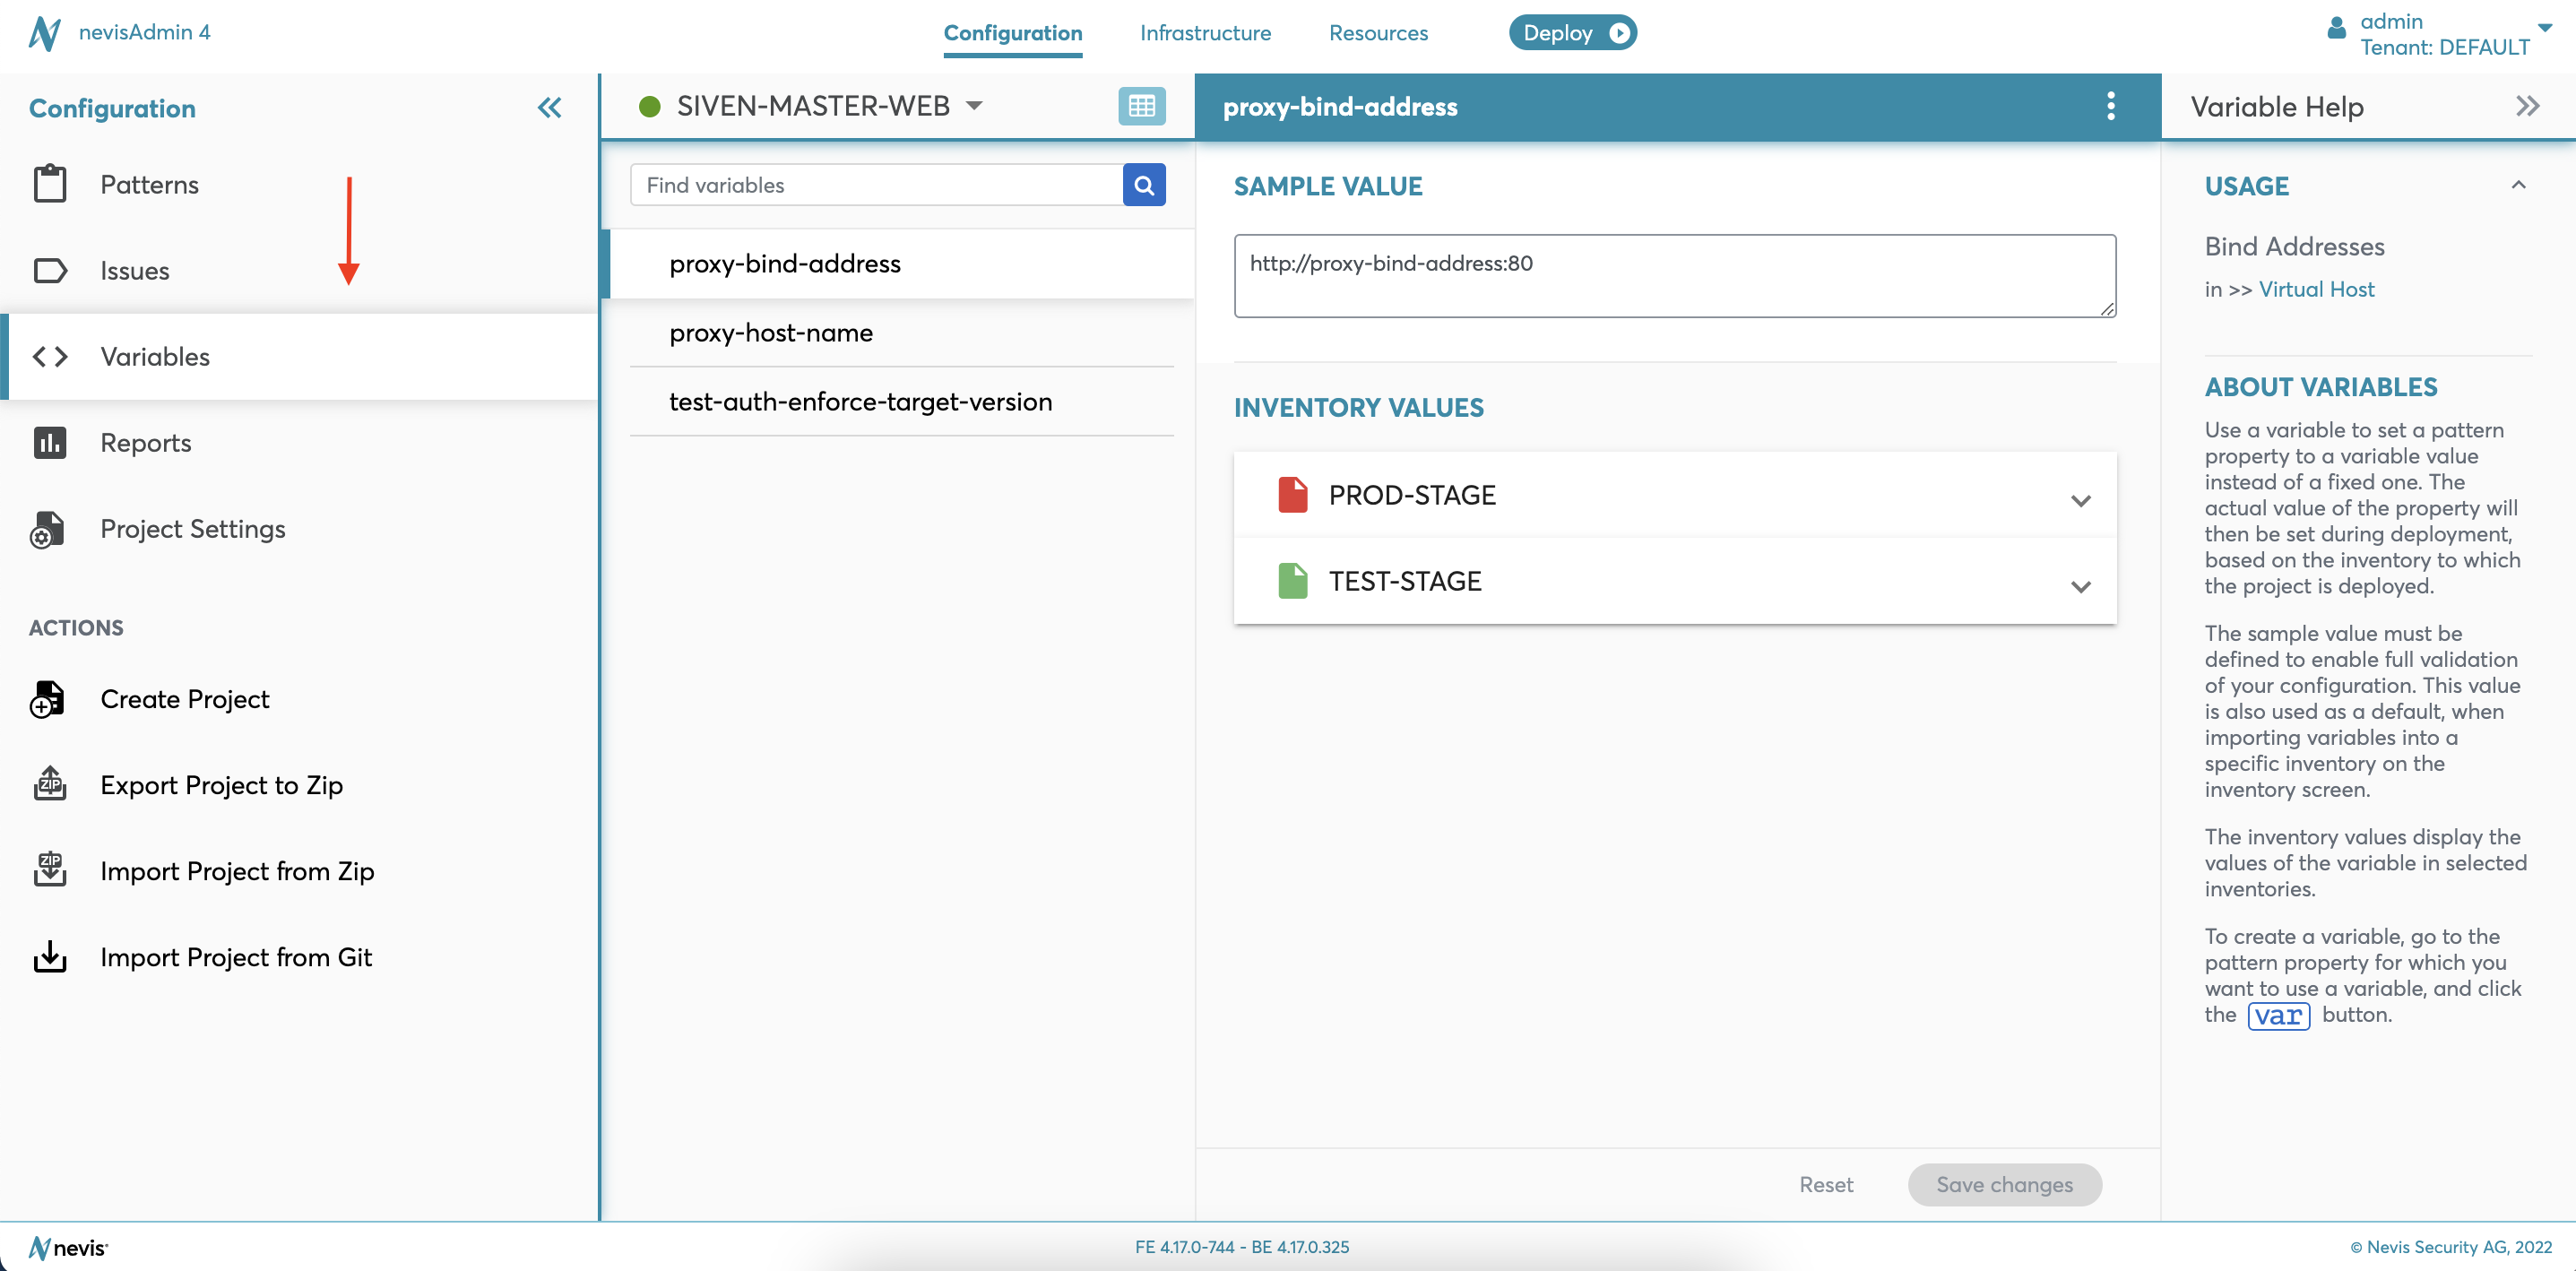
The Variables screen focuses on a project's variables (see figure Variables screen - Overview further below).
- The left part of the Variables screen lists all variables attached to the project.
- The middle part shows the details of the variable selected in the variables list on the left.
- The Variable Help to the right shows the usage of the variable.
How to open the Variables screen:
- Click on Variables in the Navigation menu of any screen within the Configuration tab (see the next figure), or
- Click on a variable link in the Pattern Editor.
The Variables screen is only available when variables already exist in your project.
Variables Screen Overview
The next figure shows the Variables screen:
The Variables screen contains the following elements:
- The Variable Type field
- The Variable Value field
- The Rename Variable function
- The Delete Variable function
- The Inventory Values section
- The Usage section
The next sections describe the elements of the Variables screen in more detail.
Modifying the Value of a Variable
It is possible to modify the value of a variable at any time. You do this in the Variable value field in the middle part of the Variables screen.
Renaming a Variable
The variable name was generated automatically during variable creation. If you want to modify this automatically generated variable name, select Rename Variable from the overflow menu in the middle of the Variables screen.
Deleting a Variable
If you want to delete a variable, select Delete Variable from the overflow menu in the middle of the Variables screen.
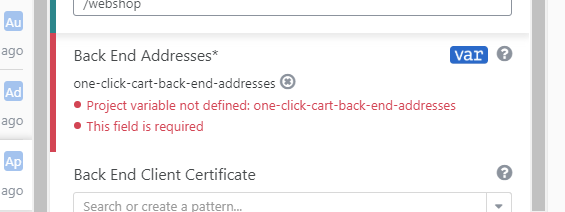
You can delete a variable without any restrictions, even if the variable is still used by a pattern. When you delete a variable that is still in use, the link to the variable is still visible in the pattern field (see the next figure). Remove the link manually.
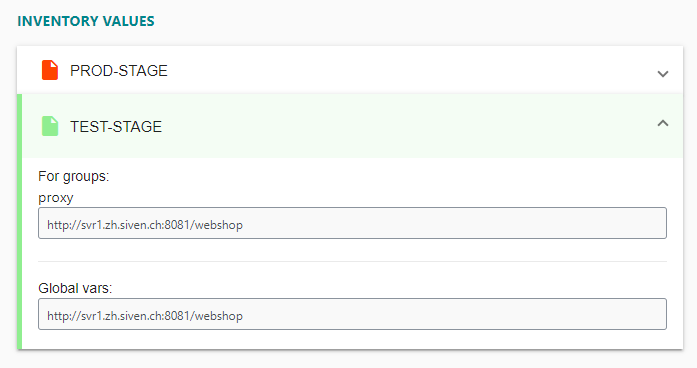
Variable Values in Inventories
The effective value of a variable is defined in an inventory. The Inventory Values section of the Variables screen lists all the inventories where the selected variable is defined, with the effective value (see the next figure). For more details, see Defining Variables.
Variable Usage
The Usage section in the Variable Help on the right side of the screen shows a link to the patterns using the selected variable.
There is no Usage section when the variable is no longer associated with any pattern.