Branching a Project in Git
It is possible to branch a project in the remote version control system, and then import it into nevisAdmin 4 with the Branch Project function. In this way, you can duplicate your project in a new branch and configure new features, without having to modify the original project.
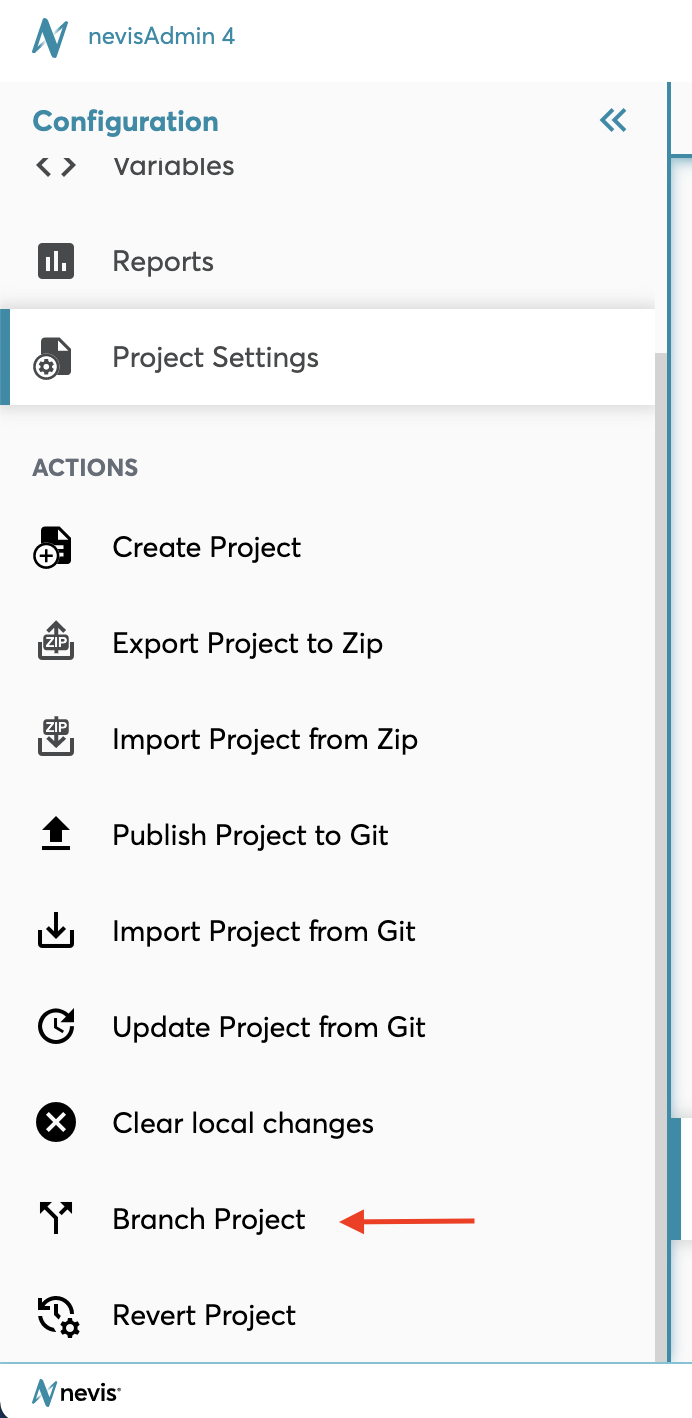
To be able to use the Branch Project function, the project must be versioned. The Branch Project function is part of the Action menu in the sidebar of the Project Settings (see also the figure below).
Note that the Branch Project function only appears when the selected project is connected to Git.
Branch Project Dialog
The Branch Project dialog defines the details for the branching of the project (see the next figure). The dialog consists of two tabs:
- Basic Settings
- Advanced Settings
The Branch Project dialog appears after you select the Branch Project function from the Action menu in the Configuration tab.
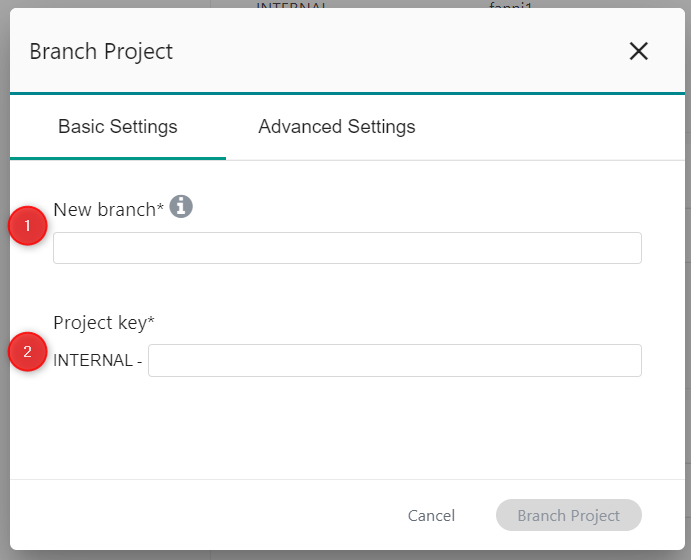
Basic Settings Tab
In theBasic Settingstab, you can configure the following:
- New branch field (no. 1 in the figure): Defines the name of the branch you want to create. The branch name must be unique and cannot exist in the remote version control system. The field is mandatory.
- Project key field (no. 2 in the figure): Defines the key for the new project that will be imported from the version control system. The project key must be unique. The project key always starts with the selected tenant. You can only import a project for the tenant selected in the Tenants drop-down. For more information about tenants, see "Tenants". The field is mandatory.
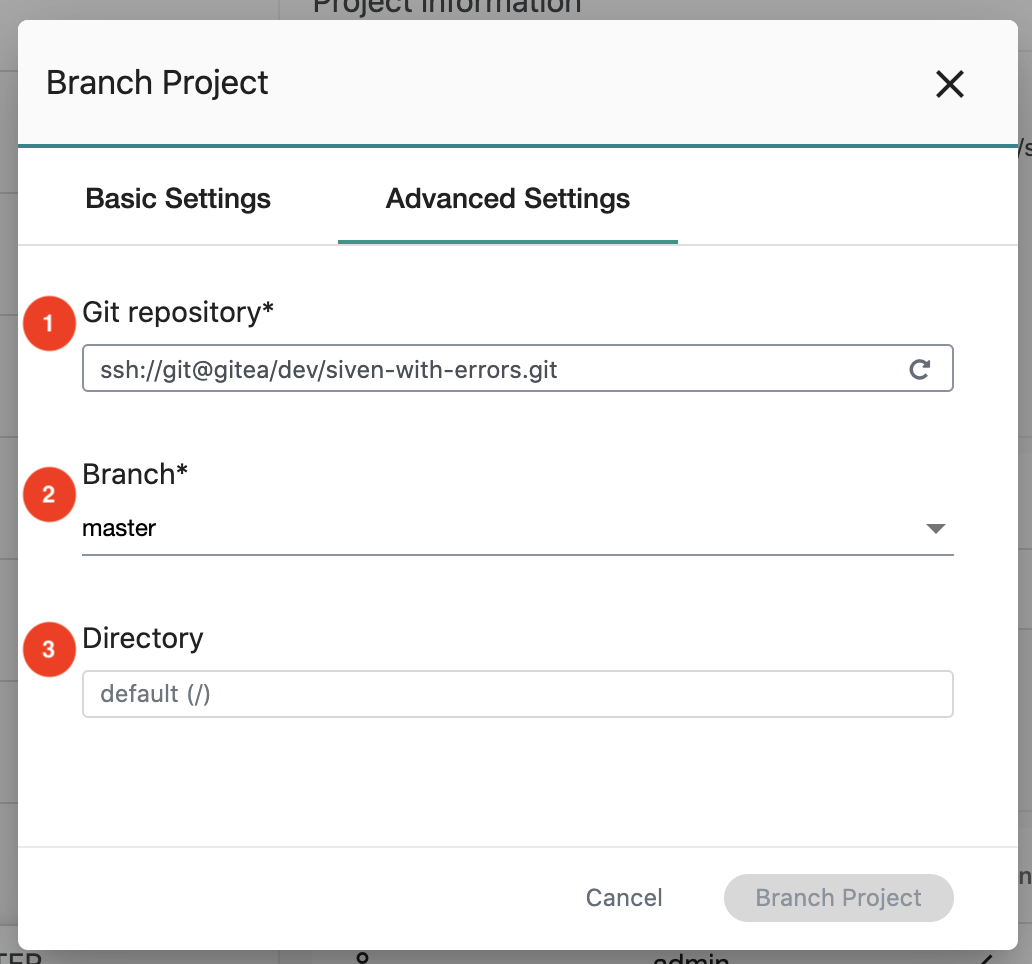
Advanced Settings Tab
The fields in the Advanced Settings tab are pre-filled with the selected project’s version control data:
- Git repository field (no. 1 in the figure): Contains the Git URL of the project. The URL is scanned once it is provided, to get immediate feedback on whether the repository exists or not. The field is mandatory.
- Branch drop-down menu (no. 2 in the figure): Lists the available branches from the Git repository. By default, the branch of the currently opened project is selected. The field is mandatory.
- Directory field (no. 3 in the figure): Contains the name of the directory in the repository where the project files are stored. The field is optional.
If the provided Git repository uses https, the following optional fields will appear
- The Username field
- The Password field
If the nevisadmin.git.tls.username and nevisadmin.git.tls.password properties are set, then you may leave these fields empty.
If you set the username and password explicitly on this screen, then those credentials will be saved to the new project, and any subsequent git operations,
such as updating the project from git, will use those saved credentials, even if nevisadmin.git.tls properties are set.
If no username or password is provided, but the project that is going to be branched had custom git credentials saved to it, then those credentials will be copied over to the newly created project.
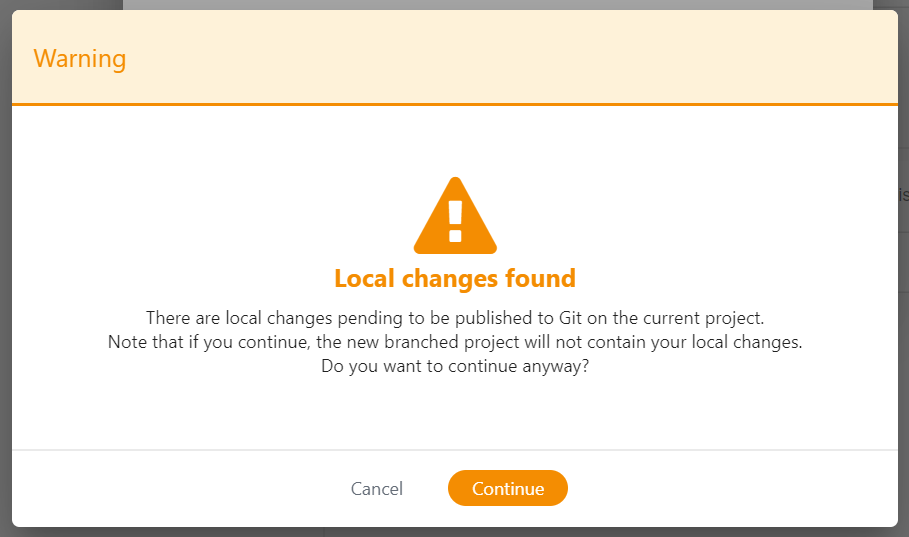
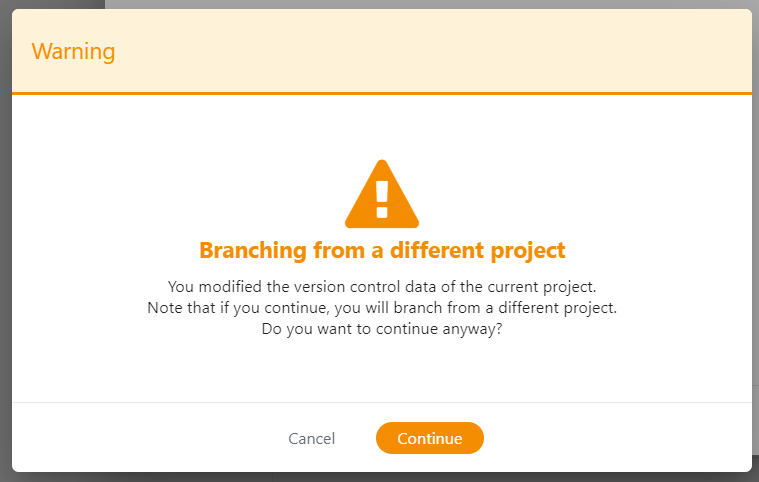
If you change the pre-filled settings in the Advanced Settings tab, you will create a branch from a different project/branch than the selected one. In this case, you will see the following warning message:
Branch Project Button
When you have completed your settings, click the Branch Project button to make your settings final. nevisAdmin 4 creates a new branch in Git and imports it into a new project.
Before the branching process starts, nevisAdmin 4 checks whether there are changes in connection with the selected project. If so, nevisAdmin 4 informs you about them. The notification is different in the following situations:
- There are local changes, but no remote changes.
- There are remote changes, but no local changes.
- There are both remote and local changes.